Loading ...
Loading ...
Loading ...
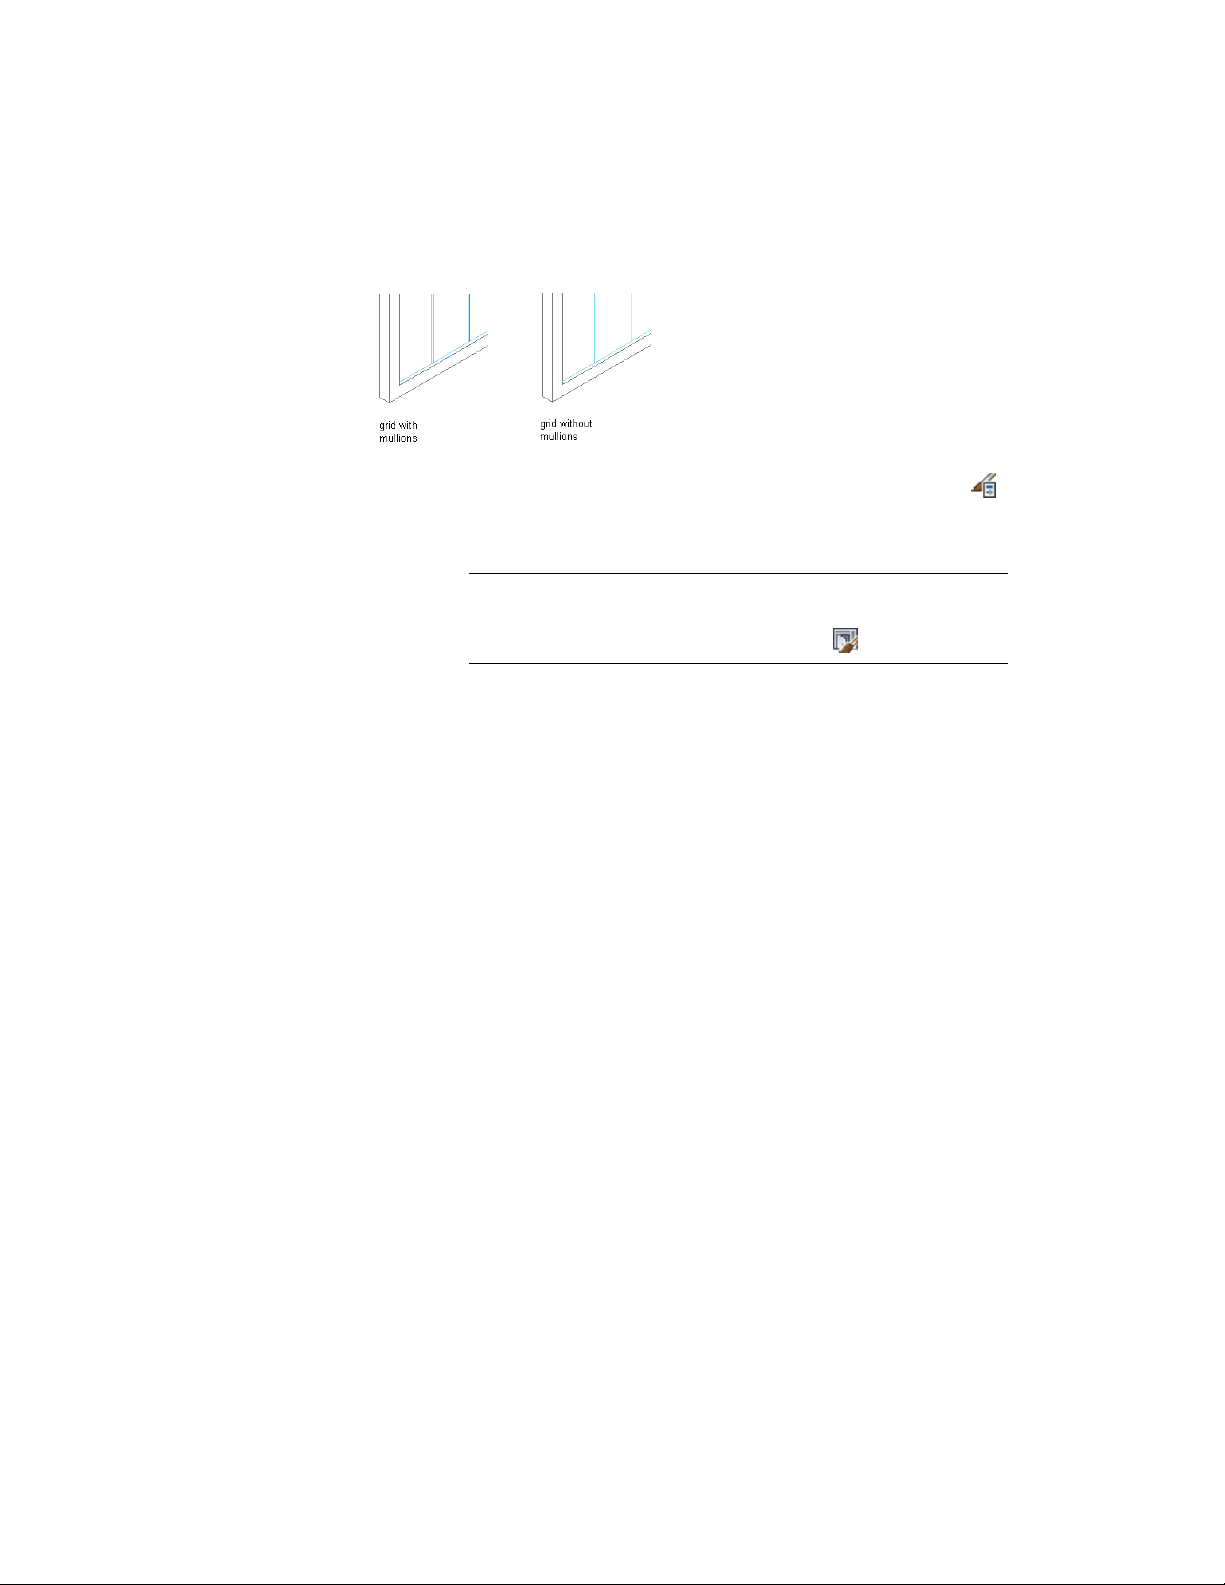
Removing a mullion from Door/Window Assembly grid
1 Click Manage tab ➤ Style & Display panel ➤ Style Manager .
2 Expand Architectural Objects, and expand Door/Window
Assembly Styles.
NOTE Alternatively, select a door/window assembly in the drawing,
and click Door/Window Assembly tab ➤ General panel ➤ Edit Style
drop-down ➤ Door/Window Assembly Styles .
3 Select a door/window assembly style.
4 Click the Design Rules tab.
5 In the left pane, select the grid in which you want to remove a
mullion.
6 Create a new mullion assignment, and enter 0 (zero) for the width
and depth.
For more information, see Defining Door and Window Assembly
Mullions by Width and Depth on page 1723.
7 Under Mullion Assignments, select the mullion definition you
created for mullion edges of any mullion assignment where you
want to remove the mullions.
For more information, see Specifying Which Door and Window
Assembly Mullions Use an Assignment on page 1749.
8 Click OK.
Specifying the Materials of a Door and Window Assembly Style
A door/window assembly consists of a number of components whose display
properties can be determined by the materials assigned to each component.
Door and Window Assembly Styles | 1751
Loading ...
Loading ...
Loading ...