Loading ...
Loading ...
Loading ...
NOTE Alternatively, select a door/window assembly in the drawing,
and click Door/Window Assembly tab ➤ General panel ➤ Edit Style
drop-down ➤ Door/Window Assembly Styles .
3 Select a door/window assembly style.
4 Click the Design Rules tab.
5 In the left pane, select the grid in which you want to create a new
frame assignment.
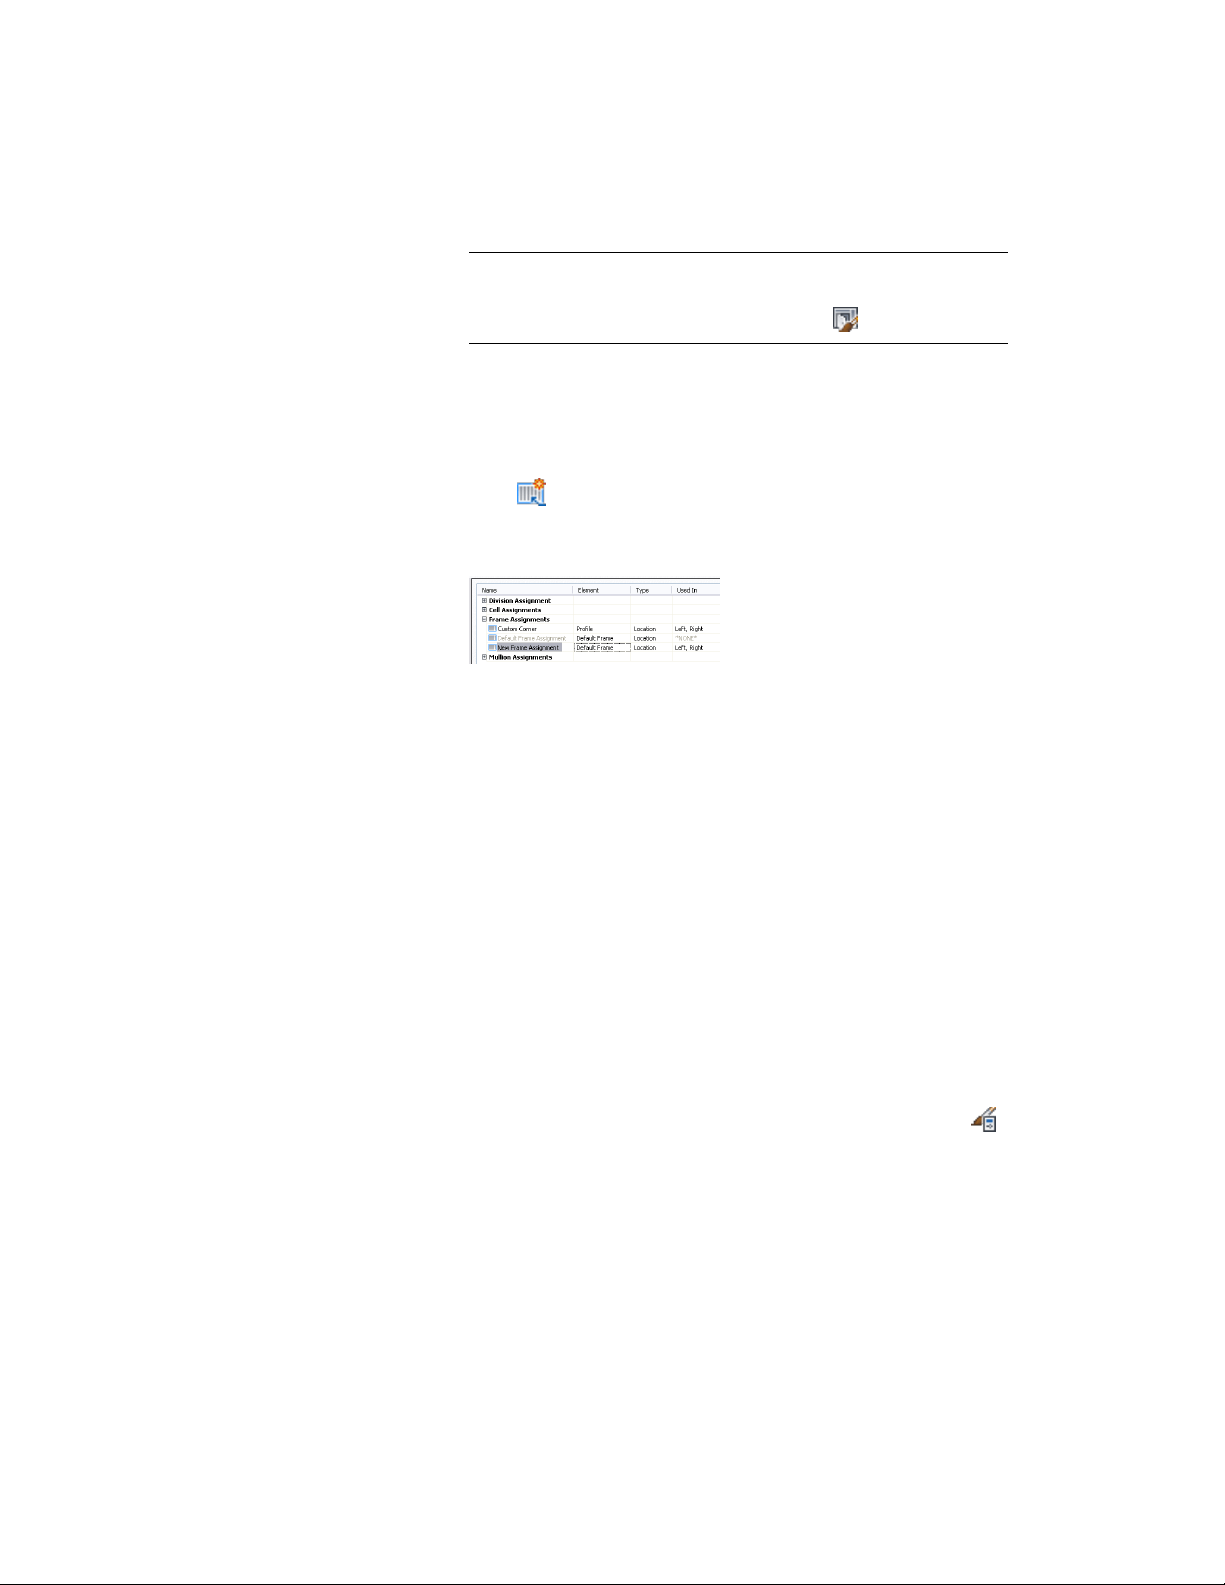
6 Click (new frame assignment).
A new frame assignment is displayed in the list of frame
assignments.
7 Right-click the default name, click Rename, and then enter a
descriptive name.
8 Under Element, select a frame definition.
9 Specify the sides of the frame to use this frame assignment.
For more information, see Specifying Which Door and Window
Assembly Edges Use a Frame Assignment on page 1745.
10 Click OK.
Specifying Which Door and Window Assembly Edges Use a Frame
Assignment
When you create a frame assignment, you need to specify the edges of the
frame to use that assignment.
Frame edges that are not assigned a frame definition are not displayed.
1 Click Manage tab ➤ Style & Display panel ➤ Style Manager .
2 Expand Architectural Objects, and expand Door/Window
Assembly Styles.
Door and Window Assembly Styles | 1745
Loading ...
Loading ...
Loading ...