Loading ...
Loading ...
Loading ...
components at your wall endcap or opening at once. In each case, you
will be using the Edit in Place feature as you modify the wall components
to create your wall endcap condition. For more information, see Using
Edit in Place to Modify Wall Endcaps on page 1361.
■ Specifying Wall Endcaps by Style: In the wall style, you can define endcaps
for the wall start and end. The standard endcap style is a straight line. If
you need different endcaps, you need to create a wall endcap style, and
then assign it to the wall style. For more information, see Applying a Wall
Endcap Style to a Wall Style on page 1388 and Working with Wall Endcaps
and Opening Endcaps on page 1359.
NOTE You can override the wall endcap style on individual walls in the drawing.
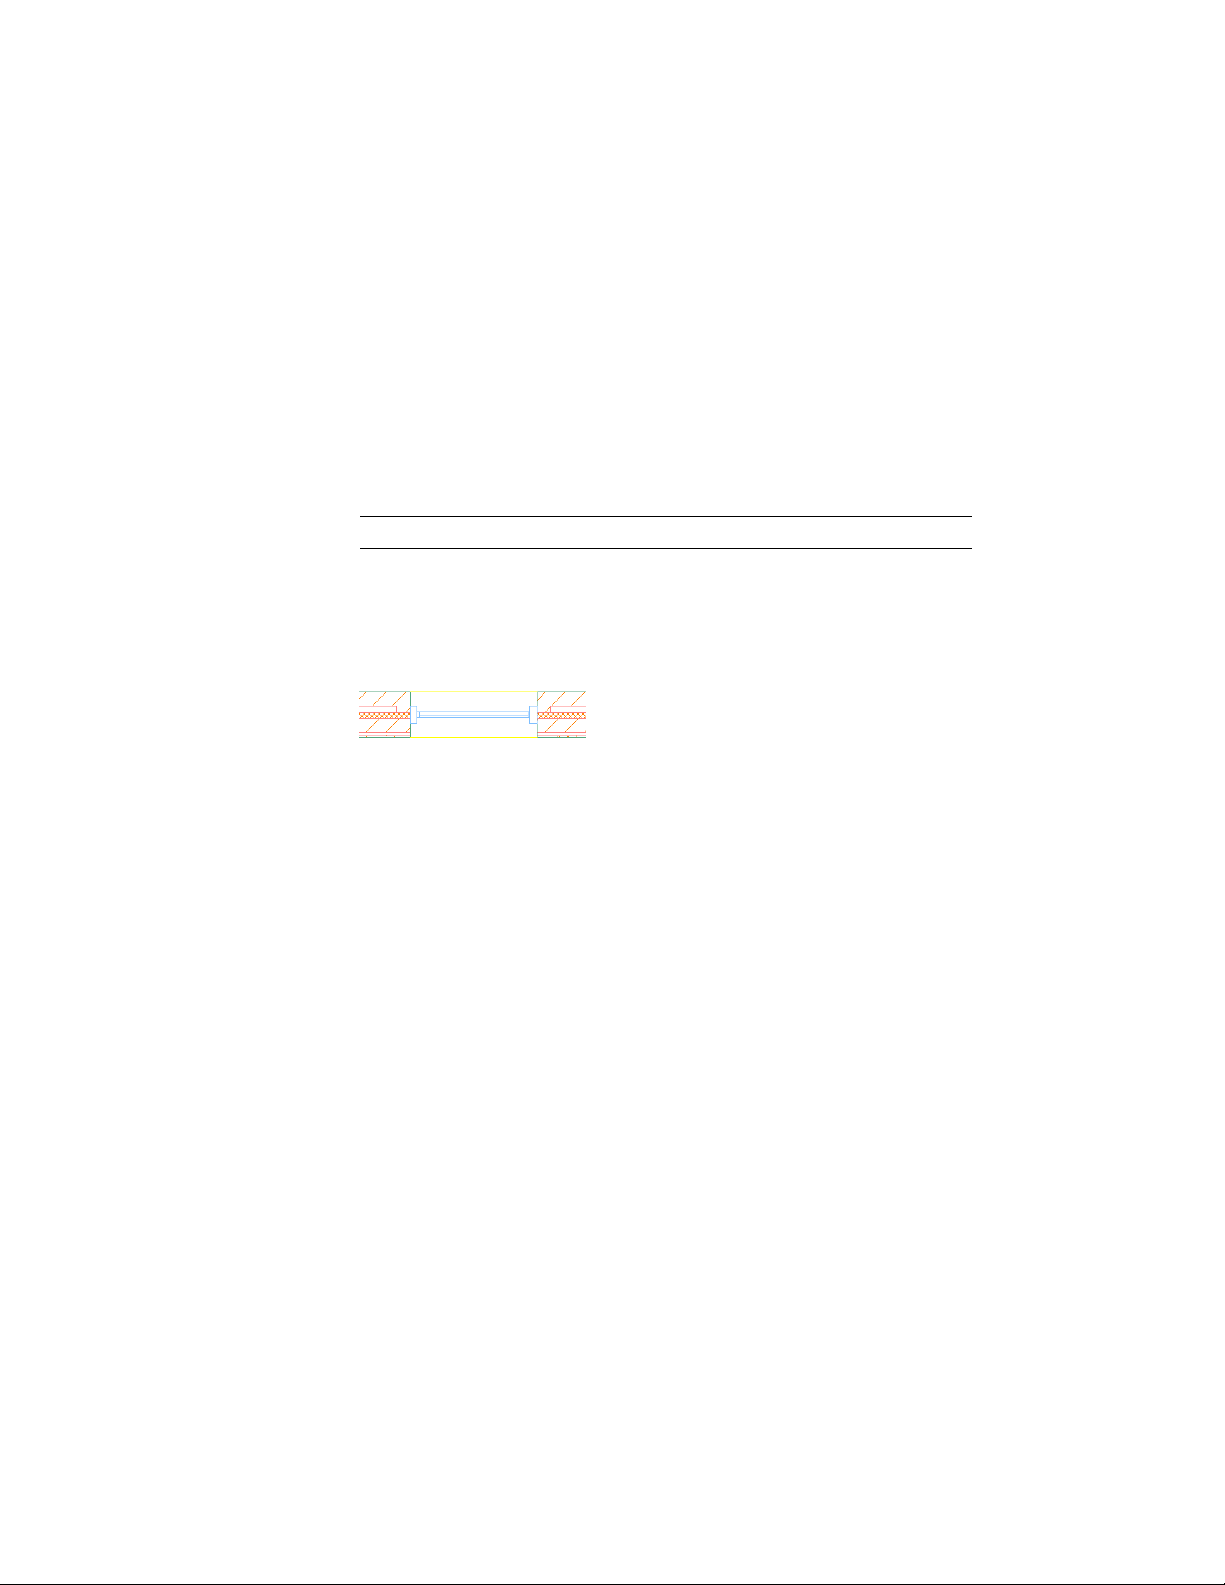
■ Specifying Opening Endcaps by Style: In the wall style, you define the
endcaps for any doors, windows, and openings inserted in the wall. By
default the opening endcaps are 4 straight lines for the jamb start and end,
and the sill and head of the opening.
For more information, see Working with Wall Endcaps and Opening
Endcaps on page 1359.
Creating a Wall Tool
Use this procedure to create a wall tool and add it to a tool palette. You may
want to create your own tools if you are placing multiple walls of specific
styles that have the same properties.
For example, you are creating an office floor plan with partition walls for
cubicles. Although all partition walls use the same wall style in your floor
plan, the walls in administrative areas are lower than the walls in office areas.
To work efficiently, you can create a wall tool for each wall height, and select
the appropriate tool to place the walls with the correct height in each area of
the floor plan.
You can use any of the following methods to create a wall tool:
■ Drag a wall that has the properties you want to a tool palette.
1236 | Chapter 20 Walls
Loading ...
Loading ...
Loading ...