Loading ...
Loading ...
Loading ...
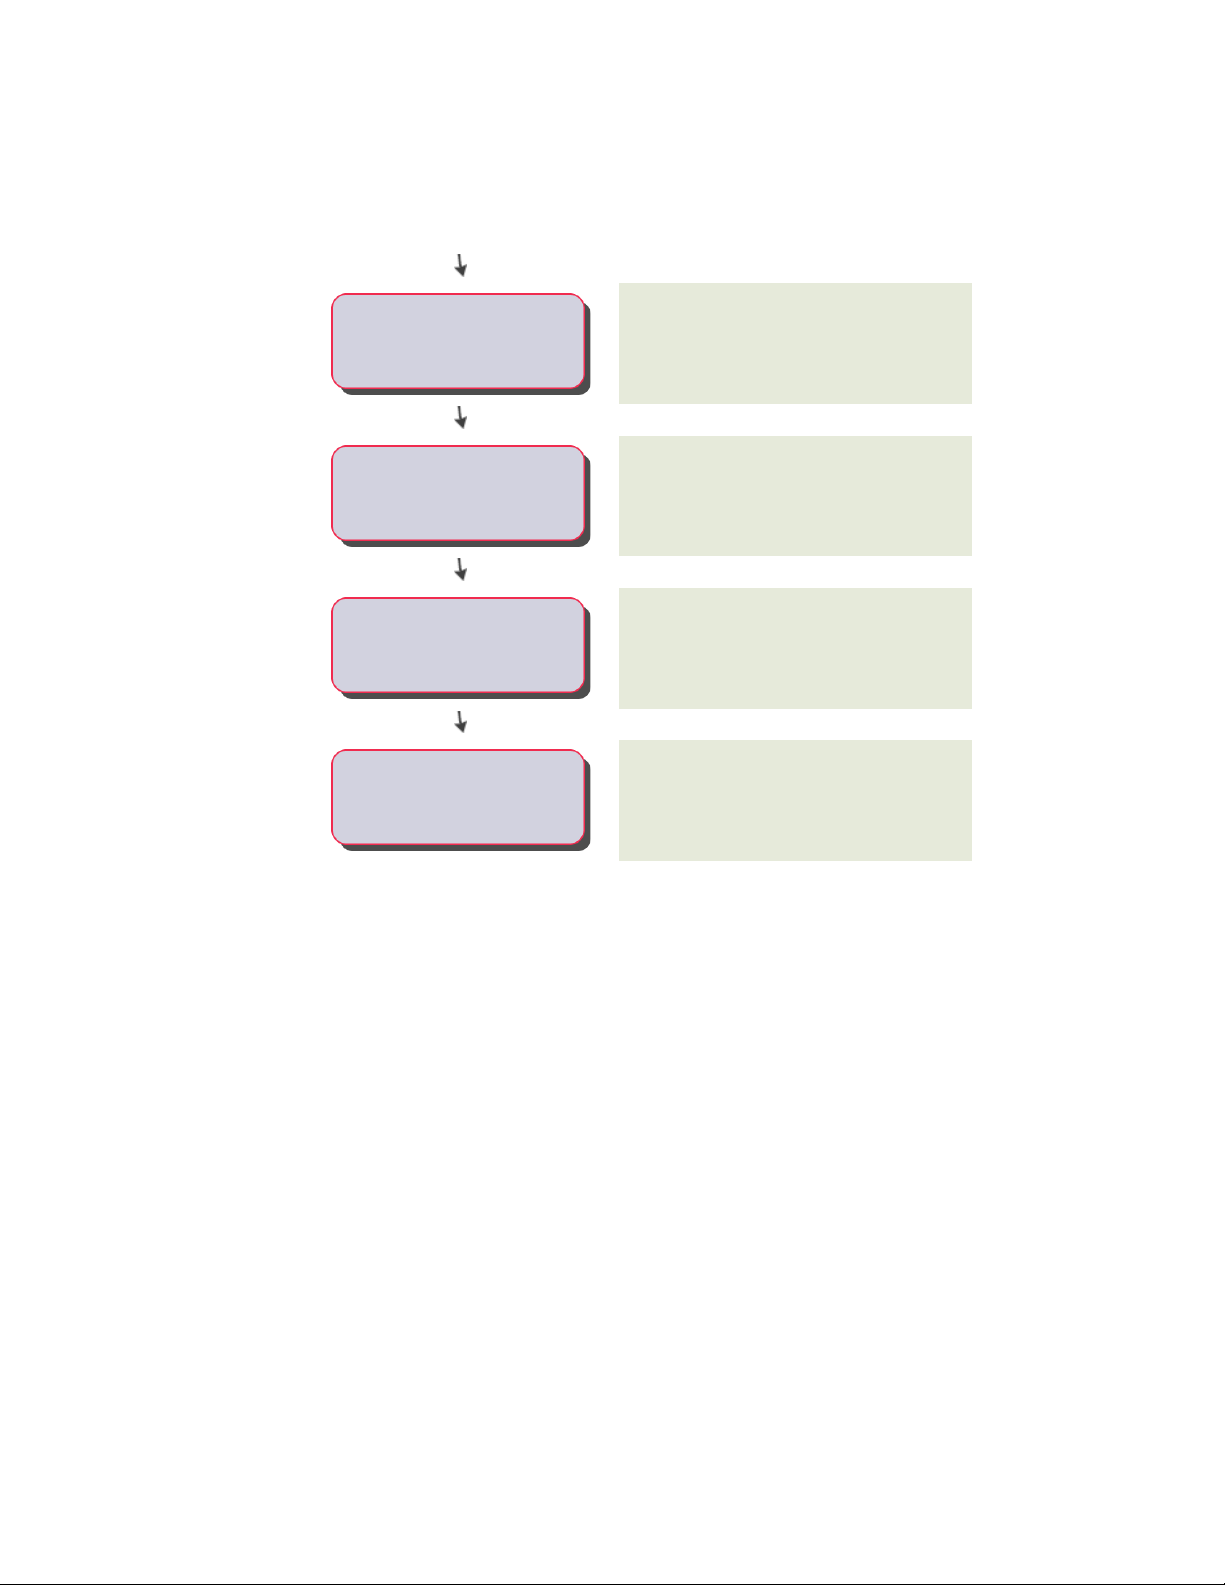
Add the infills on page 1730 that you previously
defined by assigning the definitions to the
door/window assembly style.
-----Assign infills to the style
Add the frames on page 1743 and mullions on page
1747 that you previously defined by assigning the
definitions to the door/window assembly style.
-----
Assign the frame and mullions to
the style
Assign materials on page 1751 to the door/window
assembly style if desired.
-----Add material to infills and mullions
Create a tool on page 1684 to use when adding
other door/window assemblies of the same style
to your drawing.
-----
Add this door/window assembly
style to your library
Tips for Working Efficiently with Door and Window Assembly
Styles
Use these suggestions to work with door/window assembly styles efficiently.
■ Name grids and elements very clearly to identify where they are used and
what they are. For example, use the name L3-FL1-H to represent a
third-level grid used on the first floor and that is horizontally divided.
Incorporating this suggestion makes it easier to ensure that you are using
elements correctly.
■ Use the element definition that is applied most often as the default element
definition. For example, if most cells are stone panels, define the default
infill as the stone panel. This panel is then used in every cell that is not
1690 | Chapter 22 Door and Window Assemblies
Loading ...
Loading ...
Loading ...