Loading ...
Loading ...
Loading ...
Workflow to Create a Door and Window Assembly Style
When you create a door/window assembly style, you assign characteristics to
any or all of the components, and save them as a named style. In this way,
you standardize the appearance of all assemblies with that style. When you
modify a style, all door/window assemblies in your drawing that use the style
are updated to reflect the changes. For more information about working with
styles, see Style Manager Overview on page 856.
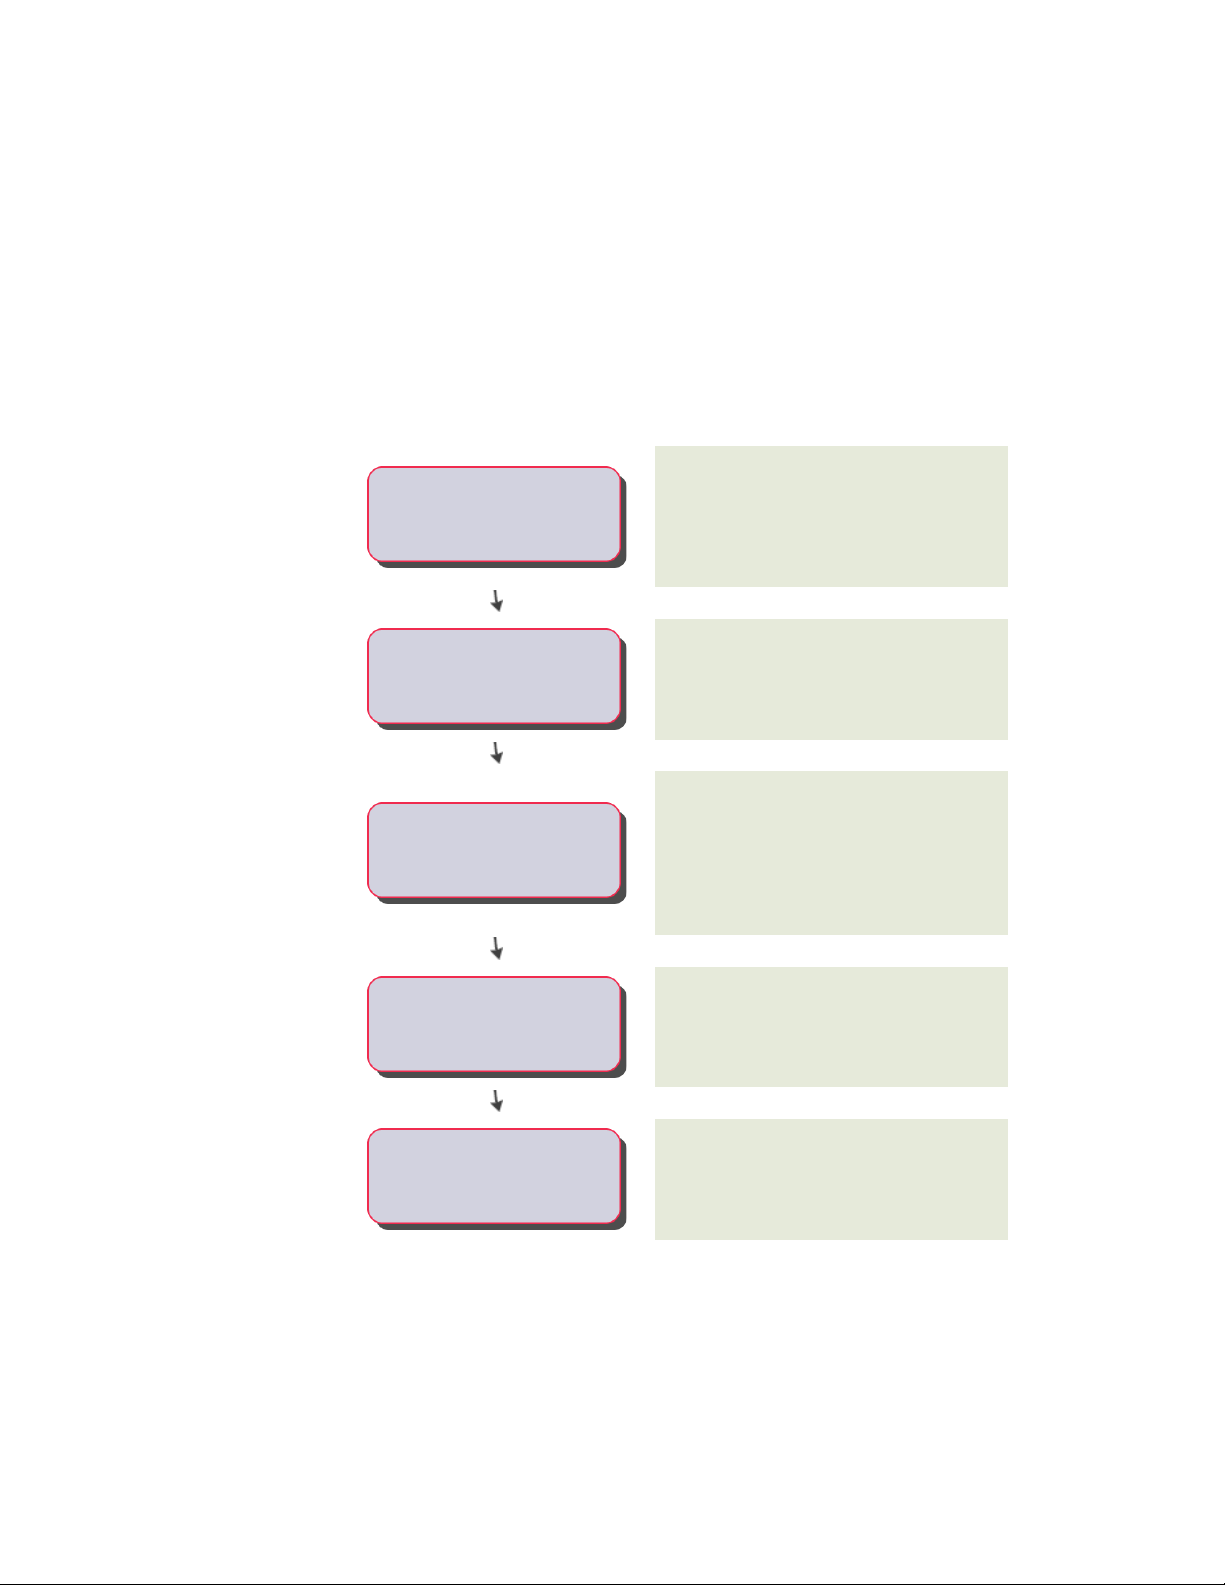
Open the drawing in which you want to add a
door and window assembly.
If you are working in a structured AutoCAD
Architecture project, open a construct on page
396 from the Project Navigator.
-----Open a drawing
Add the door style for the assembly to the
drawing.
-----
Prepare the drawing for the door
and window assembly
Although you can also use a predefined door and
window assembly tool, you can also create a
-----
Create the door and window
assembly style
custom style by modifying an existing style on
page 1678 or by converting a door, window,
opening on page 1682, 2D layout grid on page 1680,
or an elevation sketch on page 1683.
Define the infills on page 1706 for the cells of the
door/window assembly style before assigning
them to the style.
-----Define glazing or panels
Define the door/window assembly frame on page
1714 (using profiles and specifying offsets) and
-----Define the frame and mullions
mullions on page 1721 before assigning them to
the door/window assembly style.
Door and Window Assembly Styles | 1689
Loading ...
Loading ...
Loading ...