Loading ...
Loading ...
Loading ...
5 If necessary, expand Object Display Properties ➤ Advanced.
6 If you want to change the size of the markers used for cells in the
curtain wall grid, click Cell marker size, and enter a new value.
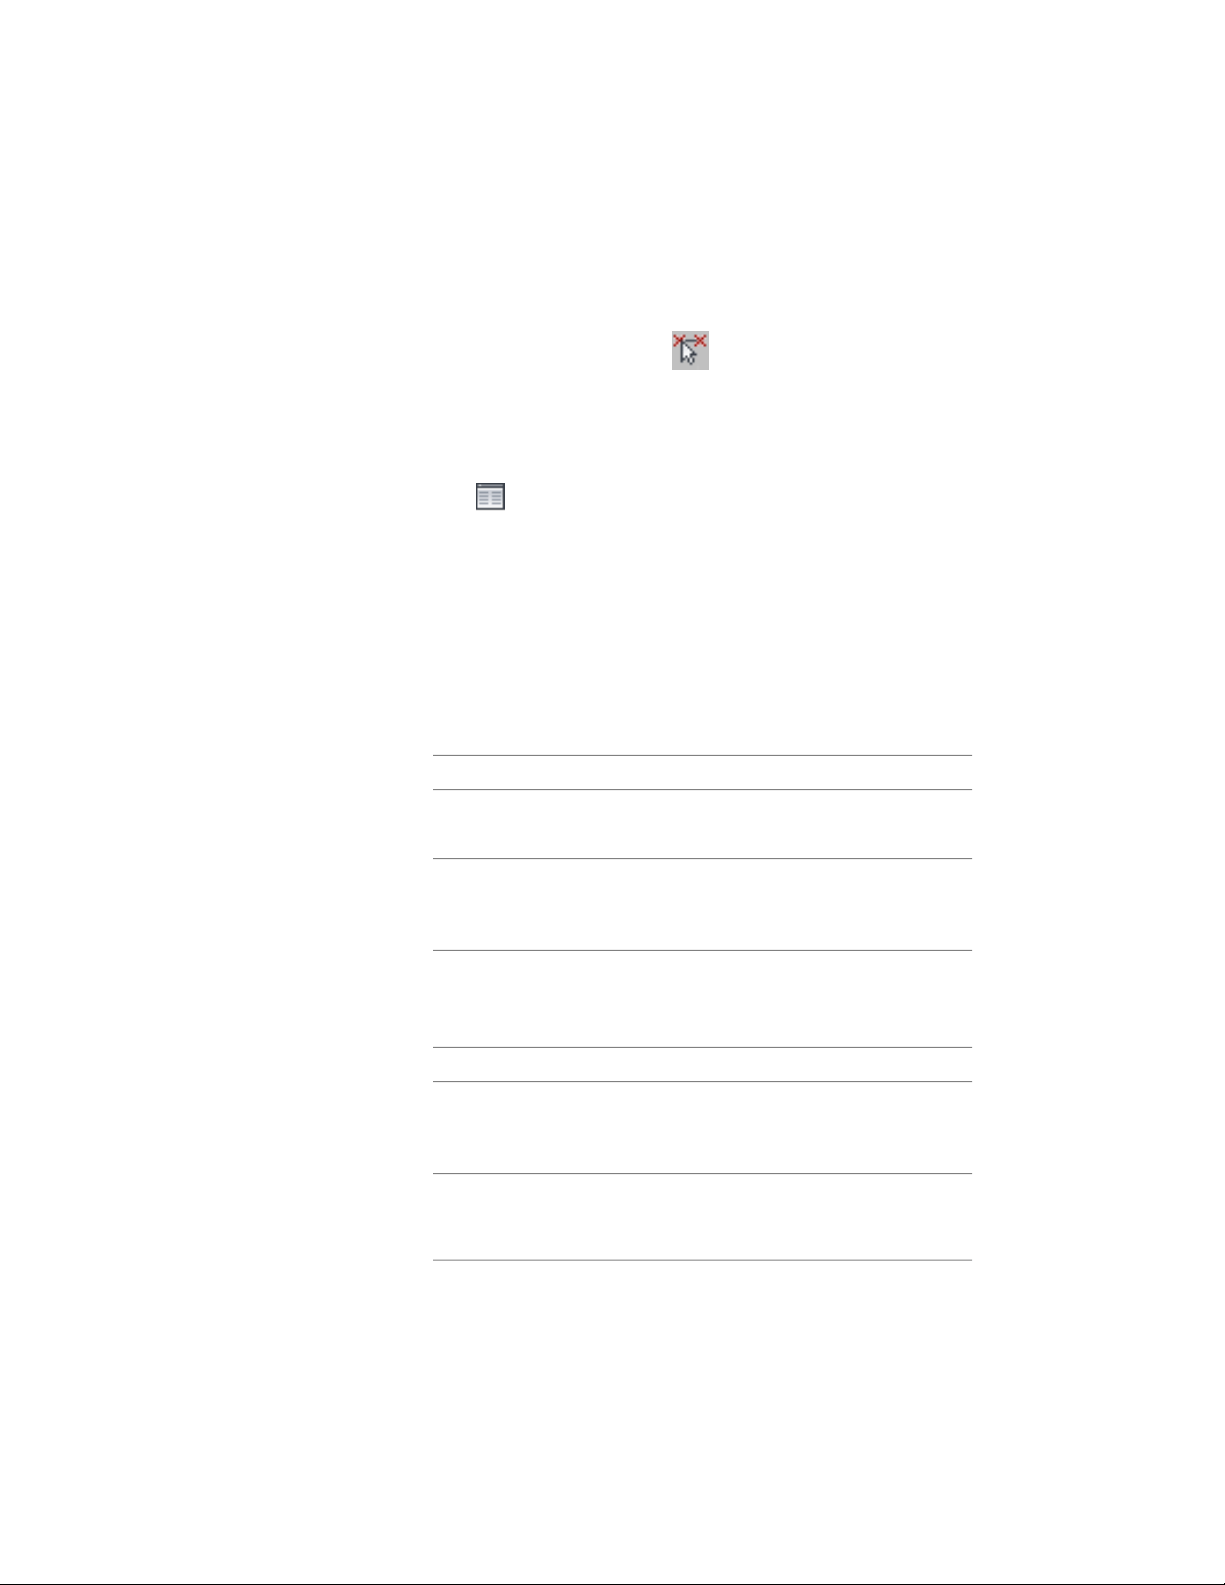
(Alternatively, you can click and specify 2 points in the
drawing area to set the new size.)
7 Optionally, for Show mitres at frame corners, select Yes/No.
8 If you want to add or edit a custom component, for Custom model
components (or for Custom plan components, if in a plan view),
click .
9 On the Custom Model (or Plan) Components worksheet, click
Add, or select one of the components in the list, and click Edit.
10 On the Custom Display Component worksheet, for Component
Type, select Infill, Frame, or Mullion.
11 Enter a name for Component Name, or click Select Component,
and in the Select <component type> Definition dialog, select a
definition and click OK.
12 Select Draw Custom Graphics.
13 Specify the display of the element:
Then …If you want to …
select Replace Graphics.display the block instead of the as-
sociated curtain wall element
clear Replace Graphics.superimpose the block over the
curtain wall element so that both
are displayed
14 Click Select Block, select the custom block that you created, and
click OK.
15 Specify further settings for the custom display block:
Then …If you want to …
select Width, Height, or Depth. To
prevent the block from losing its
proportions, select Lock XY Ratio.
scale the block to fit a particular di-
mension
specify an insertion point on the X,
Y, and Z planes.
specify how the block is inserted
into the grid in the X, Y, and Z dir-
ections
1540 | Chapter 21 Curtain Walls
Loading ...
Loading ...
Loading ...