
Loading ...
Loading ...
Loading ...
52
Lesson 2 Adding effects and publishing in the cut page
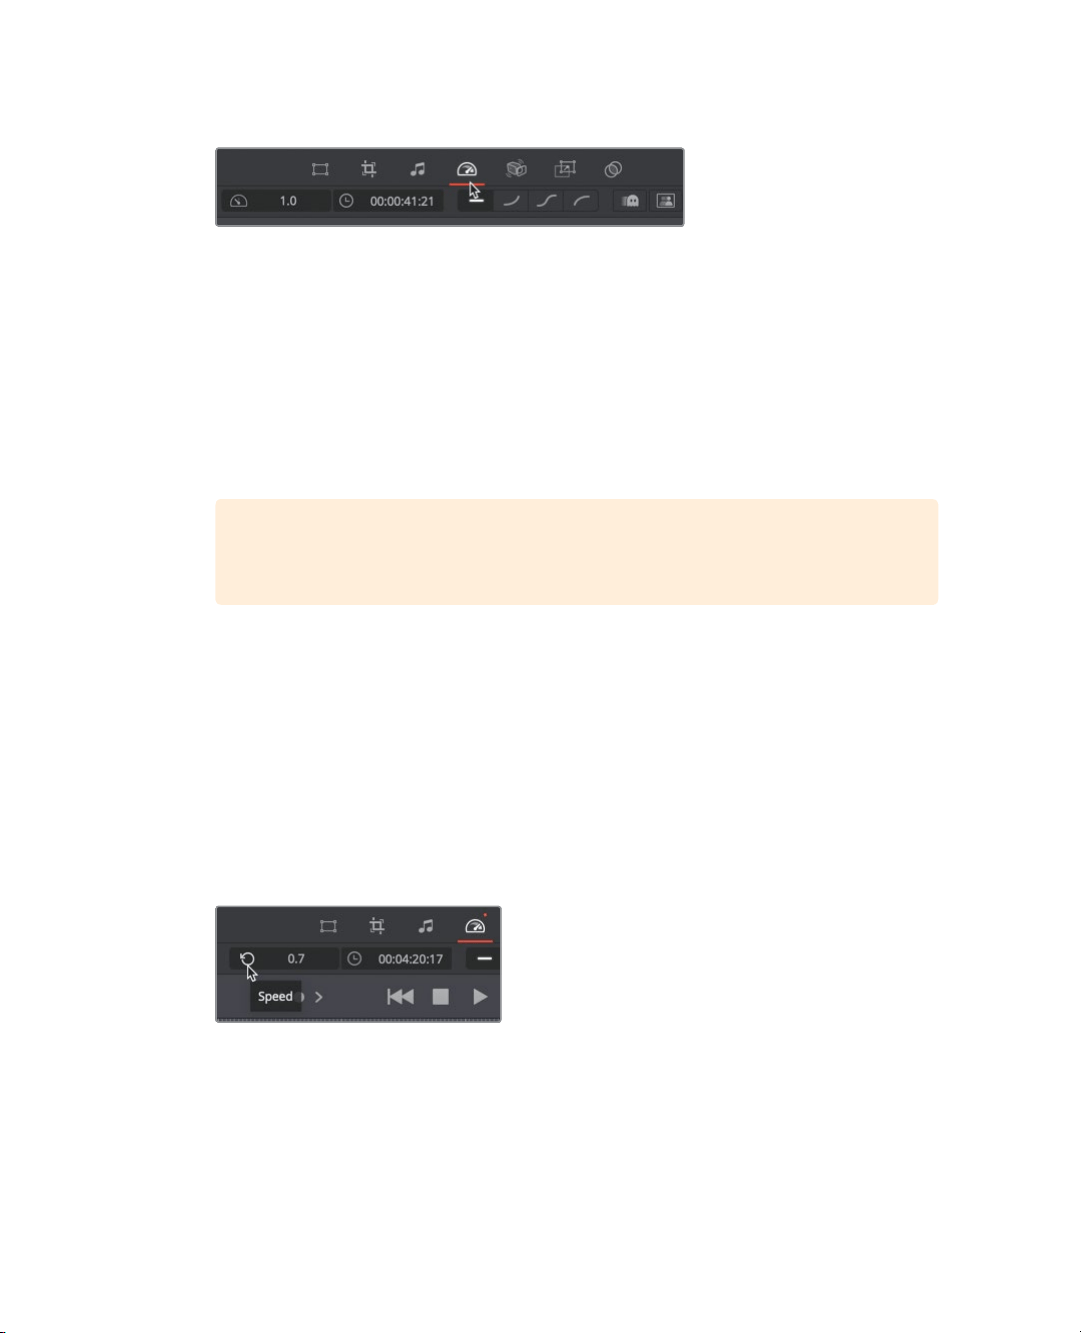
2 Select the clip and in the viewer toolbar click the speed button.
The first number field on the left is the percentage of speed for the currently selected
clip. When set to 1.0 the clips plays back at 100% speed. Setting the value to 0.5 will
cause the clip to play back at 50% speed.
3 Hover the mouse pointer over the speed percentage field.
Using this virtual slider you can drag in the value field to change the number.
4 Drag the mouse to the left over the number until you have decreased the speedo to
around 0.7 (70%).
As you make the speed slower, the clip is extended pushing the rest of the timeline down.
TIP Clips on video track 2 never ripple the timeline, so slowing the speed of a
clip on video track 2 will not extend a clip’s duration.
5 Back up the play head to the start of the clip and then play the timeline to view the
speed change.
The speed change is good but it doesn’t have to last the entire length of the clip.
6 Move the play head just before the host says “wow”
7 Click the split button in the toolbar to add an edit.
The first half is perfect for the slow motion but when they start to speak and laugh,
itwould be better if we return to the actual speed.
8 Select the right side of the split clip you just created.
9 In the viewer toolbar, click the reset button to the left of the speed number field.
10 Back up the play head to the start of the clip and then play the timeline to view the
speed change.
That makes for a much more exciting clip for our promo.
Loading ...
Loading ...
Loading ...