
Loading ...
Loading ...
Loading ...
275
Masking effects
Masking effects
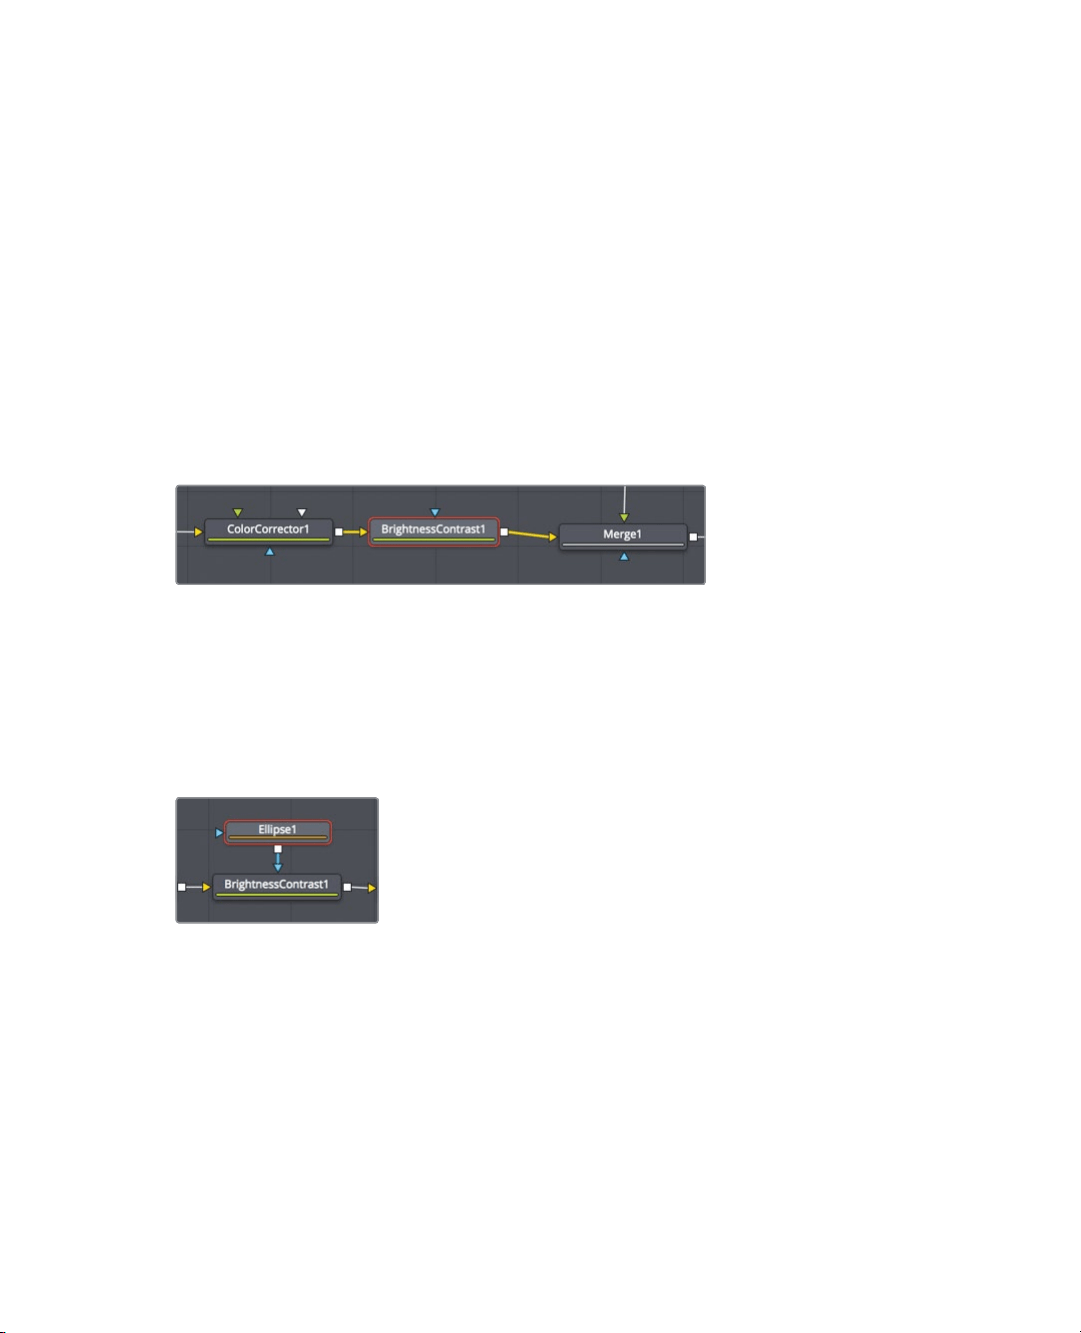
Effects have an input and an output for connecting other nodes. These connections are
color coded with a yellow triangle to represent the primary input and a white square to
represent an output. Nodes also have an effect mask input for masking use, as
represented by a blue triangle. You can use the mask input to limit the area of the image
that is affected by an effect. Let’s create a subtle vignette that will darken the area around
the actress’ face.
1 In the node editor, select the Color corrector node.
With the selected node being the one directly before the first merge node, any effect
we add will only affect the actress.
2 In the toolbar before the second divider, click the brightness contrast tool to insert it
into the node tree directly after the actress node.
Let’s change the gamma in this node to darken the actress.
3 With the brightness contrast node selected, drag the gamma down to around 0.75.
You’ve darkened the entire image considerably. By adding a matte tool, you can limit
where that darkness is applied.
4 With the brightness contrast node selected, in the mask category of the toolbar
(located after the third divider), click the ellipse mask tool.
Because the brightness contrast node was selected, the ellipse tool automatically
connects to it. The ellipse is a mask tool, so it automatically connects to the blue
effectmask input.
In viewer 2, the gamma adjustment is now masked inside the ellipse shape. You’ll have
to invert the ellipse matte so the darkness falls outside the shape.
Loading ...
Loading ...
Loading ...