
Loading ...
Loading ...
Loading ...
25
Editing multiple camera angles
Syncing clips
You are not always going to have clips with matching timecode. So, built into the cut page
is a sync window where you can align clips in a variety of ways other than timecode.
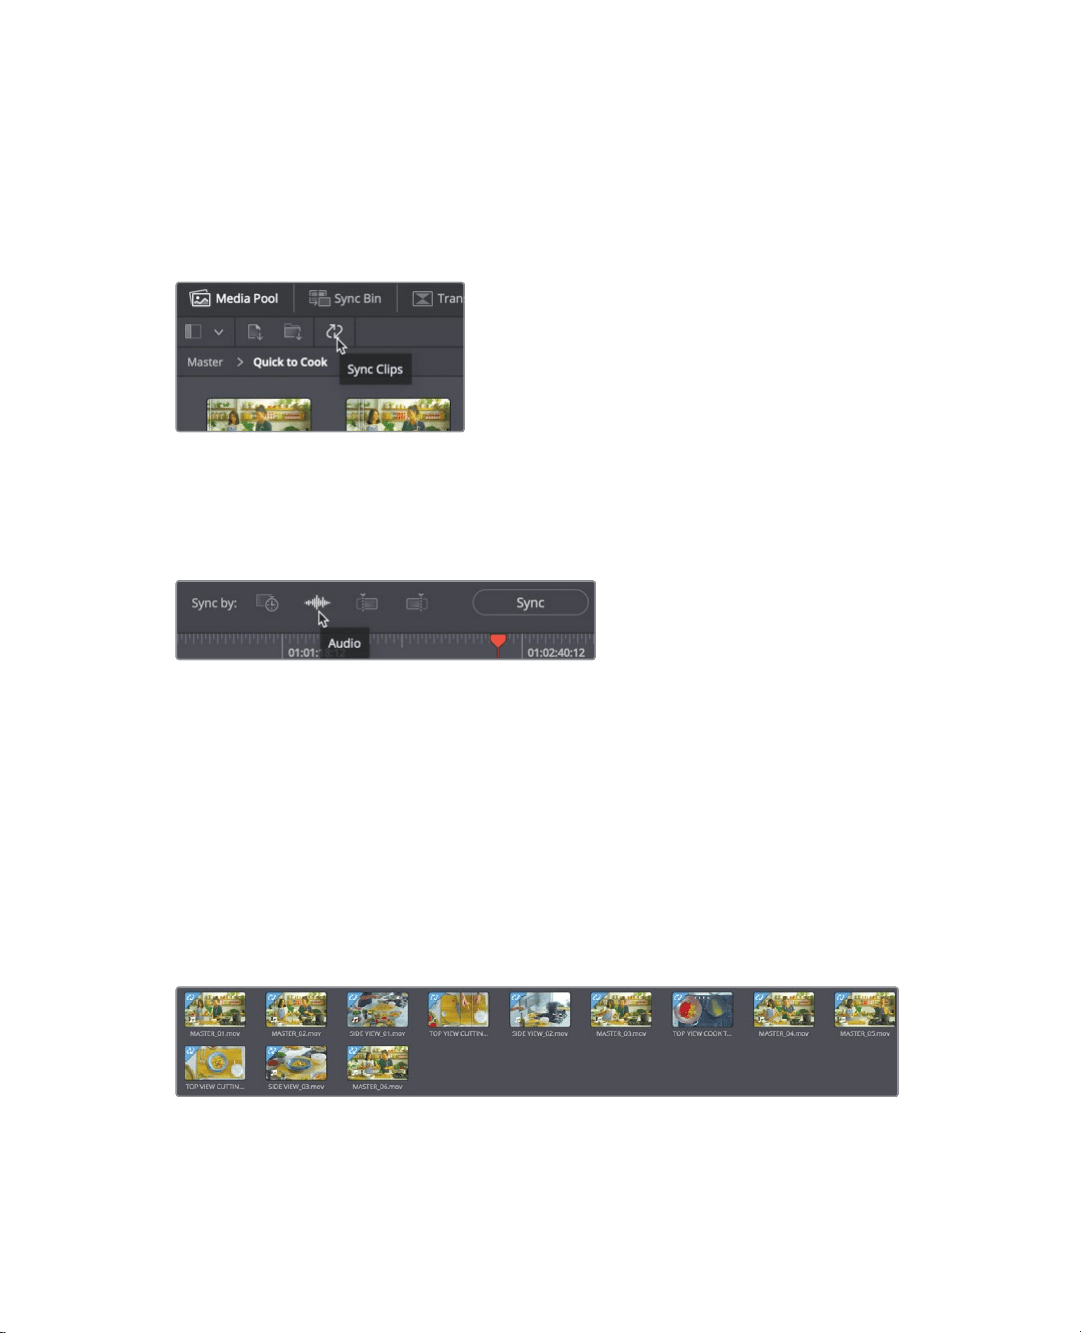
1 Click on the media pool button to hide the sync bin.
2 To the right of the import folder button, click the sync window button.
The sync window opens to show all the clips in the current bin and their sync
relationships. The sync window defaults to sync by timecode but you can also use
ittosync by audio, In point or out point as well.
3 Click the audio button.
If all the camera angles have audio recorded, you can sync based on the matching
audio waveforms.
4 Click the in point button.
When the in or out point button is selected, clips will sync based on the in or out points
you have set. However, at anytime you can drag clips in the sync window to align them
manually. Since we have timecode, we’ll return to the timecode settings.
5 Click the timecode button.
With your choice made for how to sync the clips, clicking the sync button will perform
the alignment.
6 Click the sync button, then in the lower right corner of the window, click save sync.
Saving the sync window applies a sync label in the upper left corner of all the clips that
you have synced. This helps to identify clips that are not yet aligned with other clips.
The sync window lets you sync non-timecode sources like action cams and mobile
phone clips with your professionally recorded content.
Loading ...
Loading ...
Loading ...