
Loading ...
Loading ...
Loading ...
267
Adding clips from the media pool
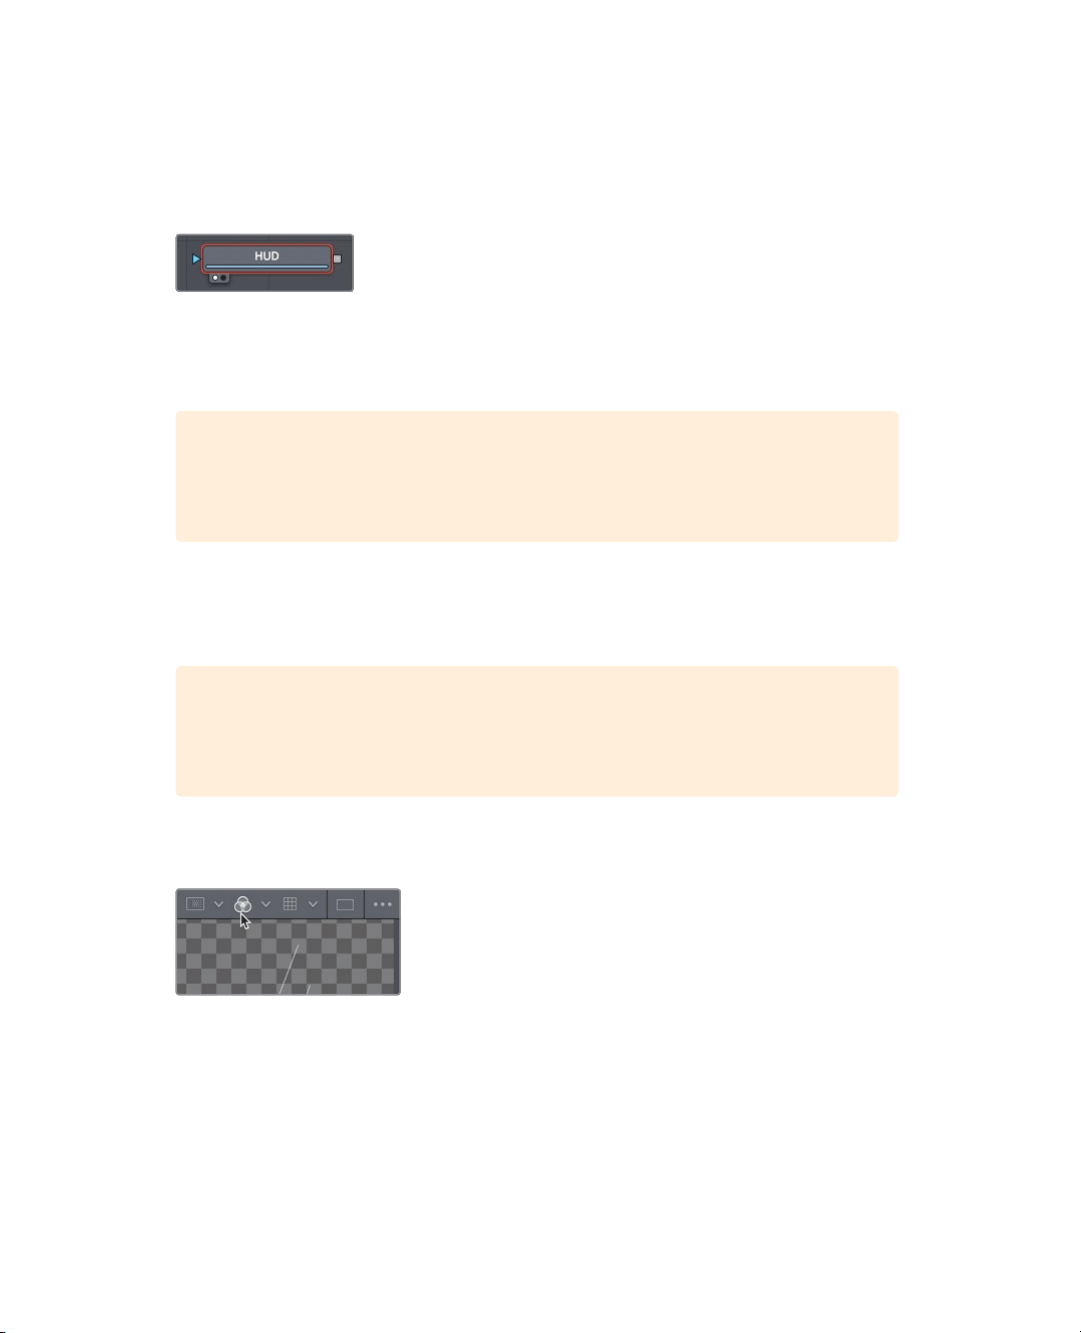
3 Select the media in 1 node, and press F2 to rename the node to HUD; then, press 1 to
display it in viewer 1.
In the lower-left of the HUD node, a small white dot, called the view indicator button, is
highlighted to indicate that the node is displayed on viewer 1.
On the OUTPUT node, a second view indicator button is highlighted to the right of the
first to indicate that this node is displayed on viewer 2. By displaying the OUTPUT node,
viewer 2 will show you the final composite output destined for the edit page timeline.
TIP Switching from the Fusion page to the edit page and back to the Fusion
page will switch viewer 2 to display the media out node, regardless of what is
selected before you leave the Fusion page.
Viewer 1 displays the HUD graphic with a checkerboard background to indicate that
this computer-generated graphic has a transparent area created by the inclusion of
analpha channel.
TIP An alpha channel is a fourth channel that accompanies the red, green, and
blue channels of an image. Alpha channels determine which parts of an image
are opaque and which parts are transparent.
4 Above viewer 1, click the color controls button; or click in the viewer and press the
Akey to view the alpha channel in the viewer.
The color controls button now shows the alpha channel of the currently viewed clip.
5 Click the color controls button, or press the A key again, to once again display the full
color image.
6 Click the media pool button to close the media pool and provide more room for the
node editor and viewers.
With an additional image element added to the node editor, you are ready to begin
blending two images together.
Loading ...
Loading ...
Loading ...