
Loading ...
Loading ...
Loading ...
172
Lesson 7 Applying Transitions andEffects
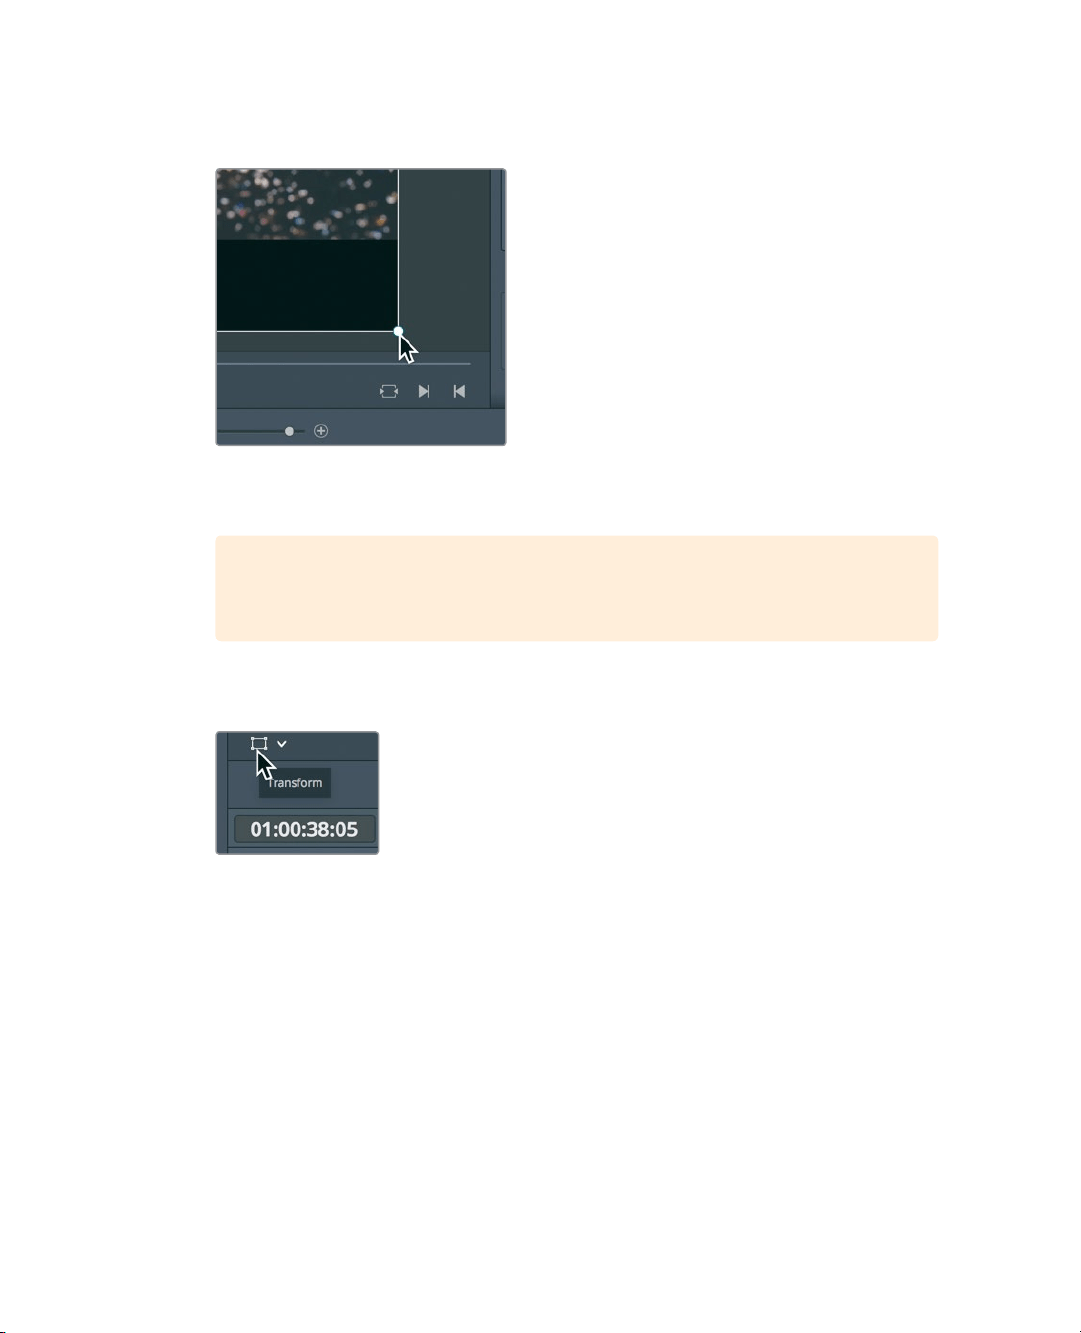
4 To scale the clip, drag a handle in any corner of the bounding box away from the center
until the zoom value shows 1.200.
By default, the zoom X and Y values are linked together so the clip is resized equally
inX and Y, thereby keeping its normal aspect ratio.
TIP In the magnification menu (in the upper-left of the viewer) you can change
how the frame is sized in the viewer.
5 In the lower-left corner of the viewer, click the transform rectangle to hide the
onscreencontrols.
Animating a Resize
Almost every parameter displayed in the Inspector can be animated over time by setting
two keyframes. You’ll use the current resized frame as the starting keyframe, and then set
anew keyframe at the end of the clip.
1 Move the playhead to the start of the 05 BAY AREA LIGHTS clip.
2 Select the clip to display the controls in the Inspector.
Animating the parameters of an image over time requires that you set keyframes.
Keyframes allow you to assign different parameter values to specific frames. DaVinci
Resolve then interpolates between the two values to create a smooth animation.
You have already scaled the clip up so now you must position the playhead where
youwant to scale down the clip.
Loading ...
Loading ...
Loading ...