
Loading ...
Loading ...
Loading ...
140
Lesson 6 Refining a Timeline
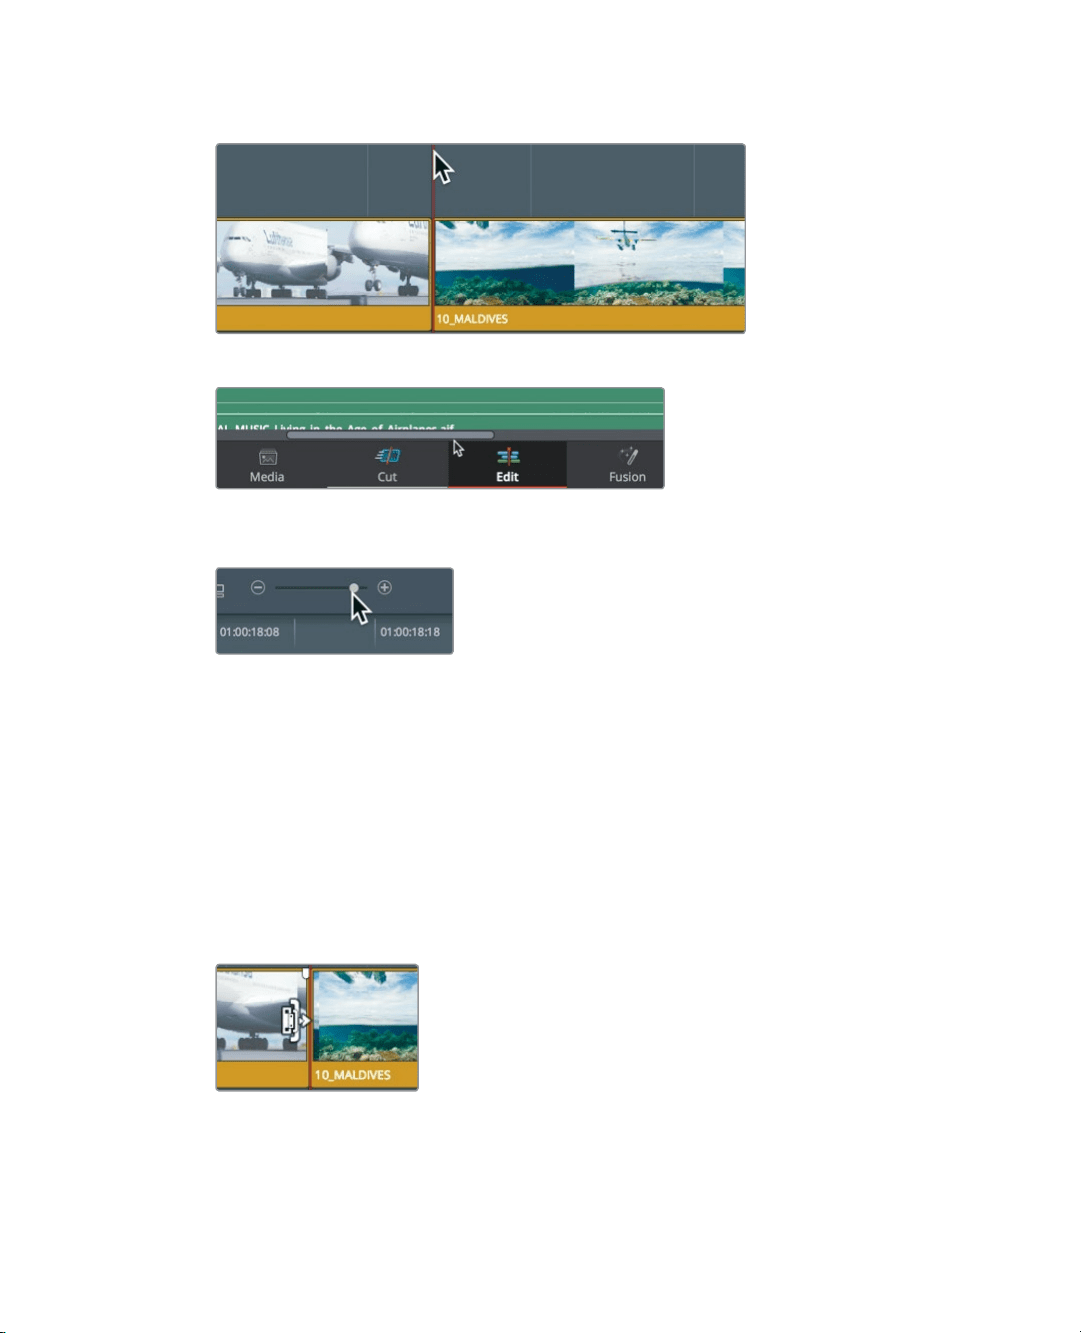
3 Position the playhead at the start of the 10_MALDIVES clip.
4 Below the timeline, drag the scroll bar to the right to center the playhead.
5 In the toolbar, drag the zoom slider to the right to increase the size of the 10 MALDIVES
clipin the timeline.
You now have two choices. You can use the Selection mode tool to add frames to the
beginning of the Maldives, and thereby overwrite some of the end frames on the A380
clips that comes before it. Or, you can use the trim edit mode tool and ripple
thetimeline, thereby leaving the A380 clip unchanged.
Because the A380 clip is fine as it is, let’s choose to ripple trim.
6 In the toolbar, click the trim edit mode button, or press T.
With the trim edit mode selected, you can no longer use the cursor to select clips and
move them in the timeline. Now, the primary purpose of the cursor is to select acut
point and the side of that cut point you want to trim.
7 Position the trim edit mode cursor at the end of the 02_A380_TAKEOFF clip.
The cursor changes to the ripple trim cursor that you use to lengthen or shorten a clip’s
duration. When the cursor is to the left of the cut, it will trim the end, or tail, of the cut.
Loading ...
Loading ...
Loading ...