Loading ...
Loading ...
Loading ...

319
Making Secondary Color Corrections
Making Secondary Color Corrections
So far, you’ve made adjustments to an entire image, so-called primary color corrections.
Secondary color corrections isolate only parts of an image to make very specific changes
to a particular image area. A classic but extreme example is turning an entire image to
black and white except for one object. Let’s apply secondary color correction to a much
more common task that you’ll be able to use on many of your productions.
1 Click thumbnail 09.
2 Press the spacebar to play the clip.
3 After you have viewed the clip a couple times, press the spacebar to stop playback.
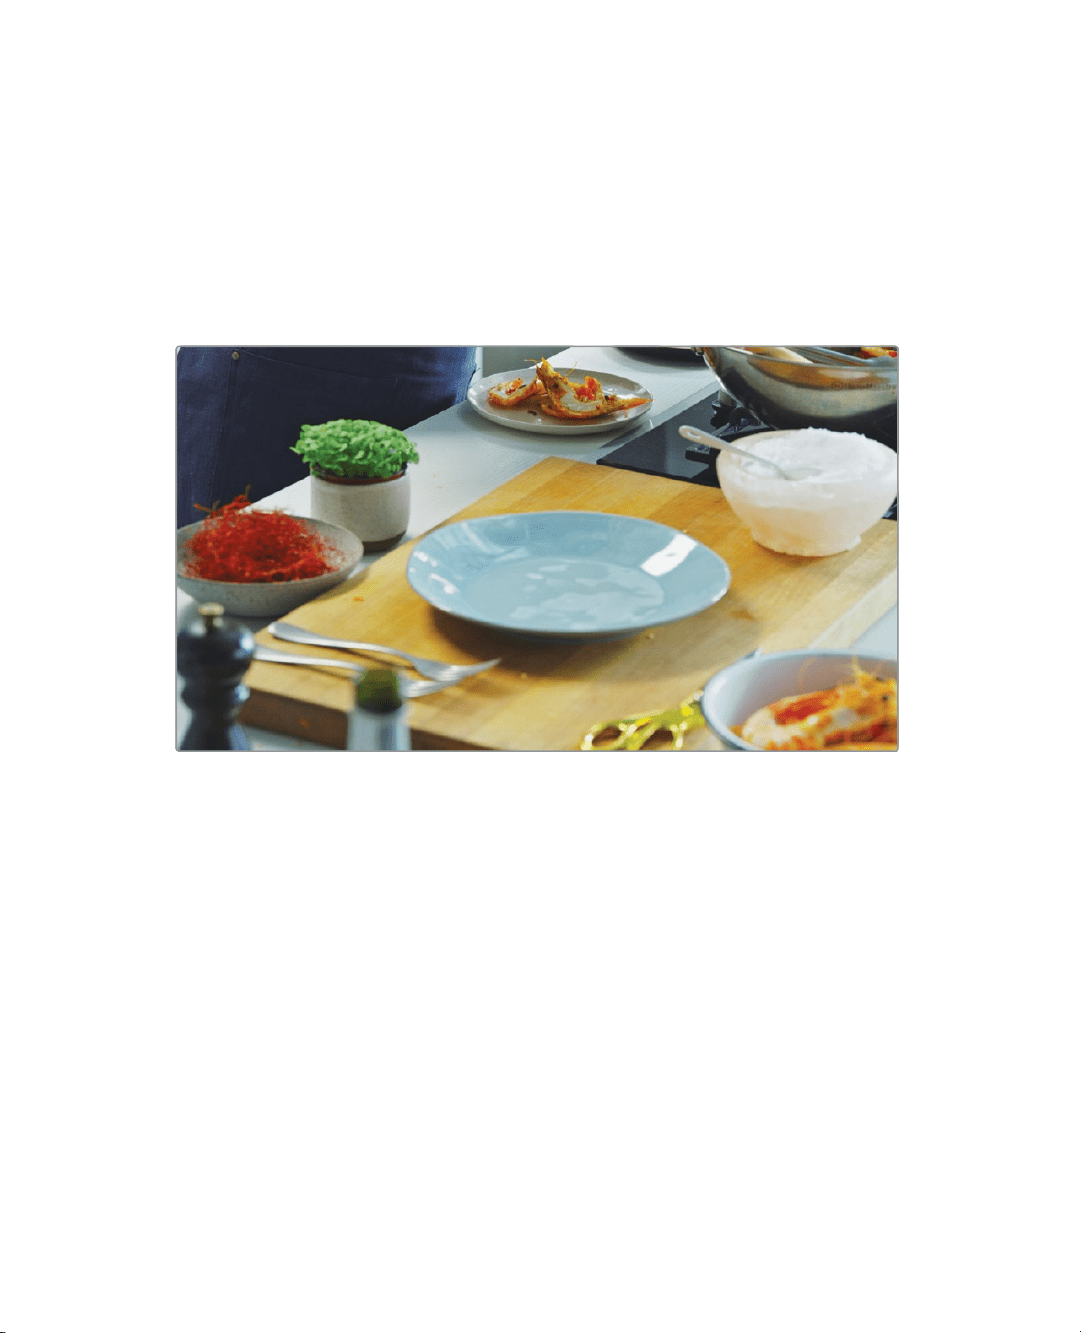
This clip looks perfectly fine and it already as a node with some corrections on it. But
let’s say the color scheme is wrong and we want to introduce some magenta into the
scene. Using DaVinci Resolve’s color page controls, you can isolate colors very easily
and shift them to other hues. Working on a specific area of an image or on a specific
color is called secondary color correction.
Using Nodes and Curves
The first part of making a secondary color correction on one object is to isolate the
adjustment to its own node.
Using the node editor (located in the upper-right quadrant of the DaVinci Resolve window),
you can combine one or more individual nodes to create more intricate corrections.
By default, every clip has one node in the node editor that contains the initial adjustments
you made. The node shown in the current project contains all the adjustments you
previously applied to create the neutral correction.
Loading ...
Loading ...
Loading ...
