
Loading ...
Loading ...
Loading ...
39
Mixing audio
8 Press the spacebar to play a few seconds of the music clip, and press spacebar again
to stop playback.
You will add the entire music track because it is exactly one minute long, which is the
target length of your short project. Currently, you have only one audio track that goes
along with the video. However, DaVinci Resolve automatically adds an audio track
when you drag an audio clip below the main track in the timeline.
9 From the center of the media pool, drag the One Min Sound Track clip below the
tracks in the upper timeline. Make sure to position it all the way to the left edge ofthe
uppertimeline so that the music begins at the start of the story you have created.
Let’s hear how it sounds with the video.
10 Drag the timeline play head to the start of the timeline, and then press spacebar to
watch the entire timeline.
Adding the sound track is fine but to get it to sound correct you need to set the level so
it the music plays quietly under the women talking.
Adjusting audio levels
When you played the timeline, the women could not clearly be heard over the music. You
need to lower the volume of the music so that it enhances the story without overpowering
the talking.
1 In the upper timeline, click the One Min Sound Track clip to select it.
With the music track selected, you can use the viewer toolbar to make volume adjustments.
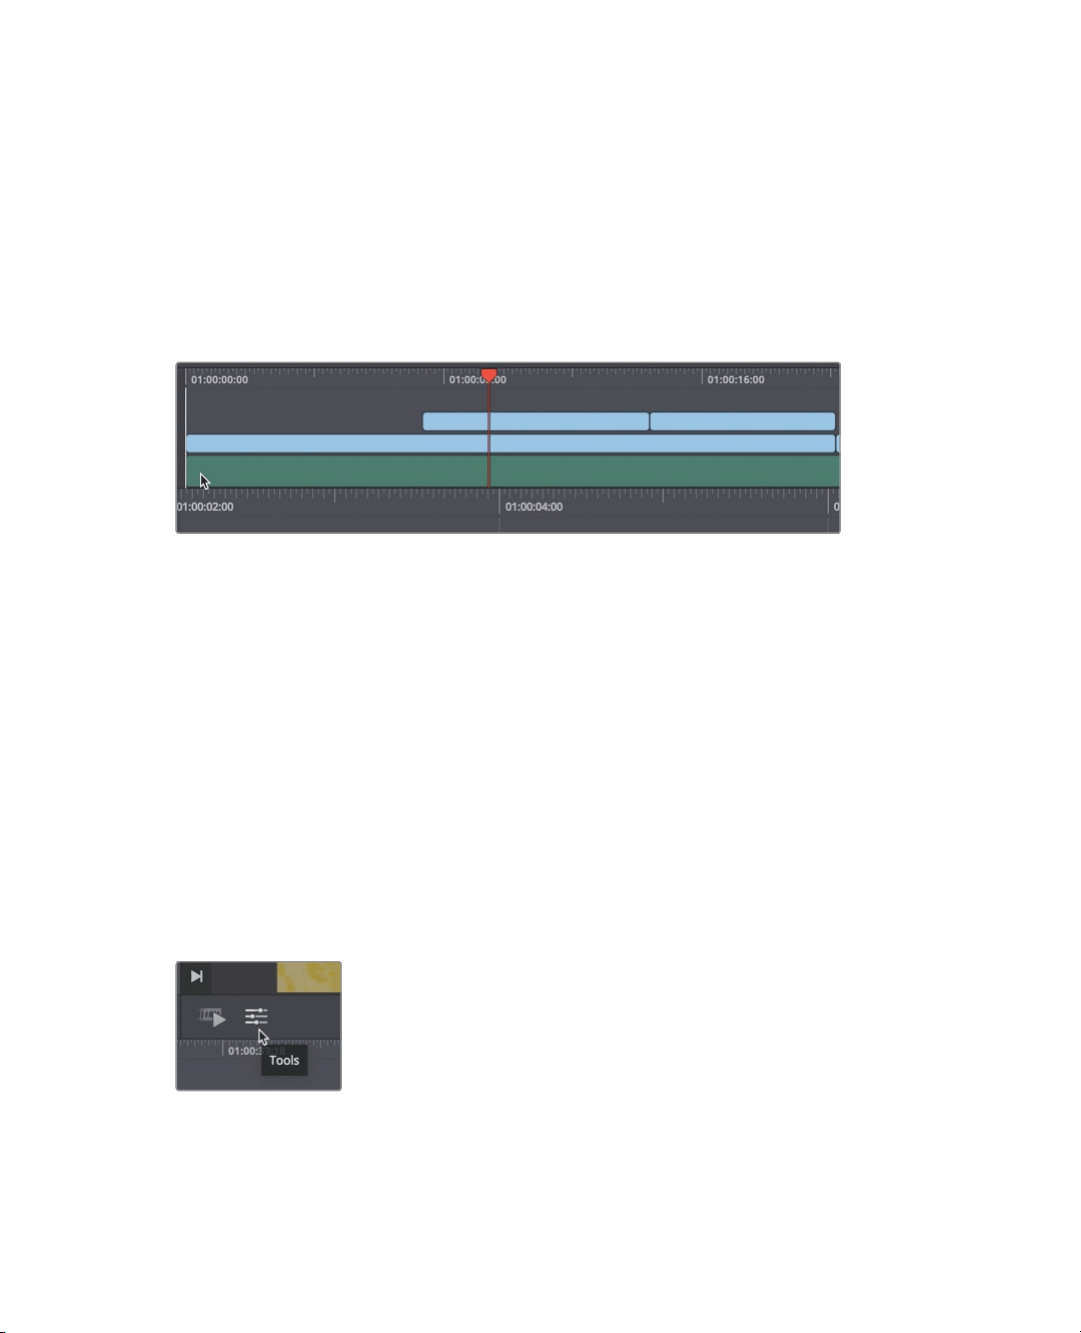
2 In the lower left corner of the viewer, click the tools button to open the viewer toolbar.
The viewer toolbar contains various audio and video controls depending on what is
selected in the timeline. Because you selected an audio clip, a volume slider is
displayed so you can play the timeline and adjust the music’s volume simultaneously.
Loading ...
Loading ...
Loading ...