
Loading ...
Loading ...
Loading ...
124
Lesson 5 Moving Clips intheTimeline
With the range identified, you can delete it, or more precisely, ripple delete it so you
don’t leave a gap in the timeline. However, if you deleted the range right now, you’d run
into a problem. To see the problem, let’s delete the range, observe the problem, and
then figure out how to solve it.
8 Press Shift-Delete/Backspace to remove the range.
The range between the in and out points is deleted on the interview, but is also deleted
on the music track. You need to not only identify the range, but also identify the individual
tracks in which you want the deletion to occur. DaVinci Resolve includes auto select
buttons on each track to help with this situation.
9 Choose Edit > Undo, or press Cmd-Z (macOS) or Ctrl-Z (Windows), to undo the previous
operation.
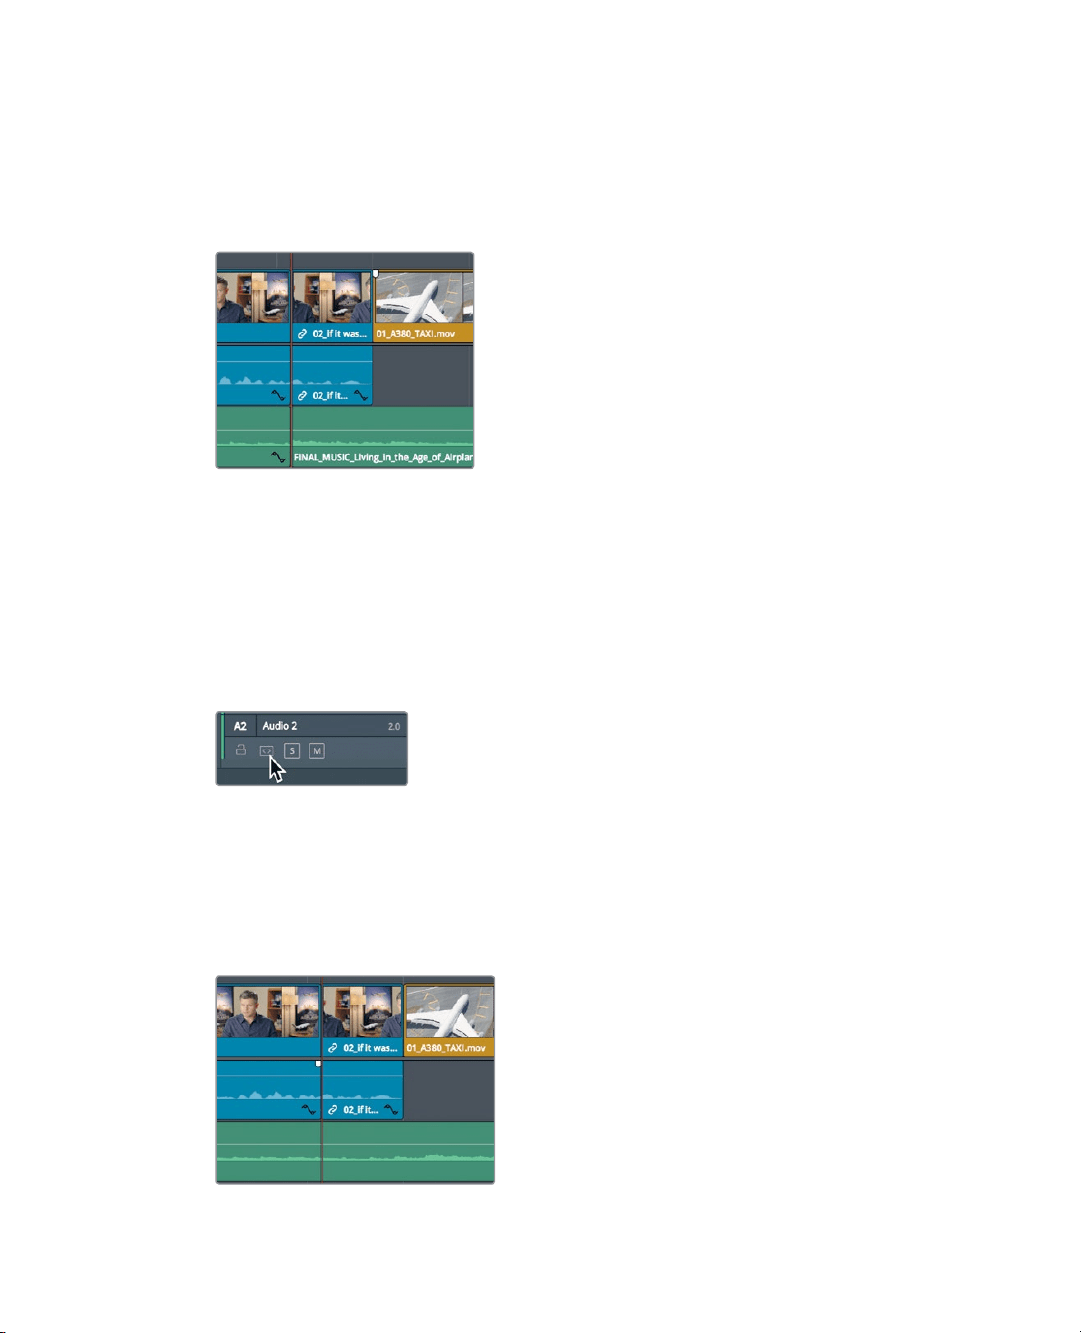
10 In the timeline track header, on the Audio 2 track, click the auto select button
todisablethat track.
The auto select buttons are incredibly important buttons to be aware of because
theyperform so many different functions when editing in the timeline. For your
currentpurposes, you only need to be aware that these buttons will identify the
tracksto operate on when they are enabled and will exclude the tracks on which
they’re disabled.
11 Press Shift-Delete/Backspace to remove the range on tracks V1 and A1.
Let’s review the deletion.
Loading ...
Loading ...
Loading ...