
Loading ...
Loading ...
Loading ...
240
Lesson 9 Mixing Sound in Fairlight: Exploring theInterface
NOTE Before recording, it’s a good idea to know your lines. Here is the
endingtag line for the trailer: “In the age of airplanes, we’ve become explorers
once again.”
2 Practice your line once or twice prior to recording.
When recording, you do not want any of the other tracks to be audible, or they also
willbe recorded.
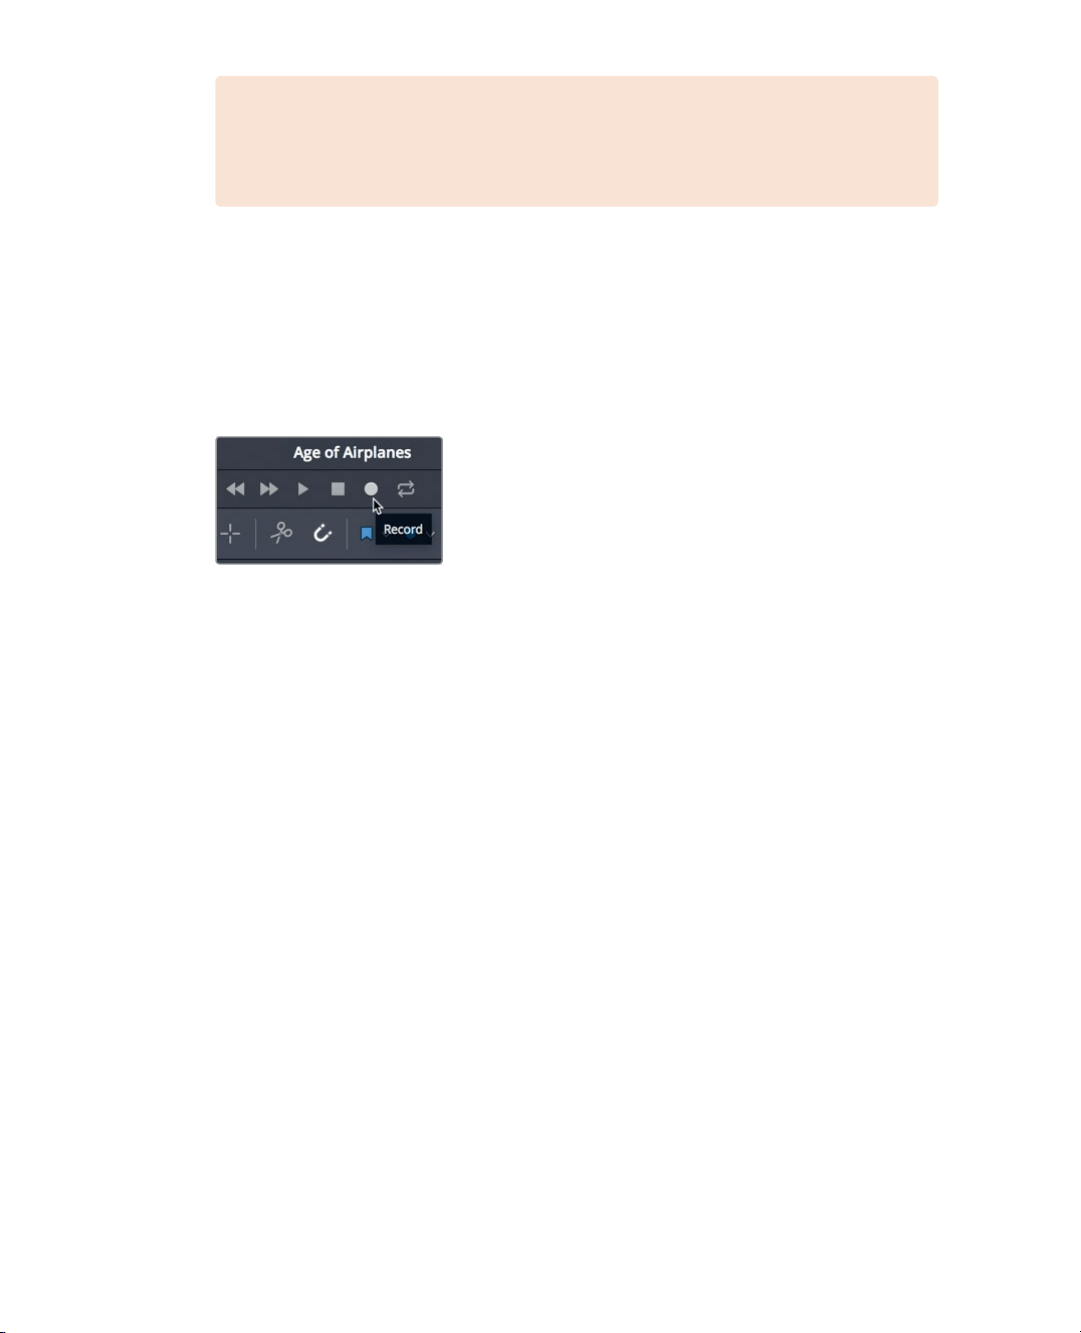
3 Solo track A2 VO.
4 In the transport controls. click the record button. When the playhead starts moving and
drawing a red region within the timeline, you are recording. Read the line with your
best movie trailer voice. When you are finished, press the spacebar to stop recording.
5 Un-solo track A2 VO so you can review the voiceover with the music and sound effects.
6 Play your recording.
7 When you are finished, in the track header, click the arm button to disarm the track.
Even though this temp VO is all you need for this project, DaVinci Resolve’s Fairlight audio
includes more advanced recording tools for automatic dialogue replacement (ADR),
multitrack music recording, and foley sound effects. If you weren’t able to record the
voiceover, the next exercise will bring you up to date as you work with a professionally
pre-recorded voiceover clip.
Modifying Clip Attributes
Although you recorded a fine temporary VO, when the real VO is recorded with professional
talent, you’ll need to preview it and add it to the timeline. You can access and preview any
audio clip in your Media pool within the Fairlight page.
1 In the upper-left corner of the DaVinci Resolve window, click the Index button to close
the Index, and click the Media pool to show the bins and clips in this project.
2 In the bin list, select the Audio bin.
Loading ...
Loading ...
Loading ...