
Loading ...
Loading ...
Loading ...
291
Animating with Keyframes
Animating with Keyframes
The ability to change elements over time is a crucial feature of any visual effects and
motion graphics application. The Fusion page handles basic keyframe animation in the
same manner that you already know from the Edit page, but goes much deeper with full
keyframes and spline editors. Let’s start by animating the Rays node.
1 Press Cmd-left arrow (macOS) or Ctrl-left arrow (Windows) to move the playhead
tothestart of the render range.
As you did on the Edit page in Lesson 7, you’ll add a keyframe using the Inspector. In
this case, you’ll use the Rays Y parameter to have the lights rays pan up over the text.
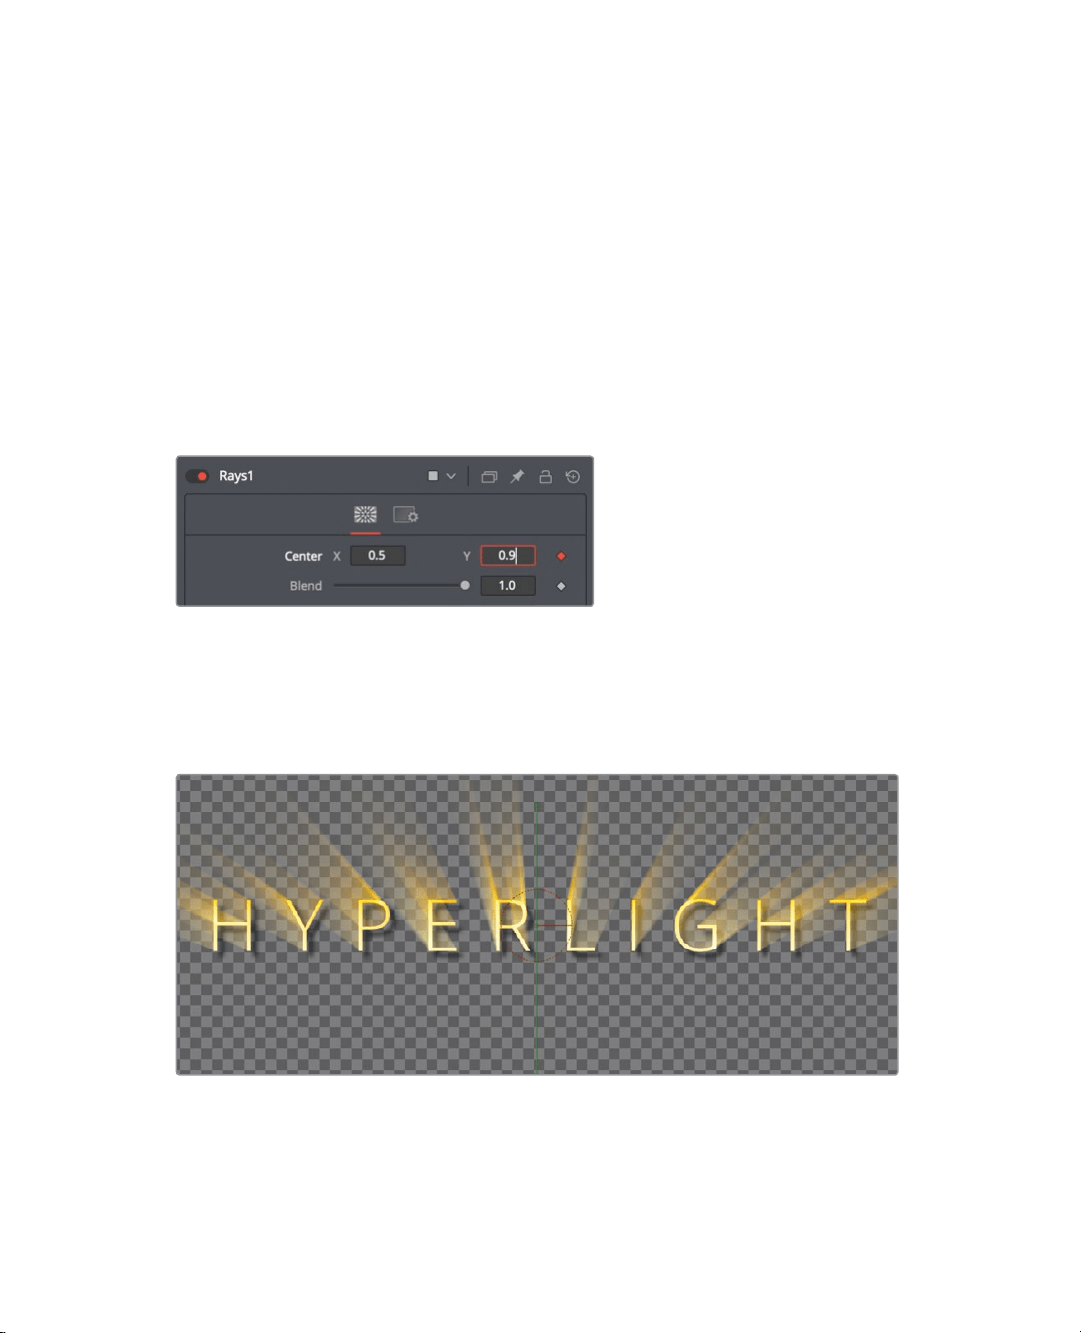
2 With the Rays tool selected, click the keyframe icon to the right of the Center Y control
toadd a keyframe, and drag the Y parameter to about 0.9.
Enabling the keyframe button of any parameter adds a keyframe at the current
playhead location, and sets up auto keyframing: any time you adjust that parameter,
akeyframe is added. Let’s make the rays move up at the end of the render range.
3 Click in the render range to move to the end of the composite.
4 In the Inspector, drag the Center Y parameter to the left until it reaches around 0.0
Now, you’ll set a few more keyframes so the rays are not visible at the start or end of
the animation.
5 In the time ruler, drag the playhead to the start of the render range.
6 In the inspector, click the keyframe button to the right of the weight parameter, then
drag the parameter to 0.
Loading ...
Loading ...
Loading ...