
Loading ...
Loading ...
Loading ...
135
Trimming to the Playhead
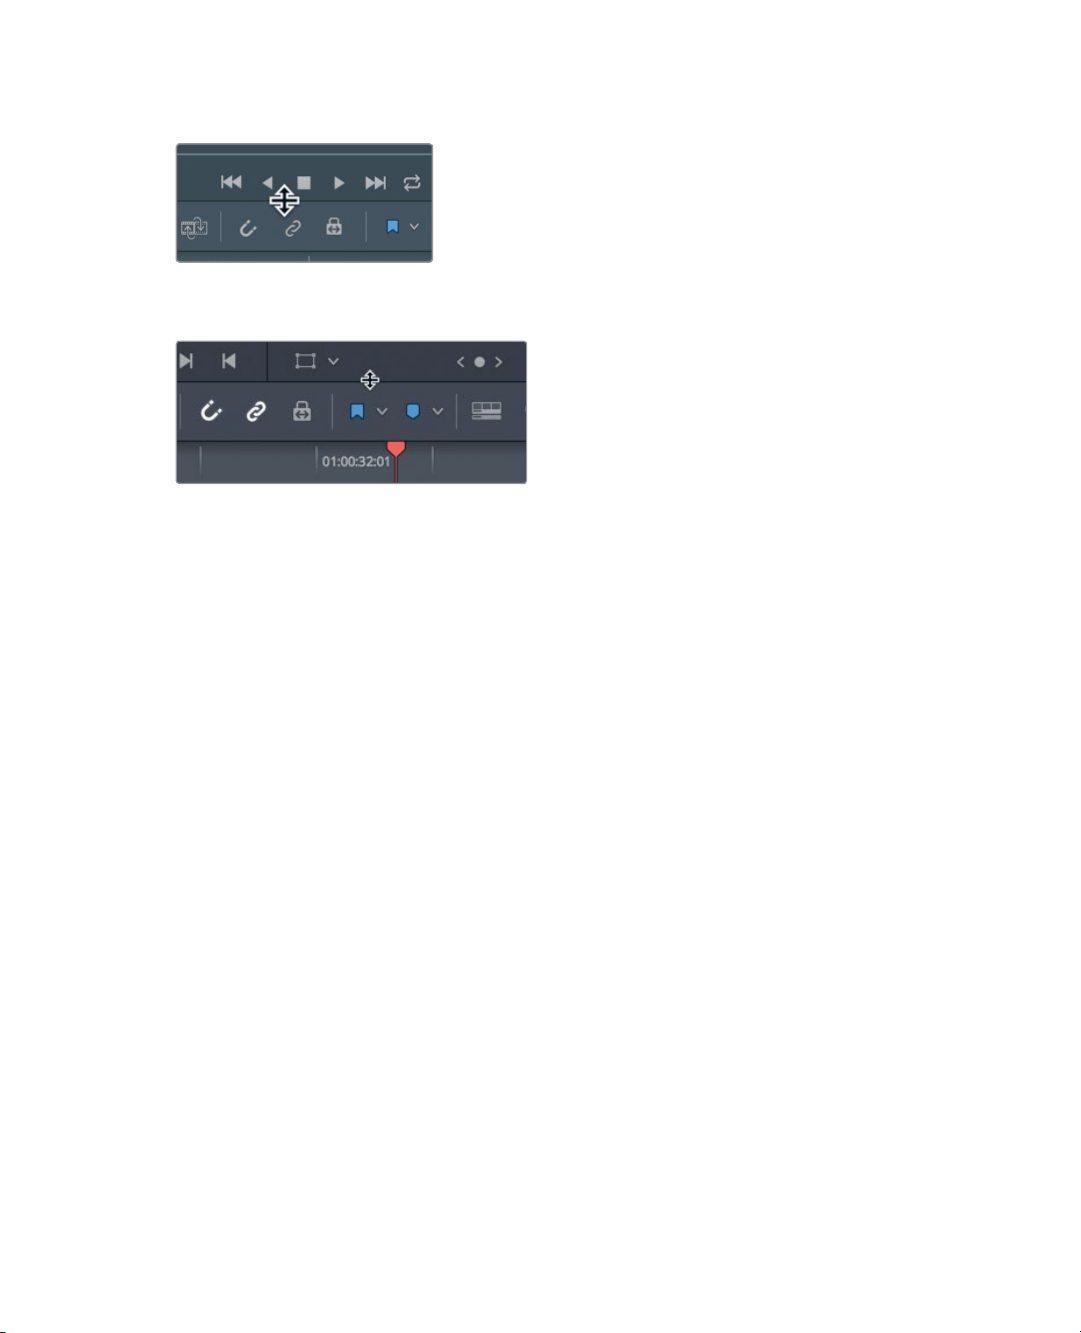
5 Position the mouse pointer between the toolbar and the transport controls.
6 When the pointer changes to a resize cursor, drag down the horizontal divider while
leaving a little bit of room above the video track in the timeline.
You can save this layout as your Big Trim layout and use it in all of your projects.
7 Choose Workspace > Layout Presets > Save Layout as Preset.
8 In the dialog, enter Big Trim as the layout name, and click OK.
Now that you have an optimized big trim layout, you can get to work trimming and refining
your program.
Trimming to the Playhead
One of the fastest ways to remove frames from the start or end of a clip is sometimes
calledtops and tails trimming. This trimming style is used heavily in broadcast news-type
programs, but it is useful for all types of programs. The concept is to loosely edit-in clips by
adding more of the clip than you really want. Then, you’ll remove frames from the start (top)
of the clip or the end (tail) of the clip by positioning the playhead where you would like to
locate the new start or end. Let’s begin this trimming lesson at the start of the timeline.
Youdon’t have to play the entire timeline, but it is worth looking at the first clip to see how
it can beimproved.
1 Choose View > Zoom > Zoom to Fit, or press Shift-Z, to see the entire timeline
inthewindow.
2 Position the playhead at the start of the timeline, and play it to review the first twoclips.
The first clip isn’t wrong, but it could be improved by shortening both its start and end.
Let’s start by trimming some of the silence from the start of the clip.
3 Position the playhead at the start of the timeline.
Loading ...
Loading ...
Loading ...