
Loading ...
Loading ...
Loading ...
214
Lesson 8 Working with Audio on the Edit Page
Normalizing Audio
With all video and audio edited into your timeline, you’re ready to set the relative audio
levels for your project. You’ll start by examining the tracks that contain the primary audio–
in this case, the interview clips on Audio 1 – and setting those clips to their maximum
volume levels.
1 Position the playhead at the start of the timeline.
2 Ensure that only the audio 1 track is solo enabled.
3 Press Shift-Z to see all of the clips on audio 1.
4 Drag a selection around the audio clips on audio 1, or Cmd-click (macOS) or Ctrl-click,
(Windows) to select them.
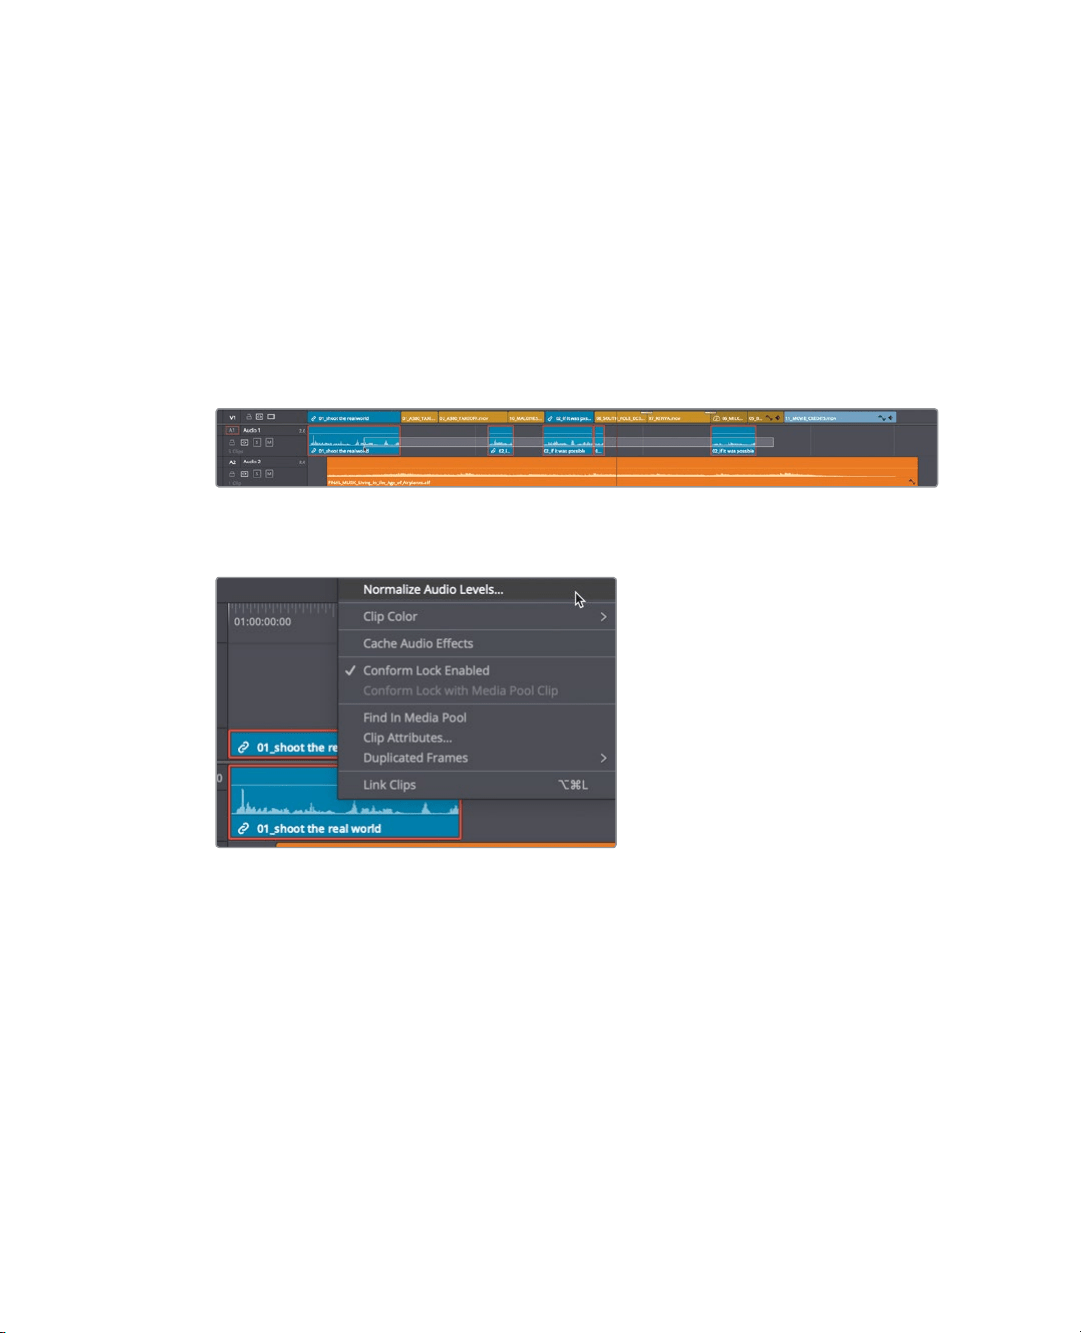
You can quickly maximize the volume for the selected clip using the normalize function.
5 Right-click any of the selected audio clips, and choose Normalize Audio Levels.
The dialog that appears allows you to amplify the audio by targeting the peaks to reach a
specific the dBFS level. For most dialogue and voiceovers, you want the average to land
around -12dBFs on the meter, so setting the Normalize peak target can be a bit higher.
6 In the Reference Level field, type -10.
The lower two options in the dialog determine if the highest peak of all the clips is used
to set the target reference level, or if the peaks of each selected clip are amplified to
reach the target reference level. Because you have a lot of variety in the levels on
audio 1, let’s individual maximize each clip’s peak.
Loading ...
Loading ...
Loading ...