Loading ...
Loading ...
Loading ...

318
Lesson 11 Quick start: colorcorrection
In both the color boost and midtone detail controls, a little goes a long way. A typical
way to adjust these is to first add more correction than you want and then slowly back
off until you find an acceptable result.
As always, when you make a significant adjustment, you should compare it to the
original image.
3 Click the bypass button, or press Shift-D, to see the original image. Click the bypass
button again or press Shift-D, to return to the corrected image.
TIP You can use either the DaVinci Resolve Micro or Mini Panel with dedicated
primary corrector hardware controls for quicker access to all of the most
common tools.
With the adjustment you have made, this image now has a much better white balance.
In most color correction situations, you would likely bounce between the two images a few
times while refining your adjustments. Rarely do you set a control once, compare it to the
original, and move on. Color correction is an iterative learning process. It takes time; but the
more you explore your options, the more you find the adjustments that work best for you.
Understanding Nodes
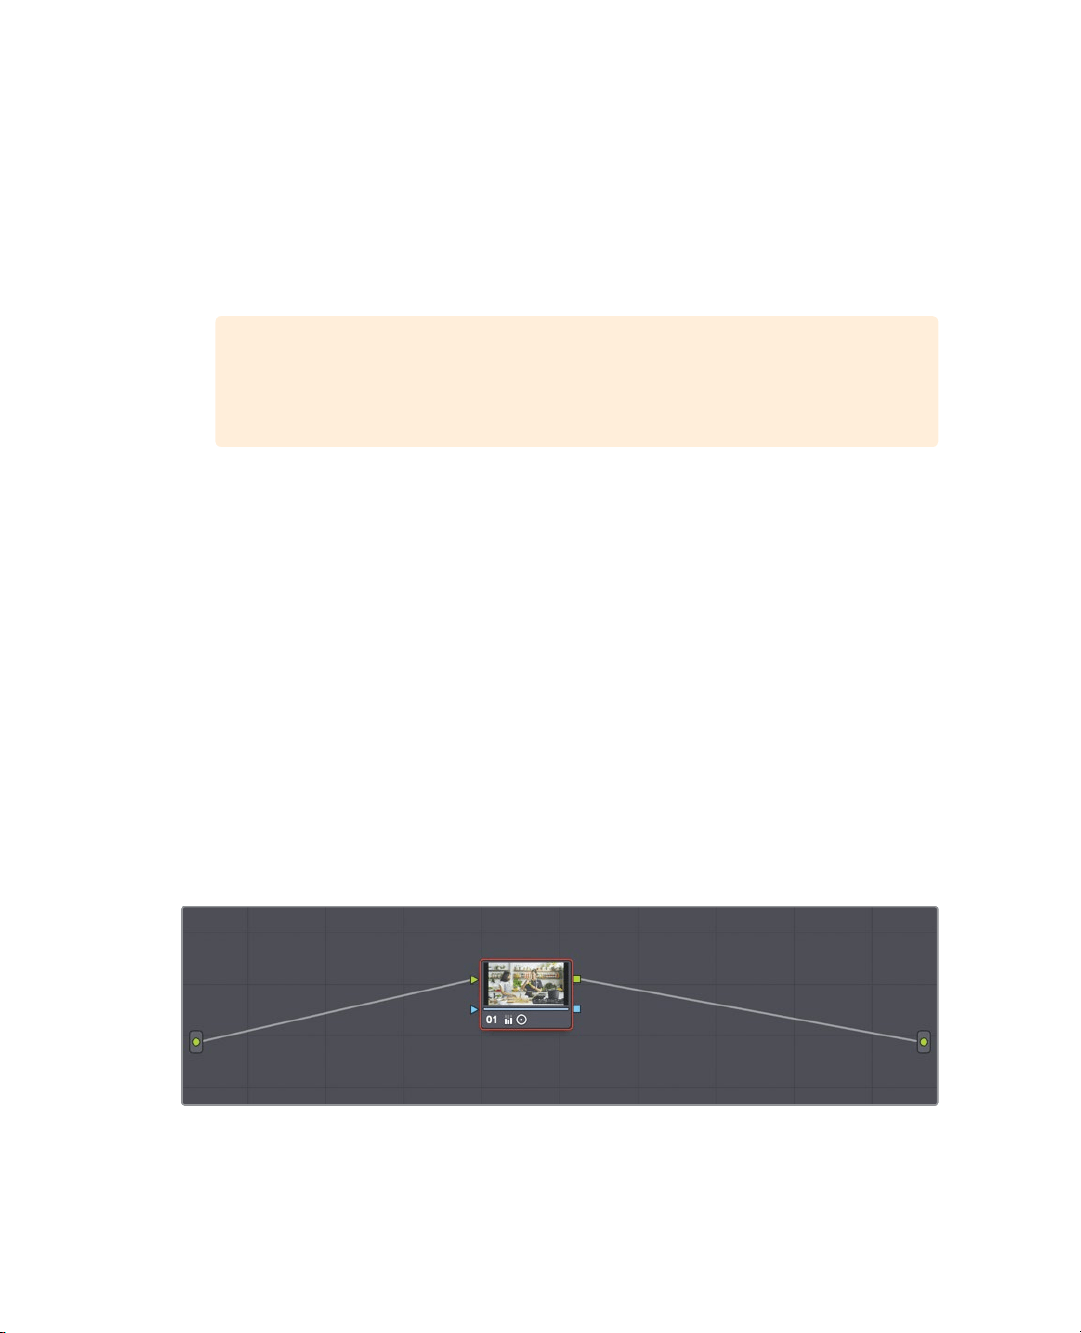
Like the Fusion page, the Color page uses nodes for multiple color corrections. Instead of
stacking color corrections and effects as layers, you can add as many color correctors and
filter effects as you like using nodes. You can view the nodes as a color correction flow
chart for each individual clip. The clip, or the input, starts at the left, flows through each
node, and ends on the right side of the screen with the corrected image output. Unlike
Fusion page nodes, however, each node in the Color page is a full DaVinci Resolve color
corrector and not an individual effect that performs only one type of image processing.
The adjustments you made in the preceding exercises were performed using the first
node, which automatically is provided for you in the Node editor. As you create more
sophisticated corrections, you can add more nodes that target different parts of the
imageor add effects.
Loading ...
Loading ...
Loading ...
