
Loading ...
Loading ...
Loading ...
352
Lesson 12 Performing Primary ColorCorrections
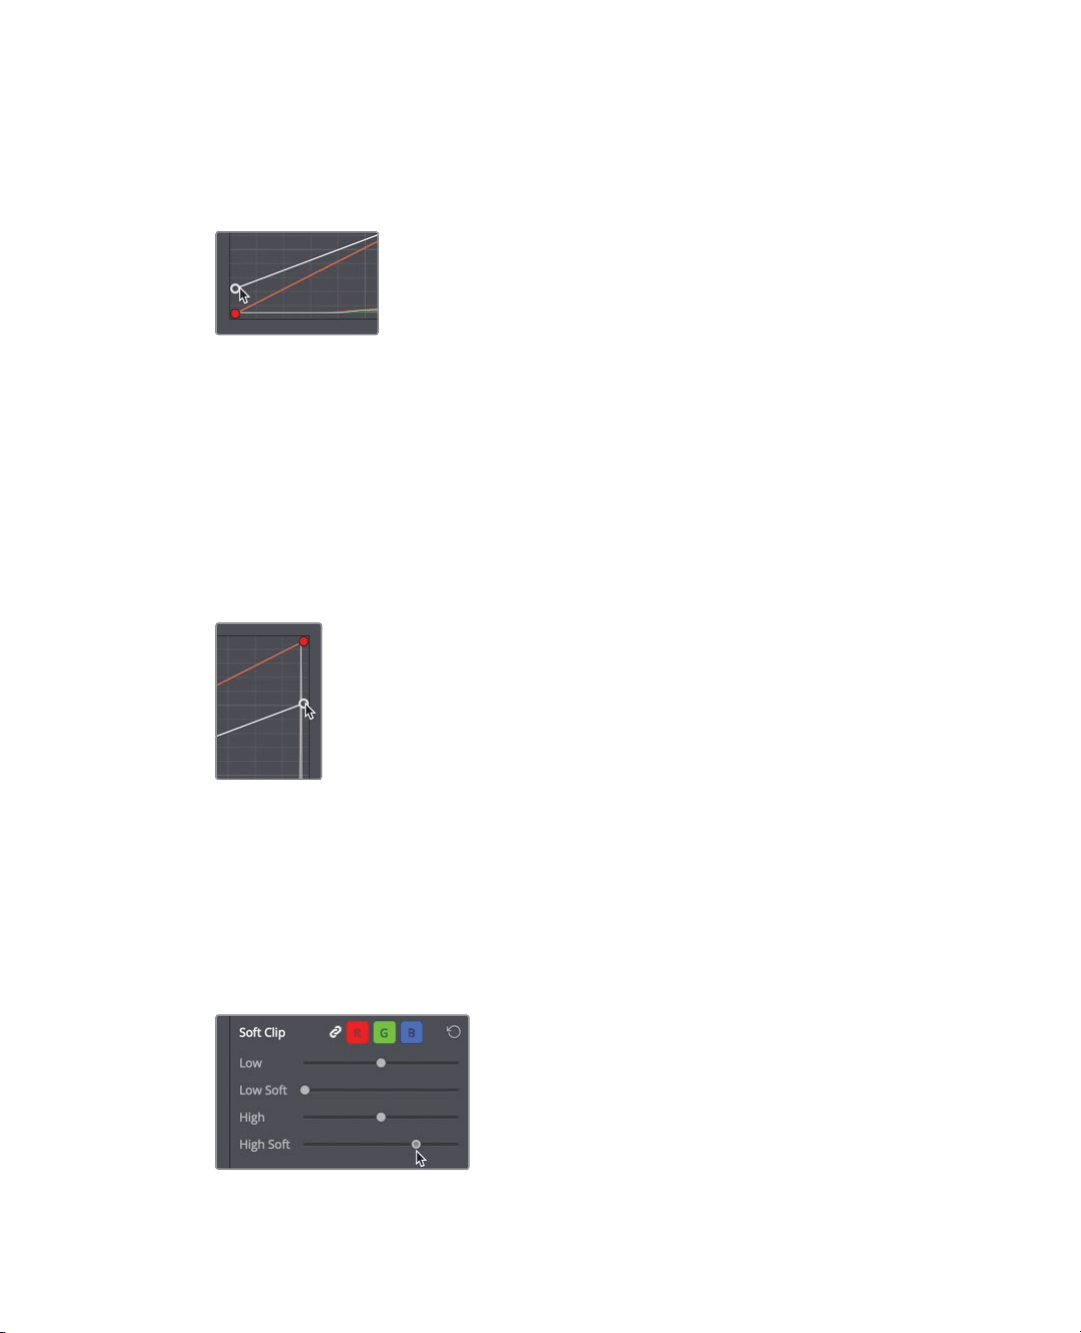
This point is the black point control. Similar to the Y bar in the Lift primaries bars,
adjusting this point raises or lowers the black point in a clip without modifying the
saturation in the shadows.
5 Drag the point up until the red trace in the Parade skims along the 0 line.
Moving the black point up lifts the black point, the darkest part of the image.
6 Position the mouse pointer over the control point located in the upper-right corner of
the custom curve graph.
This point is the white point control. Similar to the Y bar in the Gain primaries bars,
adjusting this point raises or lowers the white point in a clip without modifying the
saturation in the highlights The highlights in this shot are already fairly clipping over the
top so we will bring those down a bit.
7 Drag the point to the down until you have more detail in the bright clouds and the blue
trace is no longer clipping at the top of the graph.
Dragging the control point to the left brightens the white point, the brightest part of
theimage.
Moving those two points as you did is a way of increasing contrast. But you still have a
bit of clipping in the highlights. Instead of bringing the entire highlight region down, you
can use the soft clip slider to softly bring that clipping back into range.
8 To the right of the custom curve, drag the high soft slider up until the clipped trace for
the red and green channels are no longer clipping.
Soft clipping is ideal for a slight smooth roll off of otherwise harshly clipped channels.
Loading ...
Loading ...
Loading ...