
Loading ...
Loading ...
Loading ...
173
Reframing Shots
3 Position the playhead about one-third of the way into the 05 BAY AREA LIGHTS clip.
Here is where you’ll start to scale down the frame, so you’ll need to add a keyframe.
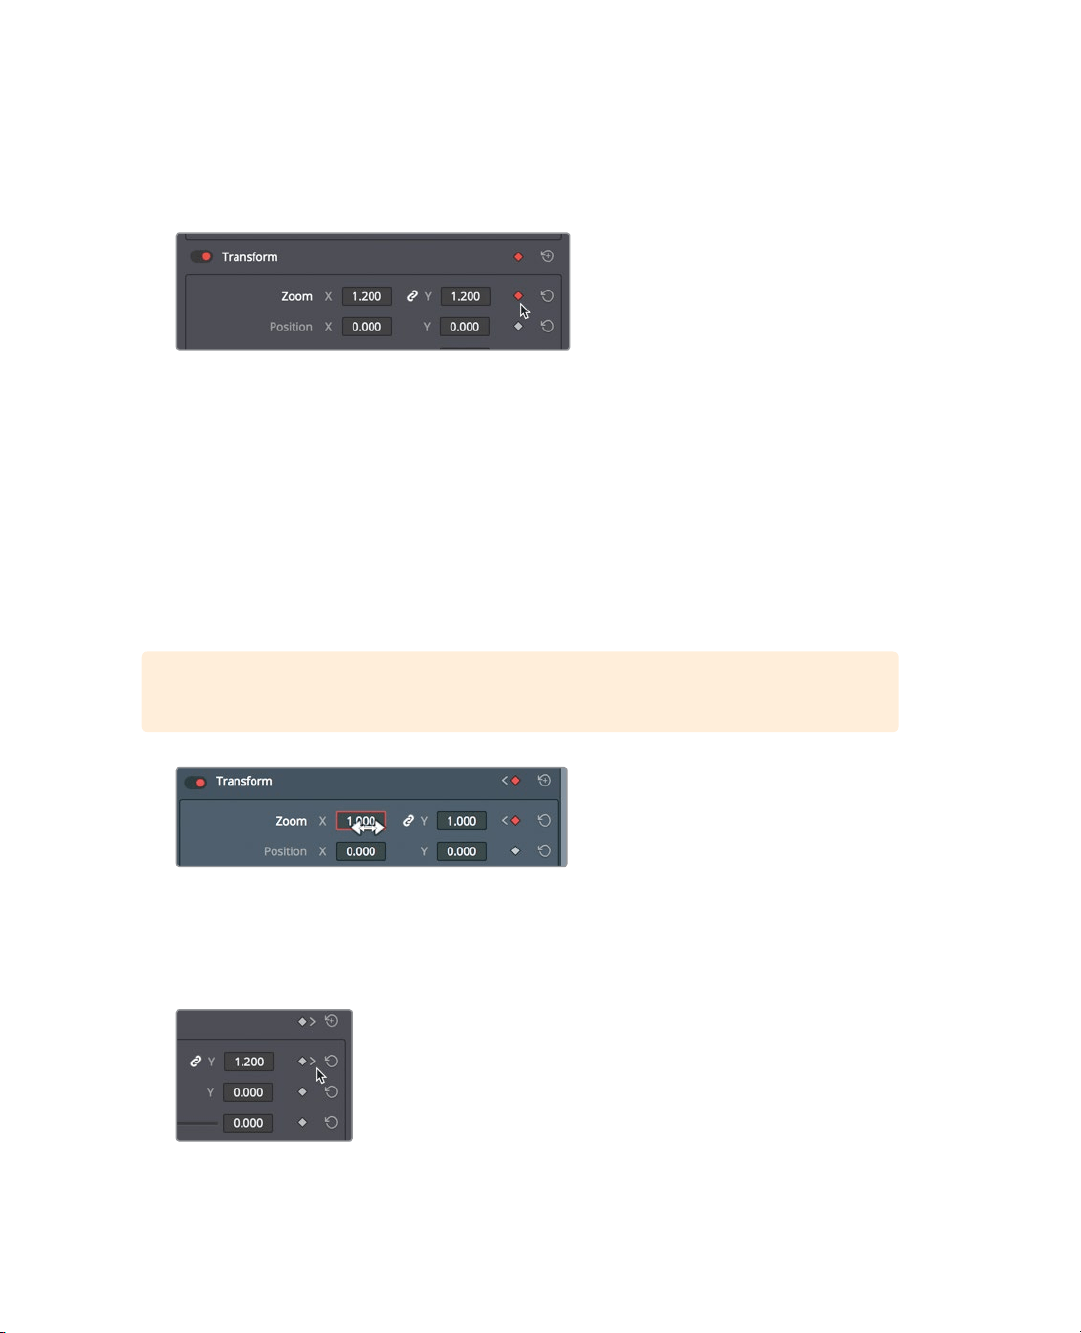
4 In the Inspector, click the zoom keyframe button to the right of the Zoom X and Y
numeric fields.
Animating a parameter requires that you set at least two values for it on separate
frames. The first keyframe that signifies the start of the animation is now set. You’ll set
the second value where you want the image to stop scaling.
5 In the timeline, position the playhead about one-third of the way from the end of the
05BAY AREA LIGHTS clip.
DaVinci Resolve uses an auto-keyframe model. When a parameter already has one
keyframe set, changing the position of the playhead, and then modifying the
parameter, automatically adds a second keyframe.
6 Place the cursor over the Zoom X numeric field, and drag to the right until the value
isreset to 1.0.
TIP You can double click the parameter name to reset the value to its default.
7 Press the / (slash) key to play around the currently selected clip.
You can further control the keyframe position and smoothness of the motion using
theease-in/ease-out commands and the keyframe editor.
8 In the inspector click the go to next keyframe button.
The go to next or previous keyframe icons appear when keyframes have been added
to a control. Clicking the button moves the playhead to the keyframe position.
Loading ...
Loading ...
Loading ...