
Loading ...
Loading ...
Loading ...
204
Lesson 8 Working with Audio on the Edit Page
3 Drag down the A1 destination control to Audio 3 to align the A1 track in the source
viewer with the Audio 3 track in the timeline.
Now that the tracks are patched, you can edit your first sound effect into the timeline.
Let’s locate that first sound effect.
4 In the source viewer, navigate to the first marker in the clip by choosing playback >
Previous Marker three times, or pressing Shift-up arrow three times.
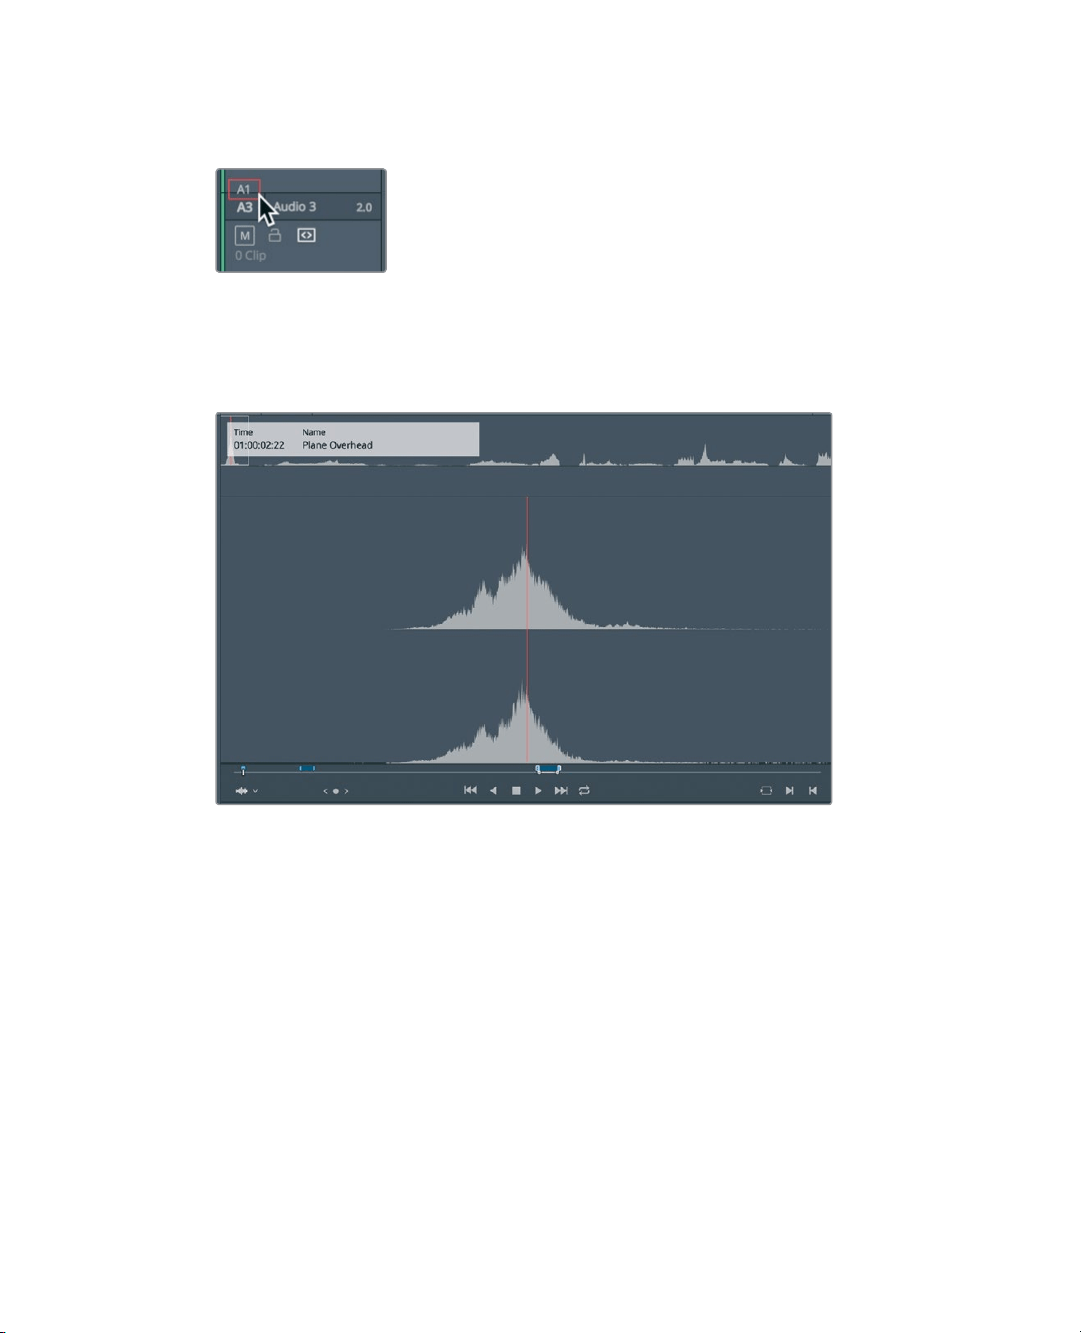
The source viewer should be located at the first marker. The marker overlay in the
viewer shows that this is an overhead prop plane. This may work perfectly for the
Maldives shot where the plane flies in at the top of the frame.
5 Click in the timeline viewer, or press the Q key, to activate the timeline viewer.
6 Navigate to the marker over the Maldives clip by choosing Playback > Previous Marker,
or pressing Shift-up arrow.
One of the best ways to edit sound effects is to use the replace edit that you used
previously. When adding sound effects, you typically are trying to match the action in
aframe with a precise sync point in the sound effect. Most often these sync points are
not at the start or end of a clip, so you need to use another method for aligning the
clips. With a replace edit, you can position the jog bar over the sync point of the sound
effect, and then position the timeline playhead on the video frame where you want the
sound effect sync point to be heard. The source clip is already located on the loudest
part of the buzzing overhead plane. That point should line up with the sea plane just
entering the top of the frame.
Loading ...
Loading ...
Loading ...