
Loading ...
Loading ...
Loading ...
8
Lesson 1 Introduction to Editing in the Cut Page
Reviewing clips using source tape
Rather than double clicking each clip and playing them one by one in the viewer, you can
find specific clips faster using the source tape feature.
Back when editing was done using videotape, finding and reviewing content was easy
because you could just shuttle up and down the tape to find the right area. Shuttling up
and down a tape also provided the critical benefit of familiarizing you with the content. The
source tape in the cut page brings back that old concept and completely modernizes it to
help you find the shots that you need fast.
Let’s quickly review some of our cooking shots using the source tape, so we know what we
can use in our story.
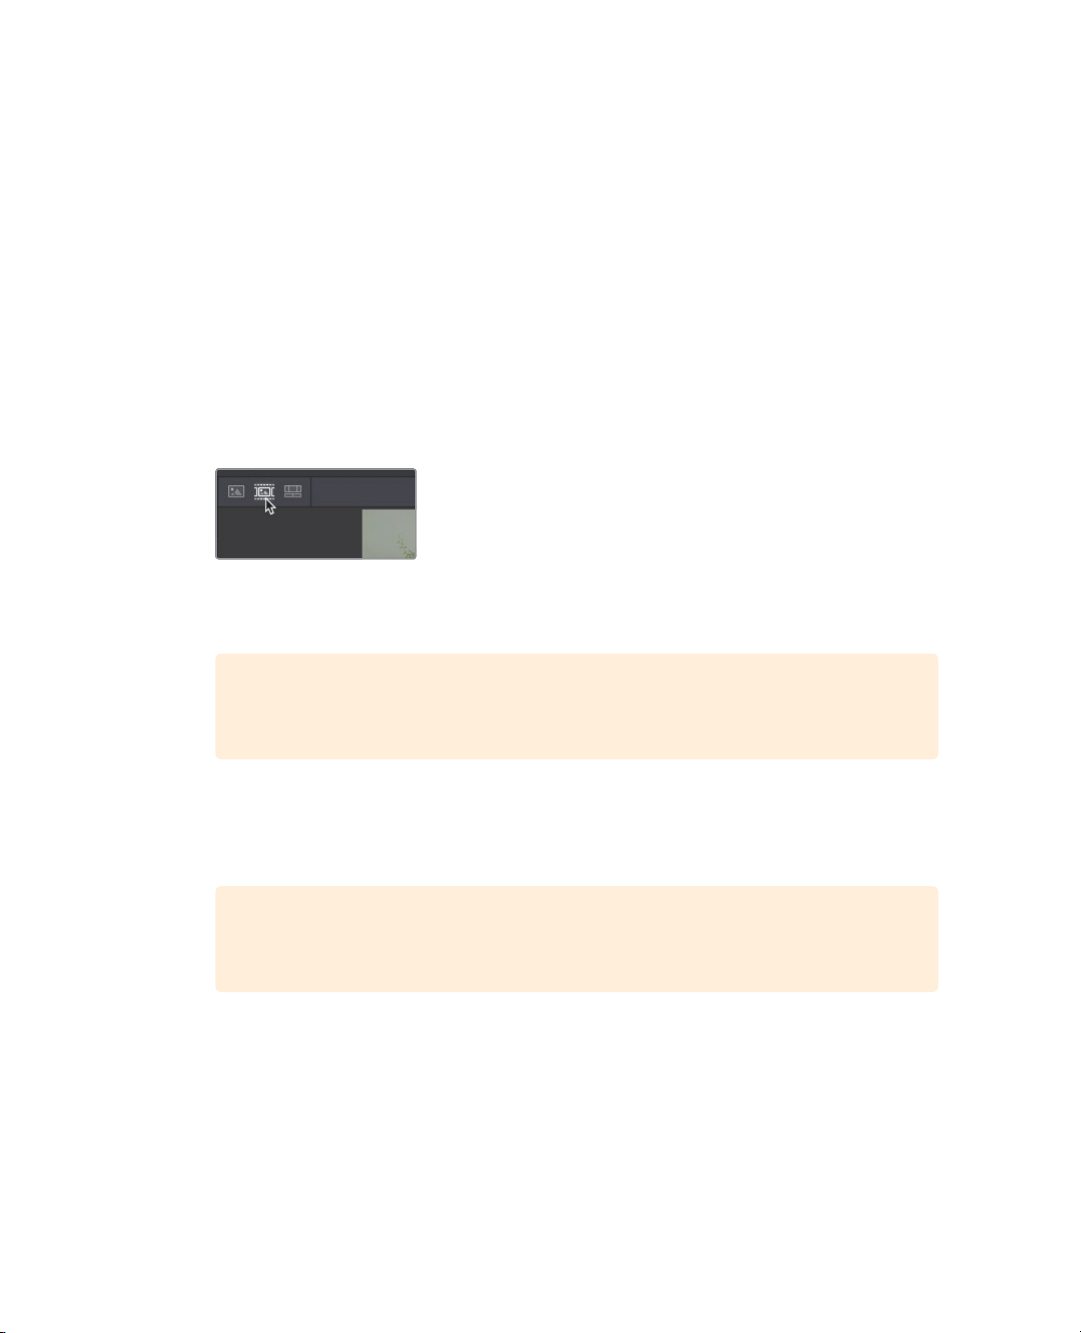
1 From the upper left corner of the viewer, click the source tape button.
Clicking the source tape button places all the clips from the current bin into the viewer, as
a single long clip. Thin white lines visually separate each clip along the audio waveform.
TIP If the current bin contains other bins, the clips from the nested bins will be
displayed in source tape mode as well.
2 Using the red play head under the viewer, drag through the entire source tape to view
all the clips in the bin.
As you drag through the source tape, the current clip is highlighted in the bin as well.
TIP Changing the sort order in the bin changes the order the clips are
displayed in the source tape.
3 Drag back to the beginning of the source tape’s string of clips.
To really review all the clips we are working with, you need to play through them and
not just skip over them by dragging. The quickest way to review clips is to use the fast
review feature.
Loading ...
Loading ...
Loading ...