
Loading ...
Loading ...
Loading ...
411
Consolidating Media
4 Click the Browse button, and in the File Destination dialog, navigate to a location
where you want to copy the media. Click OK.
TIP You can click the New folder button to create a folder for the consolidated
files that you create. If you don’t do so, you might end up with too many files on
the top level of a hard drive and no way to know which files to keep and which
to delete.
The option to consolidate media requires that you select one or more timelines to
determine which files to keep. You have two choices for consolidating your media:
youcan choose to copy the clips that you have used in the selected timelines in their
entirety, or to copy just the portions of those clips that you have used in the selected
timelines (including handles).
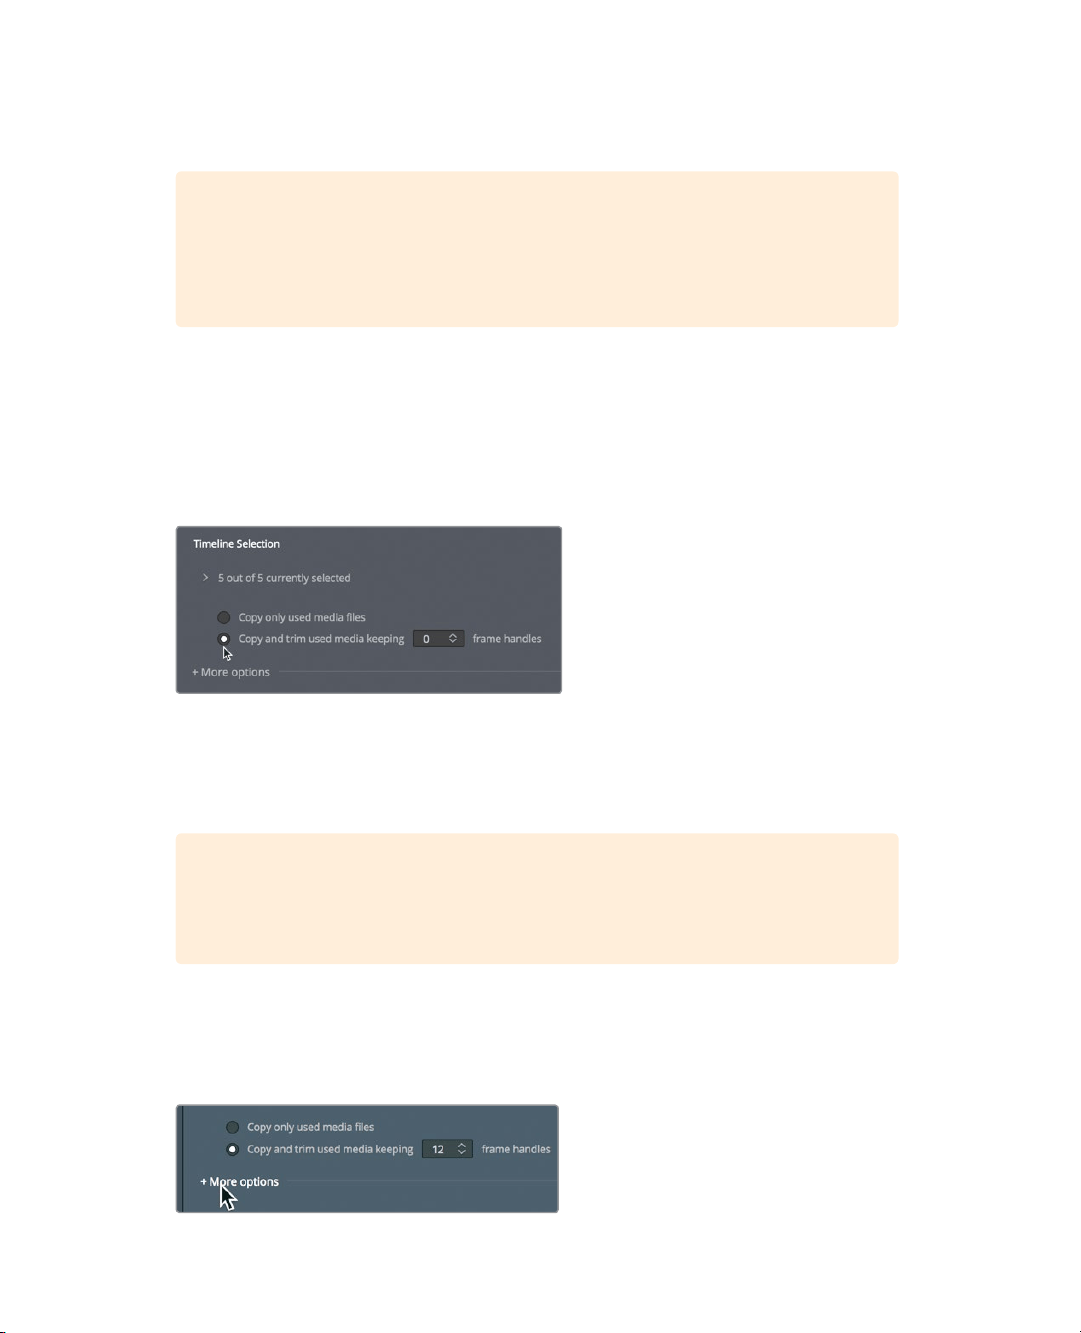
5 Choose “Copy and trim used media keeping”.
Choosing this option will trim the master clip files down to only those clip portions
usedin the selected timeline(s). A field is available in which you can enter the number
of frame handles you would like added to each side of a clip in case you will later need
totrim or create transitions.
TIP Compression formats that use interframe, temporal compression, such as
H.264, can now be used with the “trim unused media” option in the Media
Management window.
6 Enter 12 as the number of frame handles to add. Because your project runs at 23.979
frames per second, entering this value this will enable a half-second of extra media on
both ends of the clip for trimming and transitions.
7 Click “More options” to view additional settings.
Loading ...
Loading ...
Loading ...