
Loading ...
Loading ...
Loading ...
147
Using Roll Trimming
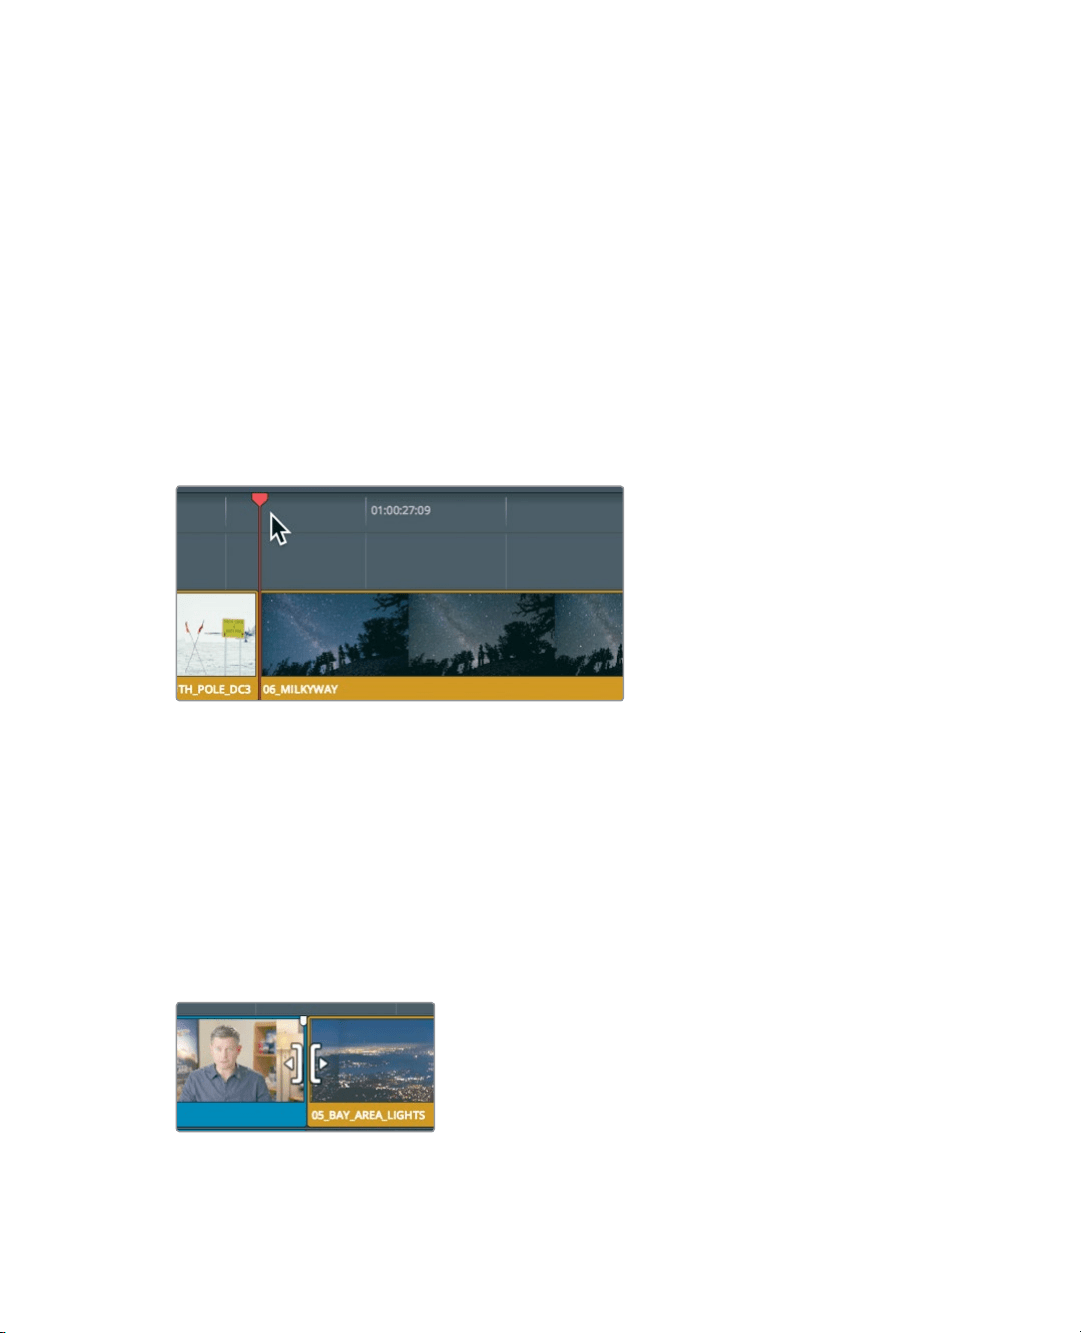
17 Position the playhead at the start of 06_MILKY WAY clip, and review your J-cut.
Keeping audio and video in sync is always a concern (and a chore) for editors. The linked
selection function is invaluable in assisting you with that effort on a clip-by-clip basis and
the auto select buttons are invaluable on a timeline basis. Although it’s necessary to disable
both in some situations, it’s good practice to enable them most of the time.
Using Roll Trimming
While a ripple trim alters a single side of a cut point, Roll trims simultaneously trim both
theend of the outgoing clip and the start of the incoming clip. These types of trims are
useful when you want to retain the overall timeline duration or want to ensure your
timelinestaysin sync.
1 In the timeline, position the playhead at the start of the 06_MILKY WAY clip.
2 Press the spacebar to play through the end of the 05_BAY AREA_LIGHTS clip.
For this trim, you will need to trim only the video track because the audio in this
interview ends where you want it, when he says, “Everything was real.” However, the
two shots would flow better if you heard the word “real” while the Bay Area shot was
onscreen. Just a small overlap is all you need.
3 In the toolbar, click the linked selection button to disable it.
A rolling trim can be performed using either the Selection mode tool or the trim edit
mode tool. The behavior for a roll trim is exactly the same no matter which tool you use.
So, you can leave your Selection mode tool selected.
4 Center the mouse pointer over the video cut point.
When the mouse pointer is centered over the cut, the cursor changes to a roll trim cursor.
Loading ...
Loading ...
Loading ...