Loading ...
Loading ...
Loading ...

217
Reading Meters and Setting Targets
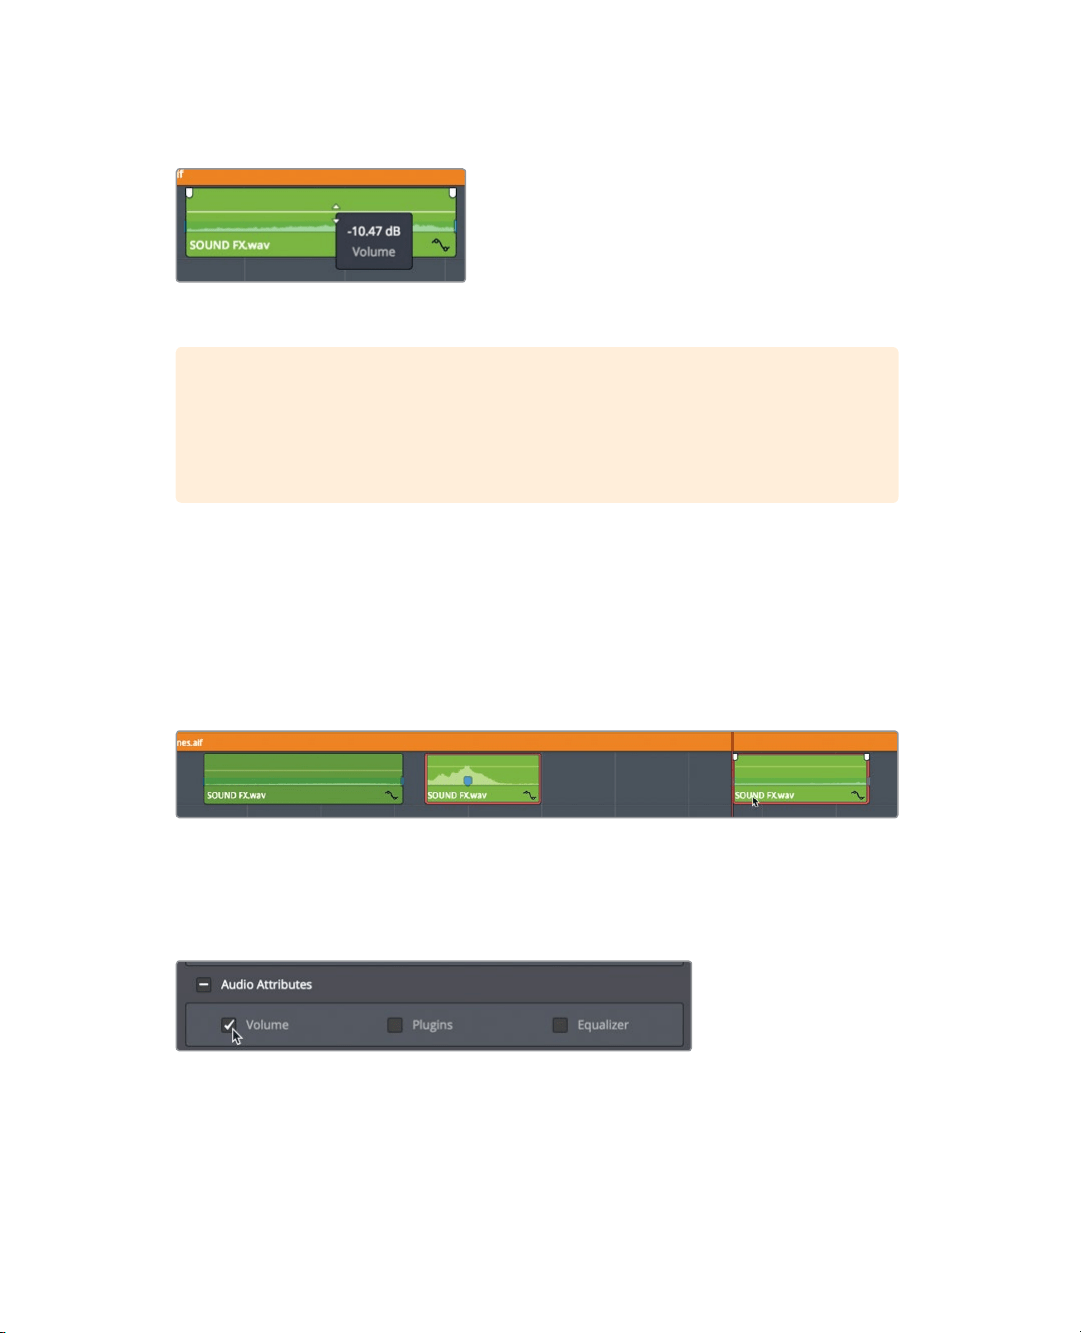
6 When your mouse pointer changes to an up and down arrow pointer, drag the volume
curve down until the tool tip reads roughly -10 dB.
You have now lowered the volume by 10 dB.
TIP The tool tip displays the offset relative to the current level. It is not showing
the exact dB level that the audio will reach on the meters. The term dB Full Scale
or dBFS expresses exact meter readings, but a simple dB value expresses an
offset level.
All the sound effects probably sounded a bit loud on first playthrough. You can easily
copy the lowered level of one audio clip to another using the Paste Attributes command
you applied in the previous lesson.
7 Select the first sound effect clip on A3.
8 Choose Edit > Copy, or press Cmd-C (macOS) or Ctrl-C (Windows).
9 Select the second sound effect clip on A3, and Cmd-click (macOS) or Ctrl-click
(Windows) the third and final sound effect clip on the track to select both clips.
10 Choose Edit > Paste Attributes, or press Option-V (macOS) or Alt-V (Windows).
The Audio Attributes window includes clip attributes that you can copy and paste from
one clip to another.
11 Select the Audio Attributes Volume checkbox, and click Apply.
The volume attributes from the first interview clip are pasted onto the selected clips.
12 Play over the timeline. Drag the Volume slider to fine-tune the volume adjustments.
Copying and pasting attributes to set clips at similar levels can save you a lot of time when
working with a complex timeline, but you will still need to play through the clips to ensure
appropriate levels.
Loading ...
Loading ...
Loading ...
