
Loading ...
Loading ...
Loading ...
219
Changing a Level within a Clip
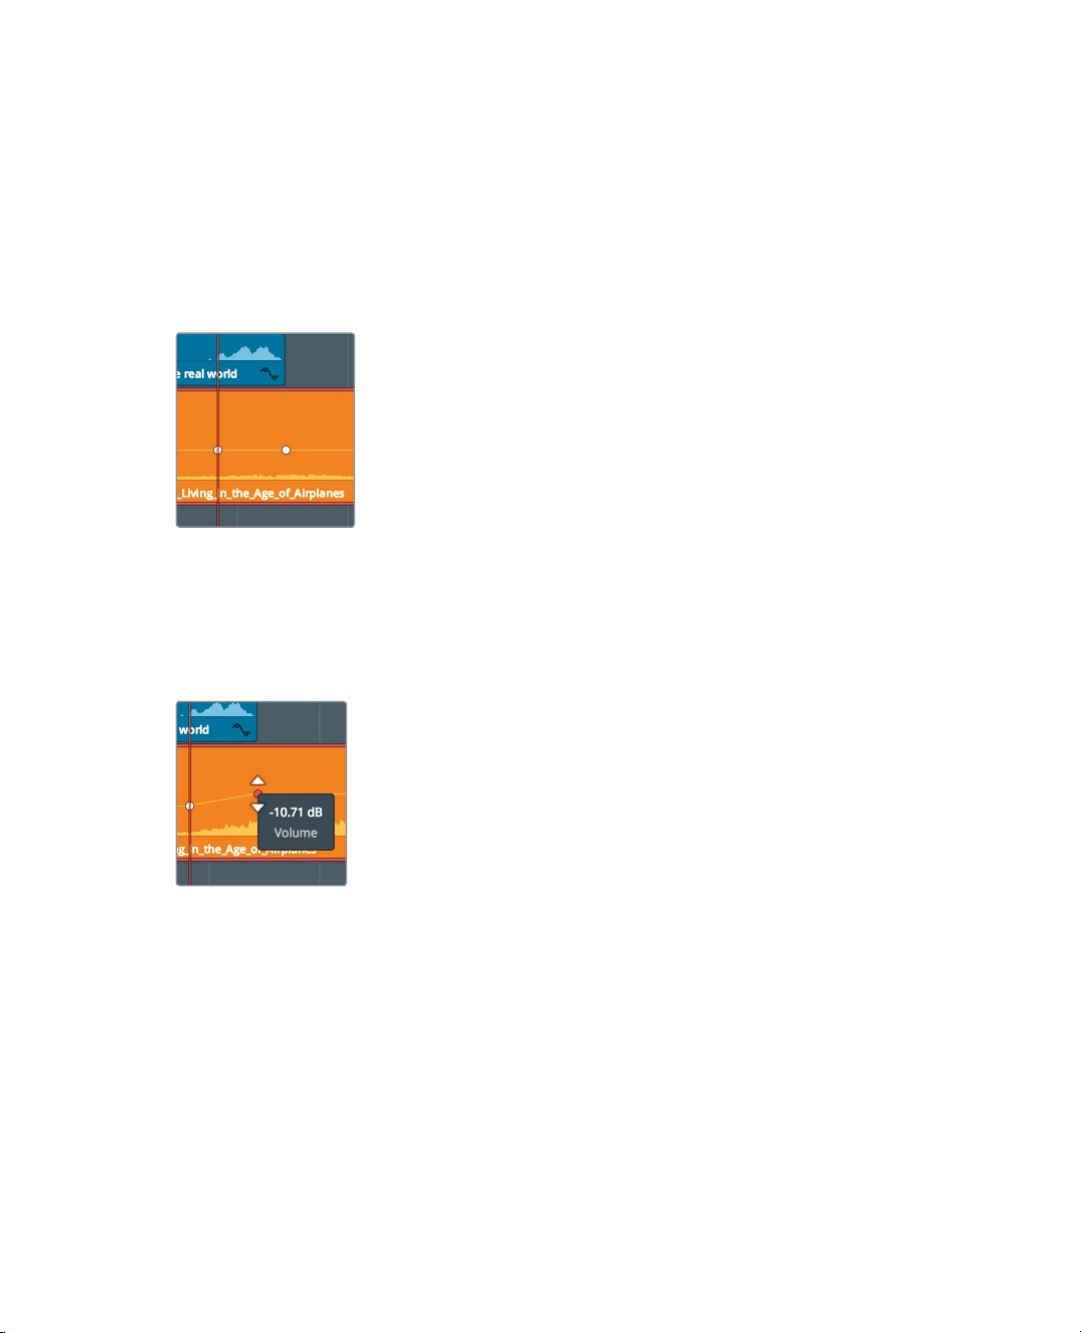
A white dot, the keyframe, is added to the curve. (You may have to move the playhead
slightly to see it.) This keyframe marks the point where the music volume should be
loud. You now need to set a keyframe before this point to identify where the music
should start to crescendo, or ramp up.
6 Click in an empty gray area of the timeline to ensure that no clips are selected.
7 Type -12, and press Enter/Return to move the playhead back half a second.
8 Option-click (macOS) or Alt-click (Windows) the level curve under the playhead position
to add a keyframe.
You’ve now set the duration that the gradual volume change, or ramp, will occur.
Changing the vertical position of the second keyframe will cause a ramp up involume.
9 Position the pointer over the second keyframe on the music clip.
The pointer changes to a move pointer to indicate that it is over a keyframe.
10 Drag the keyframe up until the tool tip reads roughly -10.00 db.
11 Play the first part of the timeline until you hear the mix with the new music ramp.
You’ve only set the music volume levels under the first interview section. It is now too loud
for the rest of the timeline. You could continue to add keyframes and adjust levels for the
entire timeline, but let’s hold off and complete the adjustments in the Fairlight page in the
next lesson.
Loading ...
Loading ...
Loading ...