
Loading ...
Loading ...
Loading ...
134
Lesson 6 Refining a Timeline
Customizing the Layout for Trimming
DaVinci Resolve lets you customize and save your user interface layouts to make various
workflows easier. For example, the current interface layout has somewhat small dual
viewers that are unsuitable for trimming. Before you dive into trimming, let’s optimize
yourlayout for that process.
1 Open DaVinci Resolve if necessary, and then open the Age of Airplanes project.
2 In the Rough Cuts bin, double-click the 02 Trim Rough Cut timeline to load it into the
timeline viewer.
This timeline is similar to the one you worked on in the previous lesson with slight
adjustments made for the following exercises.
While trimming, you will work with only your timeline clips, so you can optimize your
workspace by hiding the Media pool and the source viewer. This will give you a larger
area for the timeline and the timeline viewer.
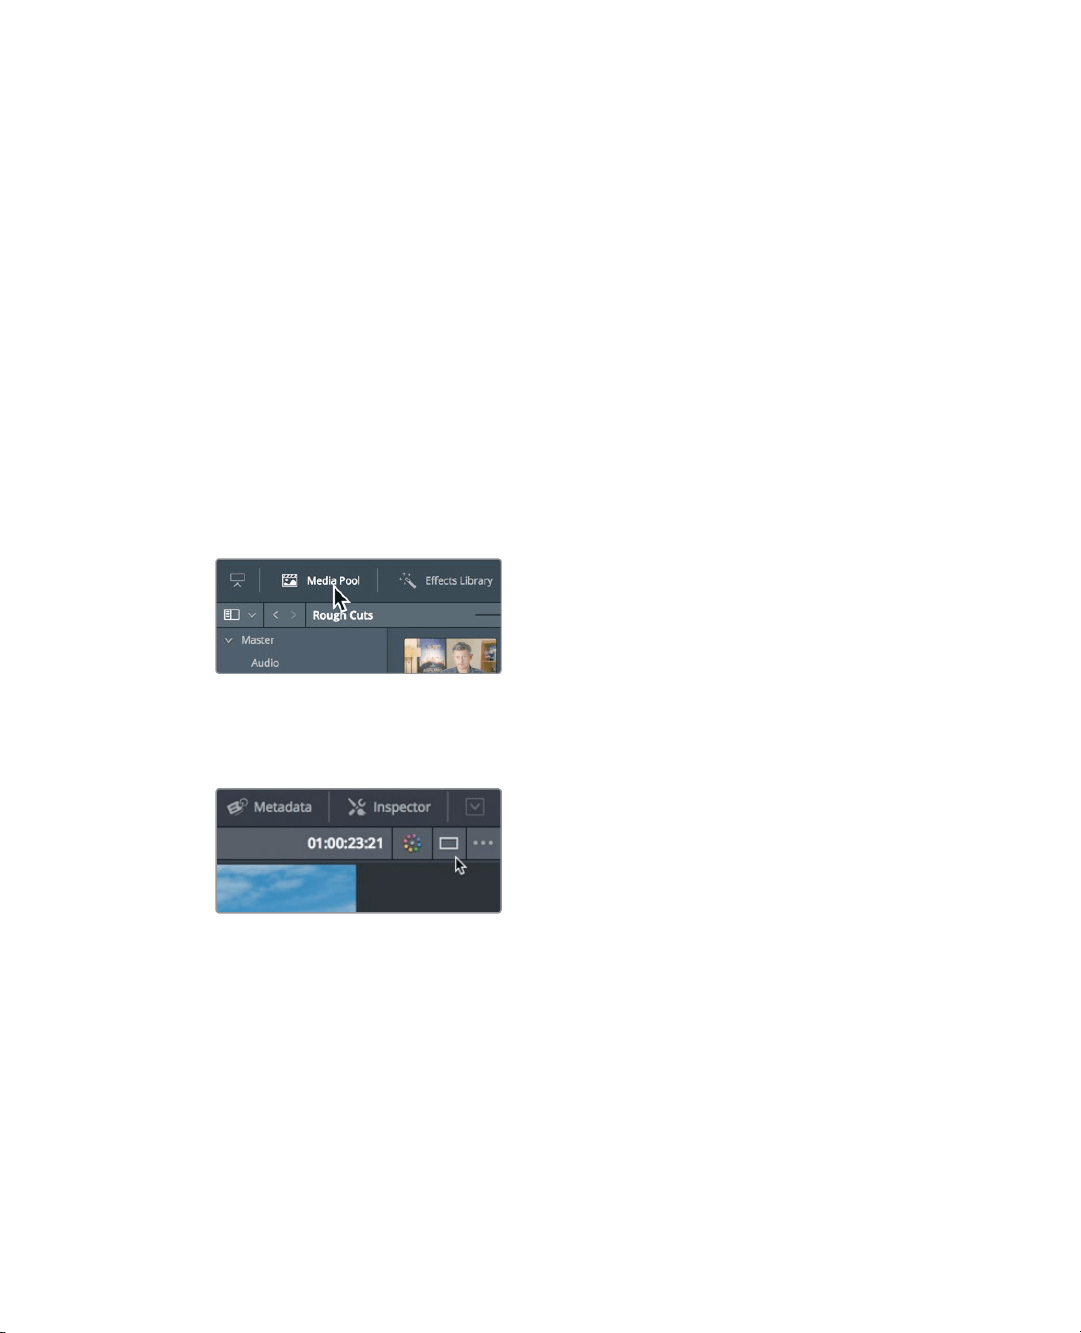
3 In the upper-left user interface toolbar, click the Media pool button to hide the
Mediapool.
Hiding the Media pool already gives you a lot more room for the viewers and timeline.
4 In the upper-right corner of the interface, click the single viewer mode button to hide
the source viewer.
The timeline viewer now moves to the center of the screen. With the extra horizontal
space, you can increase the size of the viewer by taking away some space from
thetimeline.
The timeline has a horizontal divider that separates the toolbar from the viewers.
Youcan drag down that divider to allow more room for the viewers and less to the
timeline tracks. Because you don’t need too much vertical space for your timeline,
thiswill work out well while trimming.
Loading ...
Loading ...
Loading ...