Loading ...
Loading ...
Loading ...

141
Ripple Trimming
8 Position the trim edit mode cursor over the beginning, or head, of the 10_MALDIVES clip.
When the cursor is on the right side of the cut, you can trim the head of the clip.
Thisiswhere you want to trim.
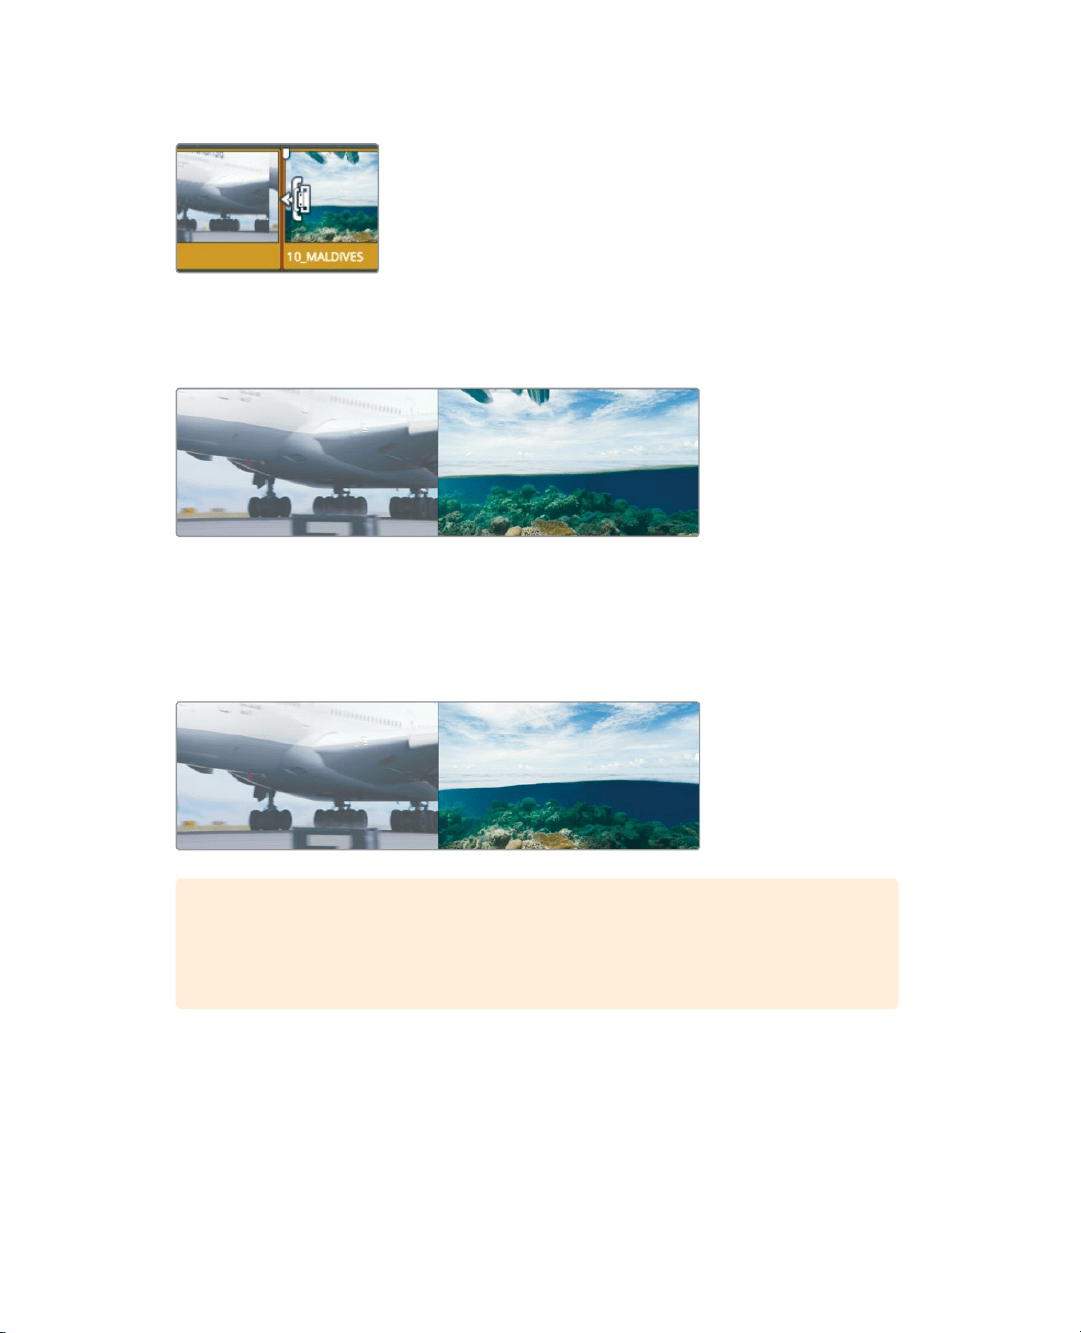
9 Drag the head of the cut slightly to the left and hold the cursor there for a moment.
As you drag, the timeline viewer splits to show you the last frame of the outgoing clip
on the left and the first frame of the incoming clip on the right. This two-frame side-by-
side display is designed to show how the action and framing from the two sides of a
cutwill match up (or not).
10 Continue dragging left until the 10 MALDIVES plane is off the screen.
TIP When dragging to trim, the cut point may snap to the playhead and make
it difficult to precisely position the trim. When this happens, tap the N key to
disable snapping as you trim.
When removing frames, a ripple trim pulls in all the clips after the trim point to close the
gap and also changes the overall duration of the timeline.
Loading ...
Loading ...
Loading ...
