
Loading ...
Loading ...
Loading ...
169
Reframing Shots
Reframing Shots
Most of the time, you’re going to be editing high-definition (HD) or maybe ultra high-
definition (UHD) projects that use a 16×9 aspect ratio. But sometimes you’ll need (or want)
to edit and view your program using a different aspect ratio. You can do so using the output
blanking menu.
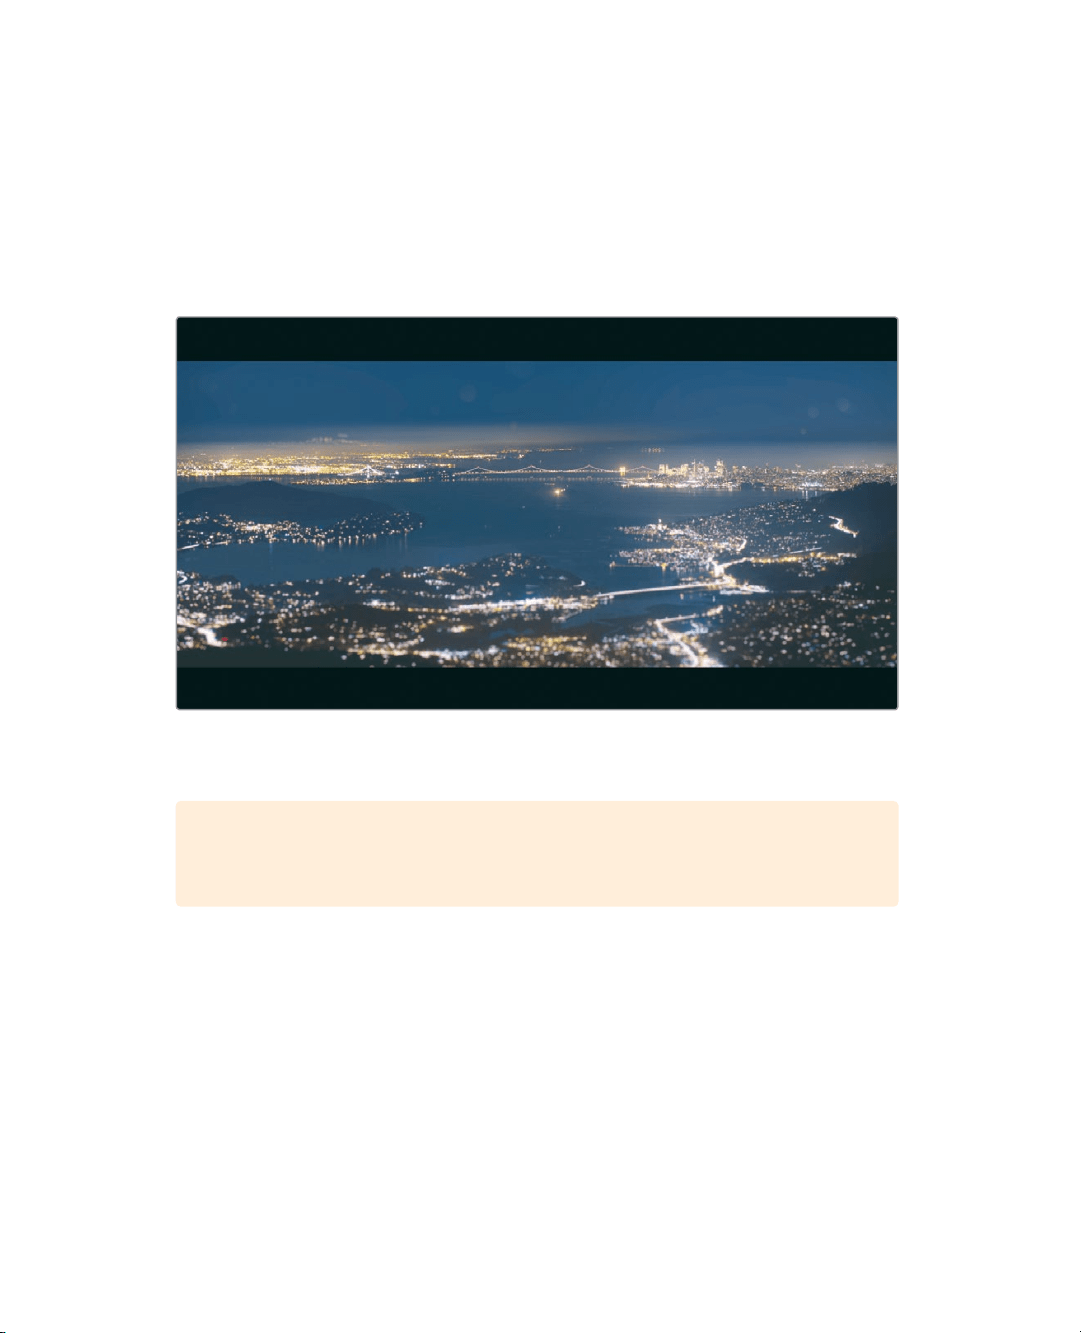
1 Choose Timeline > Output Blanking > 2.39.
The aspect ratio of 2.39:1, which is used for 35mm theatrical widescreen, is applied
inthe viewer.
TIP The controls used by the output blanking menu to create masks are
located on the Color page in the sizing palette’s output sizing mode.
When you apply output blanking, it does not remove the hidden part of the clip, it just
covers it up which allows you to reframe clips to better fit the new aspect ratio.
2 Move the playhead over the first interview shot, and in the timeline, select the clip.
The Inspector now shows the video tab controls for the selected clip. These controls
include typical parameters for Zoom, Position, Rotation Angle, and Crop.
You can move your subject down in the viewer to give him more head room and make
a more pleasing composition.
3 Hover the mouse pointer over the Position Y numeric field.
Any numeric field can be used as a virtual slider just by dragging within the field.
Loading ...
Loading ...
Loading ...