
Loading ...
Loading ...
Loading ...
218
Lesson 8 Working with Audio on the Edit Page
Changing a Level within a Clip
The music track is the final track that you’ll integrate into your mix. Level setting here
isslightly more involved than with the other tracks because you really want to set two
different levels within this one music clip. The music should be at a quiet level as it plays
under the interview portion of the timeline, and then gradually increase in volume when
theinterview stops. You can set multiple levels within a clip in different ways but on the
Editpage you’ll use keyframes.
1 In the track header, disable the solo buttons for A1 and A2.
All three audio tracks should now be audible.
Initially, you’ll set a low volume level for the music as the interview begins. You’ll want it
low enough so that it doesn’t interfere with the spoken words but loud enough to add
atmosphere to the scene. You can set the level by dragging the volume line directly in
the timeline. Again, you will use a general rule of thumb that music should fall
somewhere between -20 and -30 dBFS.
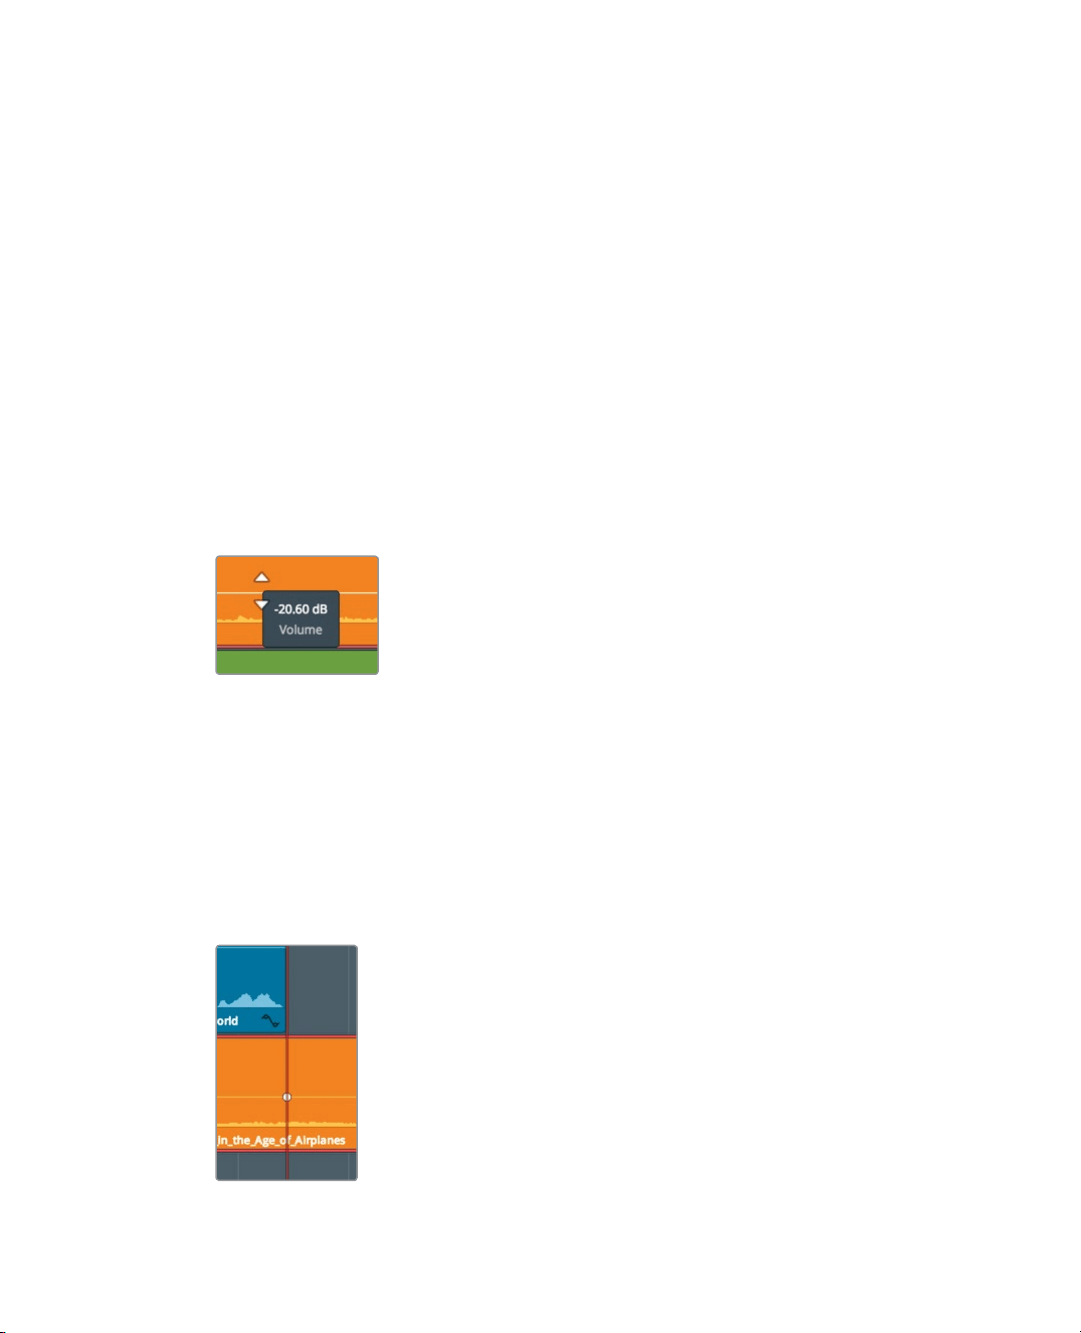
2 For the music clip, drag the volume line down until the tool tip reads roughly -20 dB.
3 Play the timeline with the audio mixed in.
Dragging the entire level curve has set the clip’s overall level. This level should suit the
interview portion of the timeline, but it’s much too low to underscore the plane shots.
By adding keyframes to manipulate the volume line, you can change a clip’s volume
over time.
4 Position the playhead at the end of the first interview clip.
Here is where you want the audio to be loud so you will add a keyframe to the musicclip.
5 On the music clip, Option-click (macOS) or Alt-click (Windows) the volume line under
the playhead position to add a keyframe.
Loading ...
Loading ...
Loading ...