
Loading ...
Loading ...
Loading ...
247
Using Fairlight FX
10 When you are done making adjustments, press the spacebar to stop playback;
closethe De-Hummer window; and in the toolbar, click the selection tool, or press A.
Finally, unsolo A2 VO.
The De-Hummer is one of the most frequently used plug-ins, even for picture editors
because it addresses a very common problem with very little effort.
Applying Noise Reduction to an Entire Track
In the previous exercise you applied a repair plug-in to an individual clip. You can also
apply plug-ins to an entire track, either from the effects inserts at the top of the mixer or
bydragging the effect from the Effects Library to the track header in the timeline. In this
exercise, you’ll apply Resolve’s powerful Noise Reduction plug-in to the entire A1 SYNC
track and have it sample to noise to automatically remove it.
Since the noise reduction effect requires to have an area on the track where you only hear
the noise, you’ll have to edit in a short clip of room tone.
1 Return to the edit page, and from the Audio bin load the Room Tone.aiff clip into the
source viewer.
2 Mark an In and Out point around any 10 second area of room tone and append it to the
end of the timeline on the SYNC track.
3 Return to the Fairlight page.
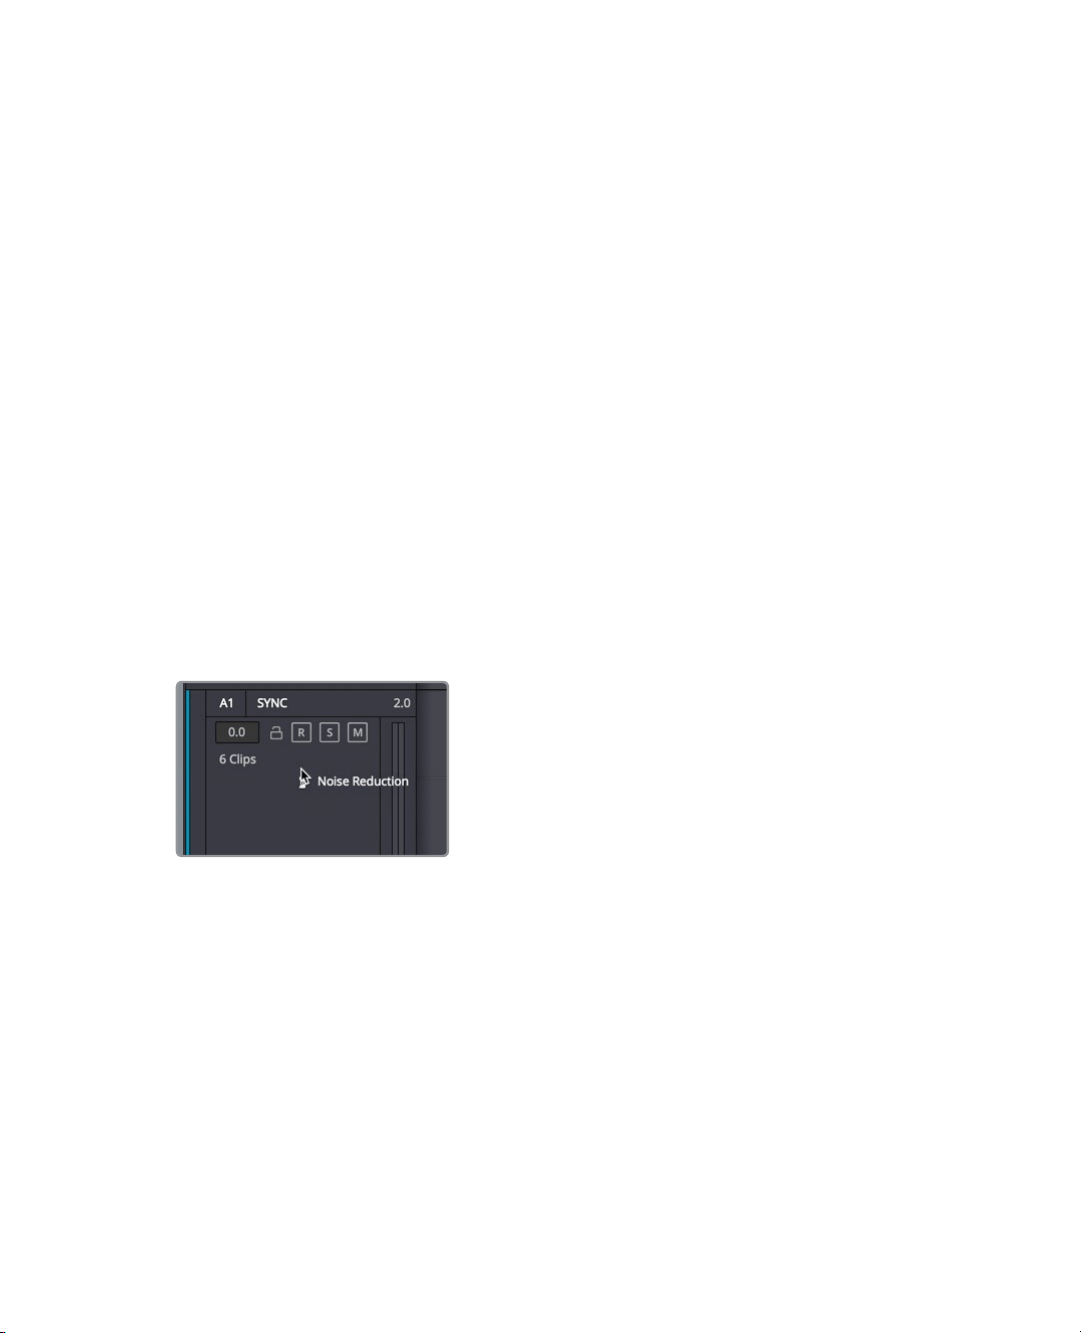
4 In the Effects Library, drag the Noise Reduction plug-in onto the A1 SYNC track header.
Although the noise reduction has many controls, if you have a few seconds of clean
room tone, you can have the noise reduction plugin sample what that sounds like and
remove it from the remaining clip on the SYNC track.
5 Solo the Sync track.
Loading ...
Loading ...
Loading ...