
Loading ...
Loading ...
Loading ...
293
Animating with Keyframes
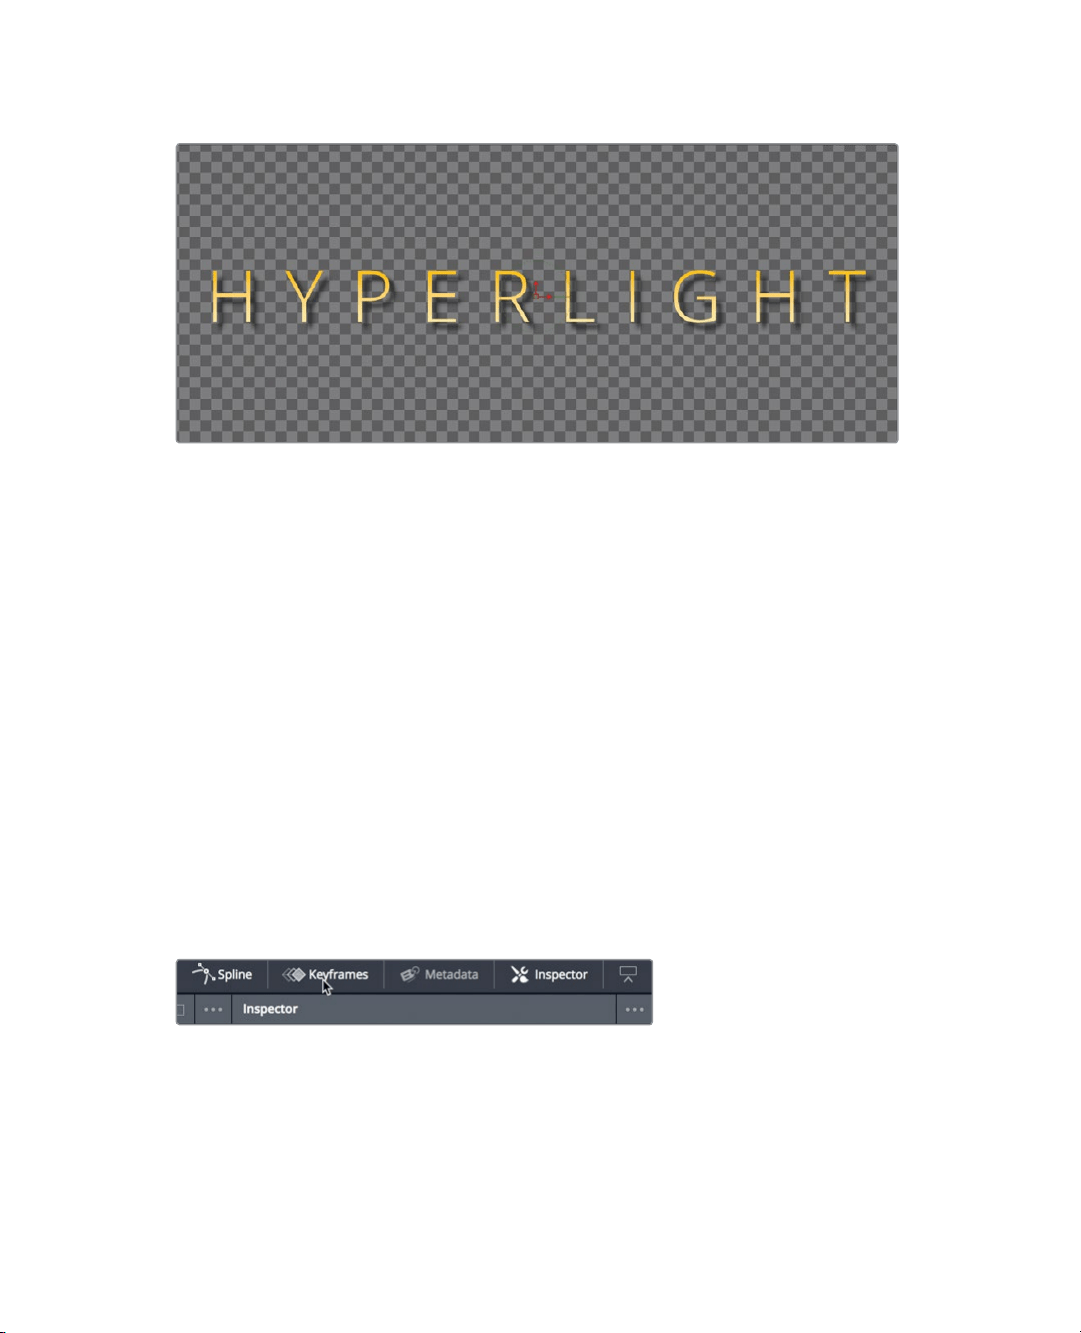
13 In the Inspector, drag the tracking slider to the right to about 1.5
As soon as you drag the Tracking slider, a new keyframe is added at the current
location of the playhead.
14 Press Cmd-left arrow (macOS) or Ctrl-left arrow (Windows) to move the playhead to
thestart of the render range.
15 Press spacebar to review the animation.
As you have seen, setting keyframes in the Fusion page Inspector is identical to doing
so in the Edit page. So, it becomes incredibly easy to begin animating in the Fusion
page. You’ll encounter the main Fusion page differences compared to the Edit page
when you want to view and modify keyframes. In doing so, you’ll discover that the
animating power ofthe Fusion page far surpasses the Edit page.
Viewing and Modifying Keyframes
The Node editor is used for organizing the image-processing operations in your composite,
but it does not show keyframing information. However, the Fusion page includes a keyframes
editor and a spline editor that are extremely powerful for viewing and modifyingkeyframes.
1 In the upper-right corner of the DaVinci Resolve window, click the spline and the
keyframes buttons to show the two panels.
Both the spline editor and the keyframes editor give you tools to view and modify
keyframes. Because you currently are interested only in modifying your keyframes,
youdonot need the Node editor. You can open more room for the keyframes editor
bytemporarily hiding the nodes.
Loading ...
Loading ...
Loading ...