
Loading ...
Loading ...
Loading ...
263
Exploring the interface
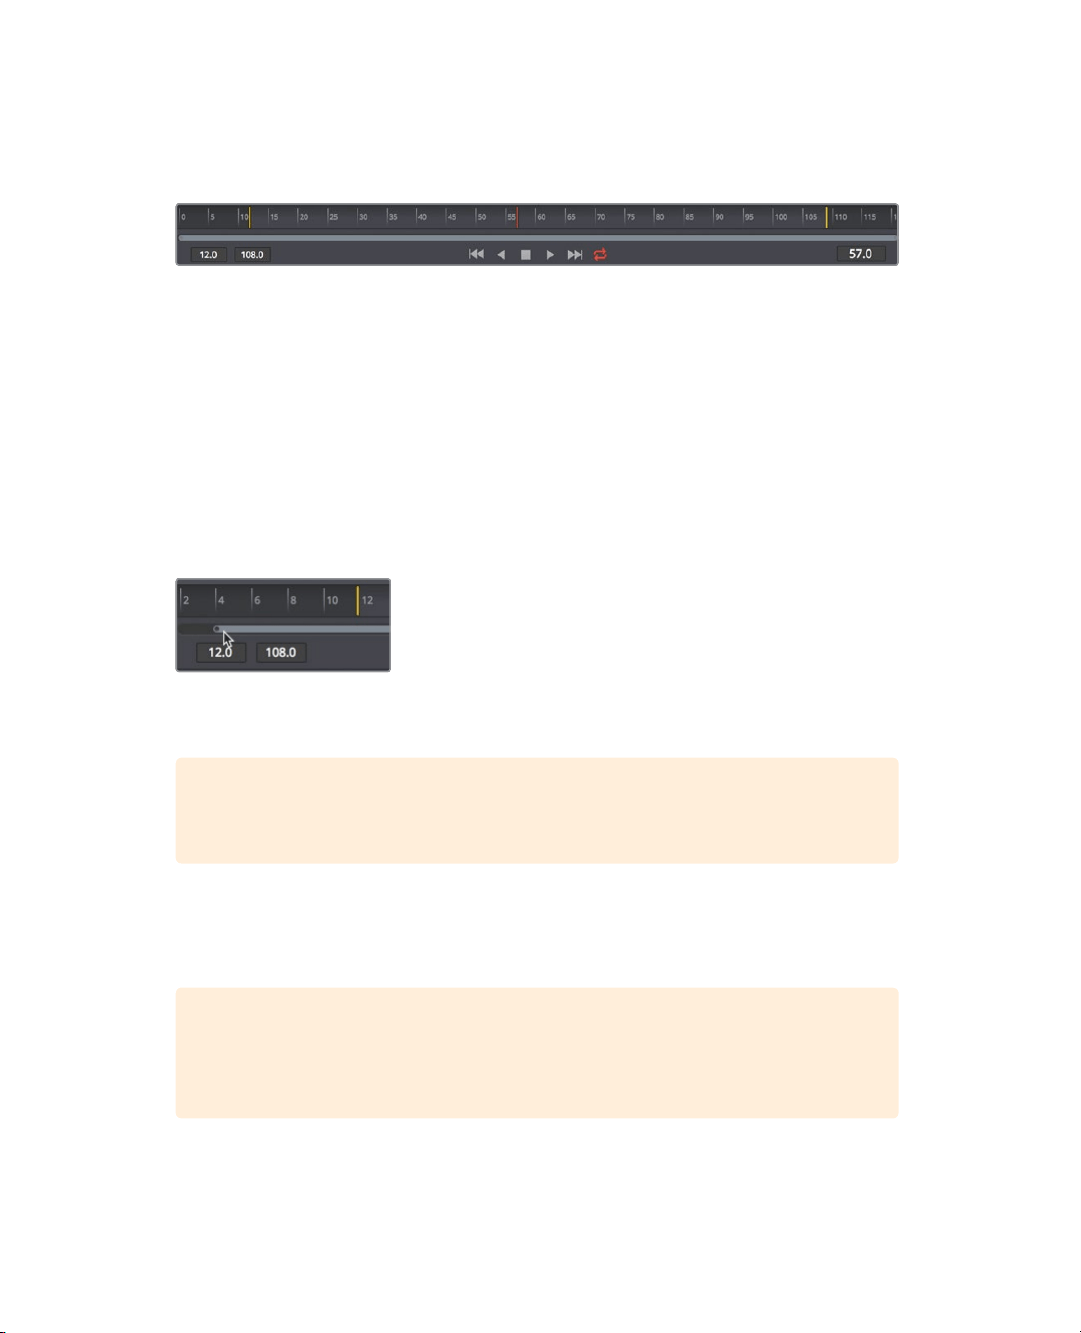
The time ruler shows the entire source clip length, and the yellow lines indicate the
render range, which is that portion of that clip actually used in the timeline for
finalrendering.
9 Drag the playhead slowly through the render range from the first yellow line on the left
to the second yellow line on the right.
As you drag the playhead through the render range, the current time display (to the
right of the time ruler) displays the current frame number. To the left of the time ruler,
you can see the render range start and end frame.
Under the time ruler, you can drag a two-handled scroll bar to zoom into the render
range. This capability can be helpful when a source clip is very long and you are using
only a small portion of it in your timeline.
10 At the far left edge of the two-handled scroll bar, drag in toward the center of the time
ruler until the yellow line is near the beginning.
11 At the far-right edge of the two-handled scroll bar, drag in toward the center of the time
ruler until the yellow line is near the end.
TIP To reset the render range, right-click in the time ruler, and choose Auto
Range Render.
As the playhead moves, a green line appears along the time ruler to indicate frames
that are cached into RAM for smoother playback. The more RAM you have in your
system, the longer the cached region for RAM playback can be.
TIP You can assign more or less RAM for Fusion RAM playback in the
Preferences panel. The amount of RAM assigned to Fusion RAM playback is
taken from the total amount assigned to the DaVinci Resolve application.
Loading ...
Loading ...
Loading ...