
Loading ...
Loading ...
Loading ...
154
Lesson 6 Refining a Timeline
4 Press I to mark an in point on the source clip.
The gap is the range in the timeline you are trying to fill, so you needn’t add an out
point on the source clip; but you will need to mark in and out points in the timeline
based on the duration of the gap.
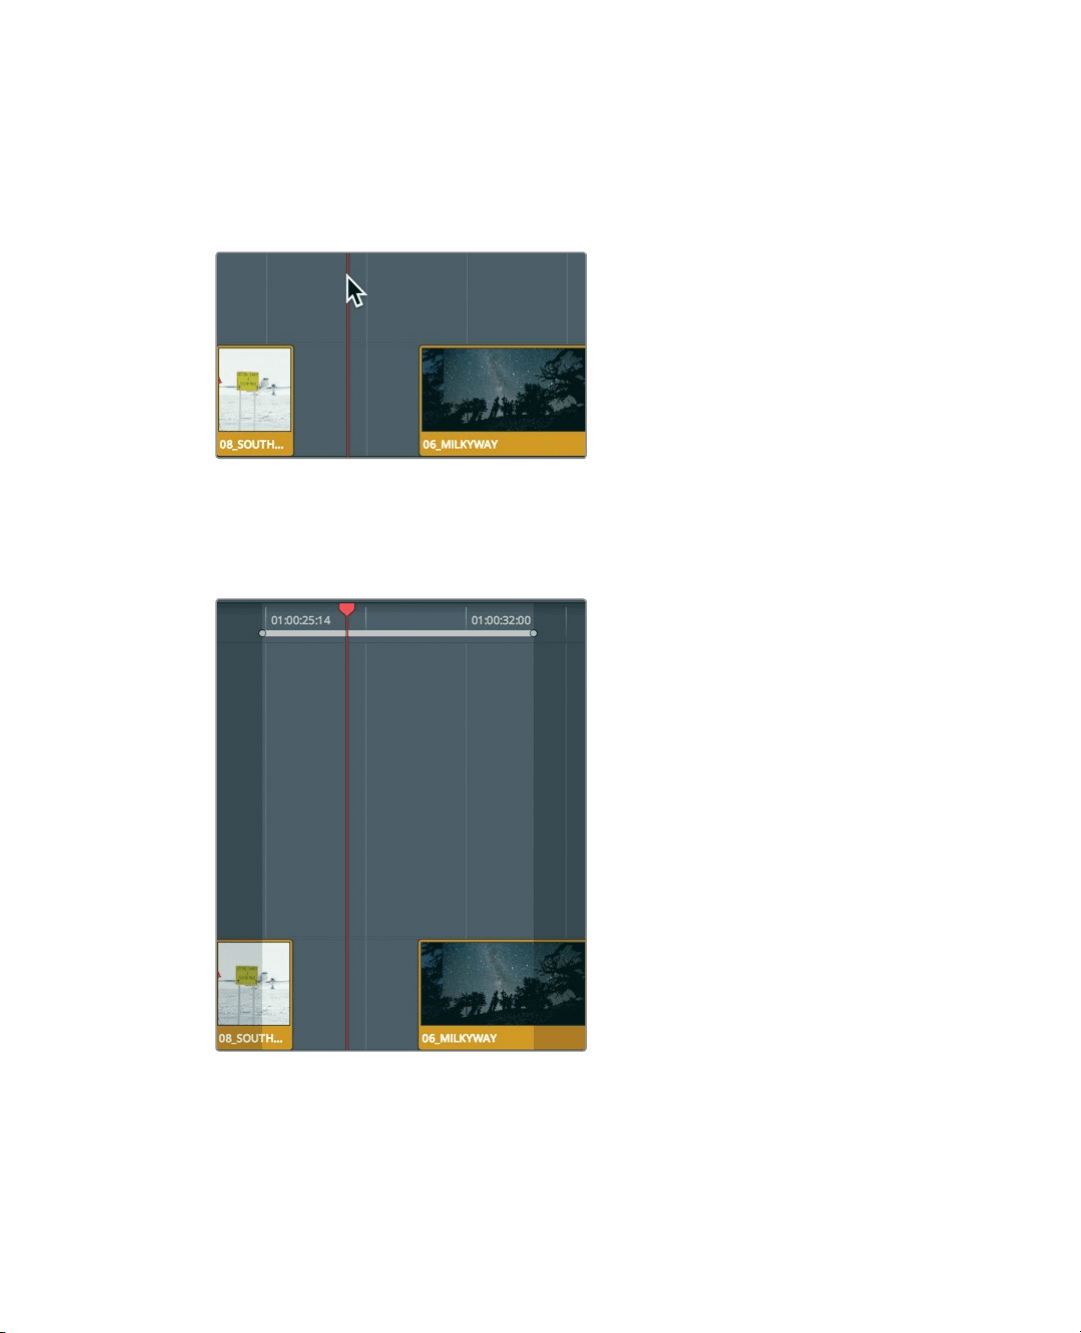
5 Drag the timeline playhead into the center of the gap.
Instead of moving the playhead, marking an In point, moving the playhead again,
andmarking an out point, you can use the Mark Clip command to mark the clip
undertheplayhead.
6 Choose Mark > Mark Clip, or press X.
The Mark Clip command added in and out points in the timeline, but it used the audio
track on A2 as the duration to mark. You really want to ignore the audio track and use
the gap. This is another use case for auto select. It helps keep tracks in sync when
trimming and identifies the tracks when deleting a range (as you did in Lesson 4). Here,
auto select will allow you to target the track you want the Mark Clip command to
usewhen setting in and out points.
Loading ...
Loading ...
Loading ...