
Loading ...
Loading ...
Loading ...
362
Lesson 12 Performing Primary ColorCorrections
9 Choose Workspace > Viewer Mode > Enhanced Viewer, or press Option-F (macOS)
orAlt-F (Windows), to display the Gallery.
10 In the Gallery, right-click the RANCHER BALANCE still, and choose Apply Grade.
The timeline clip now has the color correction applied from the still. However, as is
often the case, because the lighting is different between the original clips, the Apply
the sill hasn’t solved our issue completely. The color seems right but it is still too dark
incomparison.
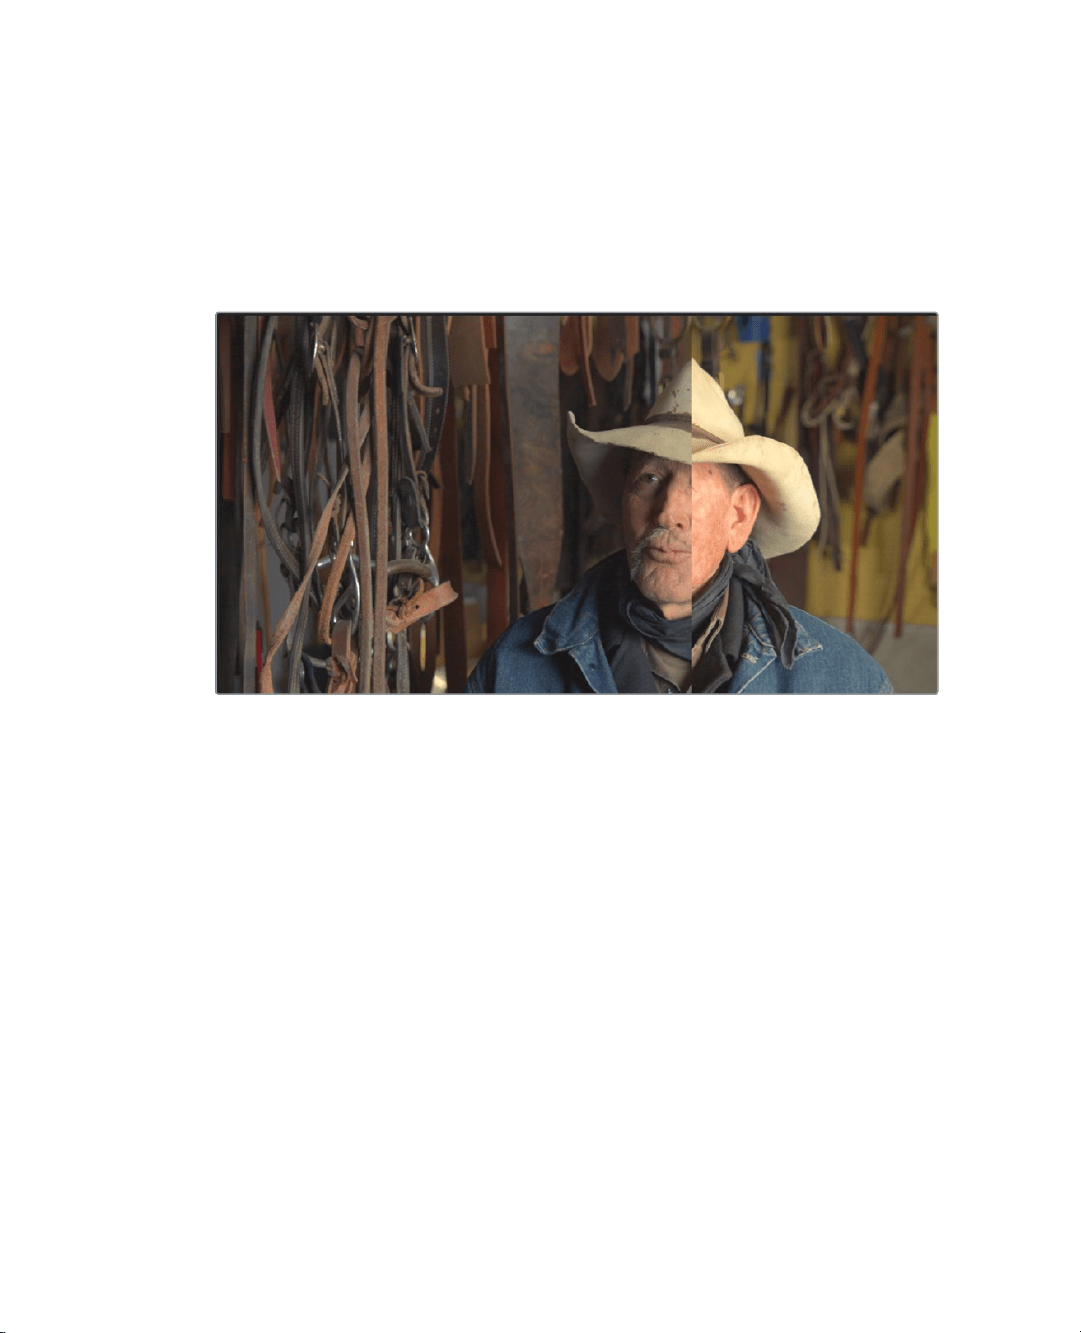
11 In the viewer, drag to the left, and then drag right to compare the tonal quality of the
two shots in different areas.
As you drag, notice the parade scope shows the black levels fairly even but the
highlights being much lower in clip 17. Because the timeline clip has lower highlights
than the reference still, you can use the gain master wheel in the color wheels to
brighten them up.
12 Using the Gain master wheel, drag to the right until the hat in the clip matches the
brightness of the hat in the reference still. Use the parade scope to double check
youradjustment.
Now that the overall tonality of the clip matches the reference, it is noticeable that the
clip has less color saturation.
13 Under the master wheel, drag the saturation adjustment to around 55 or 60 until the
two images in the viewer match perfectly.
Loading ...
Loading ...
Loading ...