
Loading ...
Loading ...
Loading ...
26
Lesson 1 Introduction to Editing in the Cut Page
Trimming edits
As simple as adding clips to the timeline can seem, you often need to modify the in or out
point after the clip gets added to the timeline. Instead of splitting clips and deleting
sections, you can fine tune a clip’s start point or end point using the cut page’s trimming
features. In the cut page, there are three areas where you can trim a clip. The upper
timeline is for making large scale changes, the lower timeline for smaller changes and
directly in the viewer for very precise, frame by frame trimming.
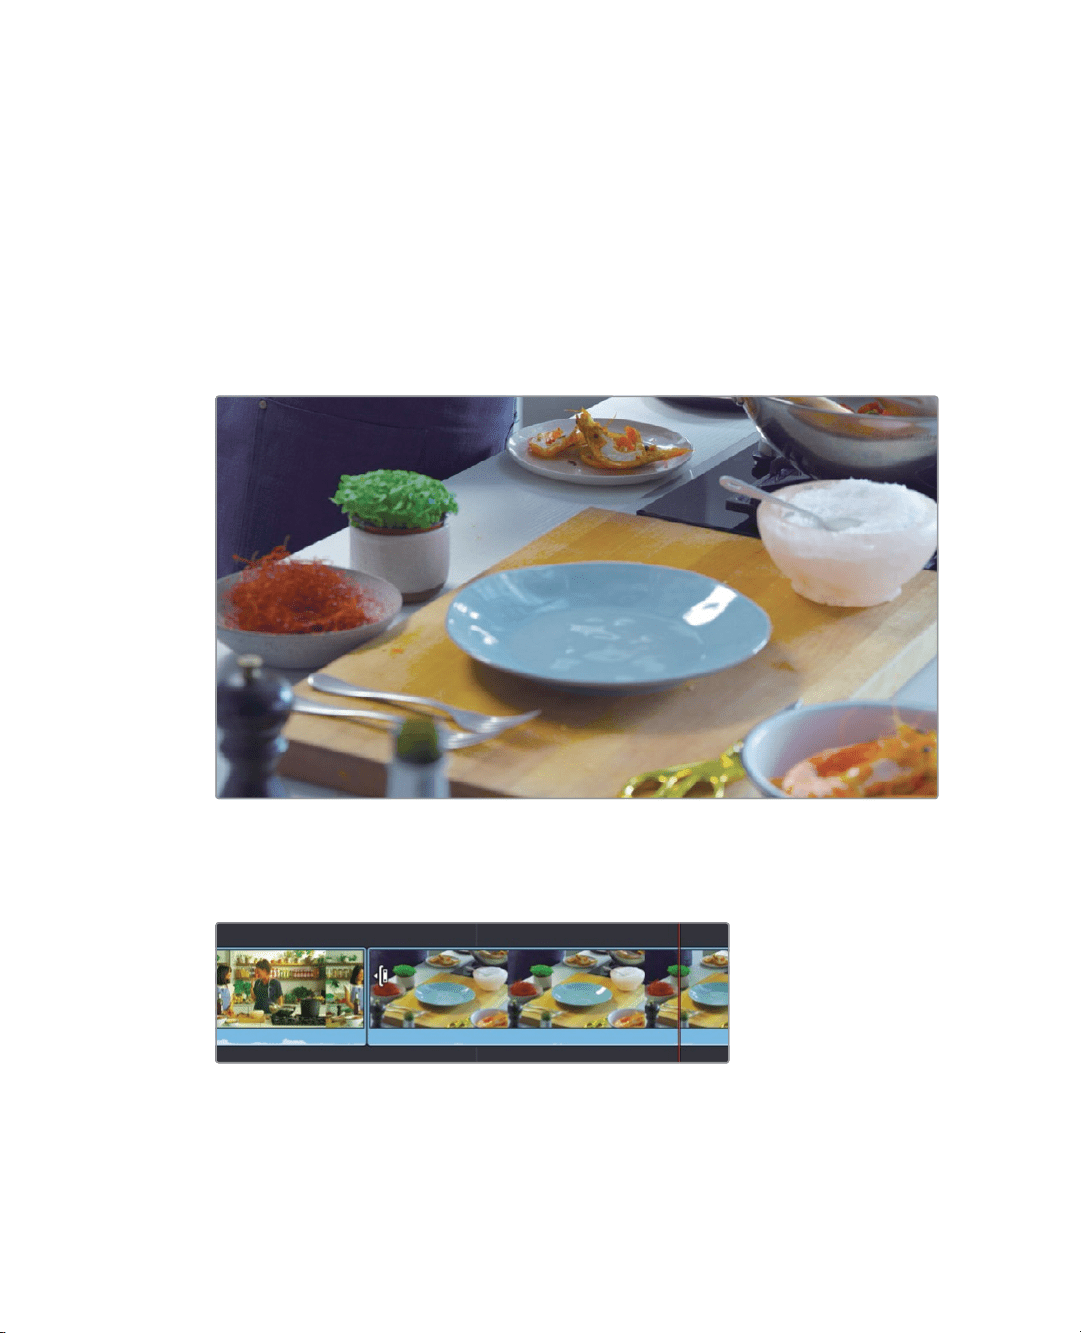
1 Move the timeline play head to the start of the next to last clip, the side view of the
finished dish.
When making small, accurate trims, trimming can be performed using the lower timeline.
2 In the lower timeline, move the mouse pointer over the right side of the cut at the start
of the clip.
The cursor changes to the ripple trim cursor that can be used to lengthen or shorten a
clip’s duration. With the cursor to the right side of the cut, you are selecting to trim the
in point, or “head” of the cut.
3 Drag the in point until the clip begins just before the plate of the prawns comes into
theframe.
Loading ...
Loading ...
Loading ...