
Loading ...
Loading ...
Loading ...
212
Lesson 8 Working with Audio on the Edit Page
Monitoring, Soloing, and Muting Audio
When you start to edit your audio, the first thing you need to do is sit back and listen.
Justplay the tracks to hear them in the context of the picture.
1 Press the Home key, and then press the spacebar to play the timeline to its end.
TIP Some Mac keyboards do not have Home and End keys. In their place,
press Fn-left arrow to move the playhead to the start of the timeline and
Fn-right arrow to move to the end.
To get a sense of the contents of each audio track, you can listen to each track
independently by soloing it.
2 Press the Home key to move the playhead back to the start of the timeline.
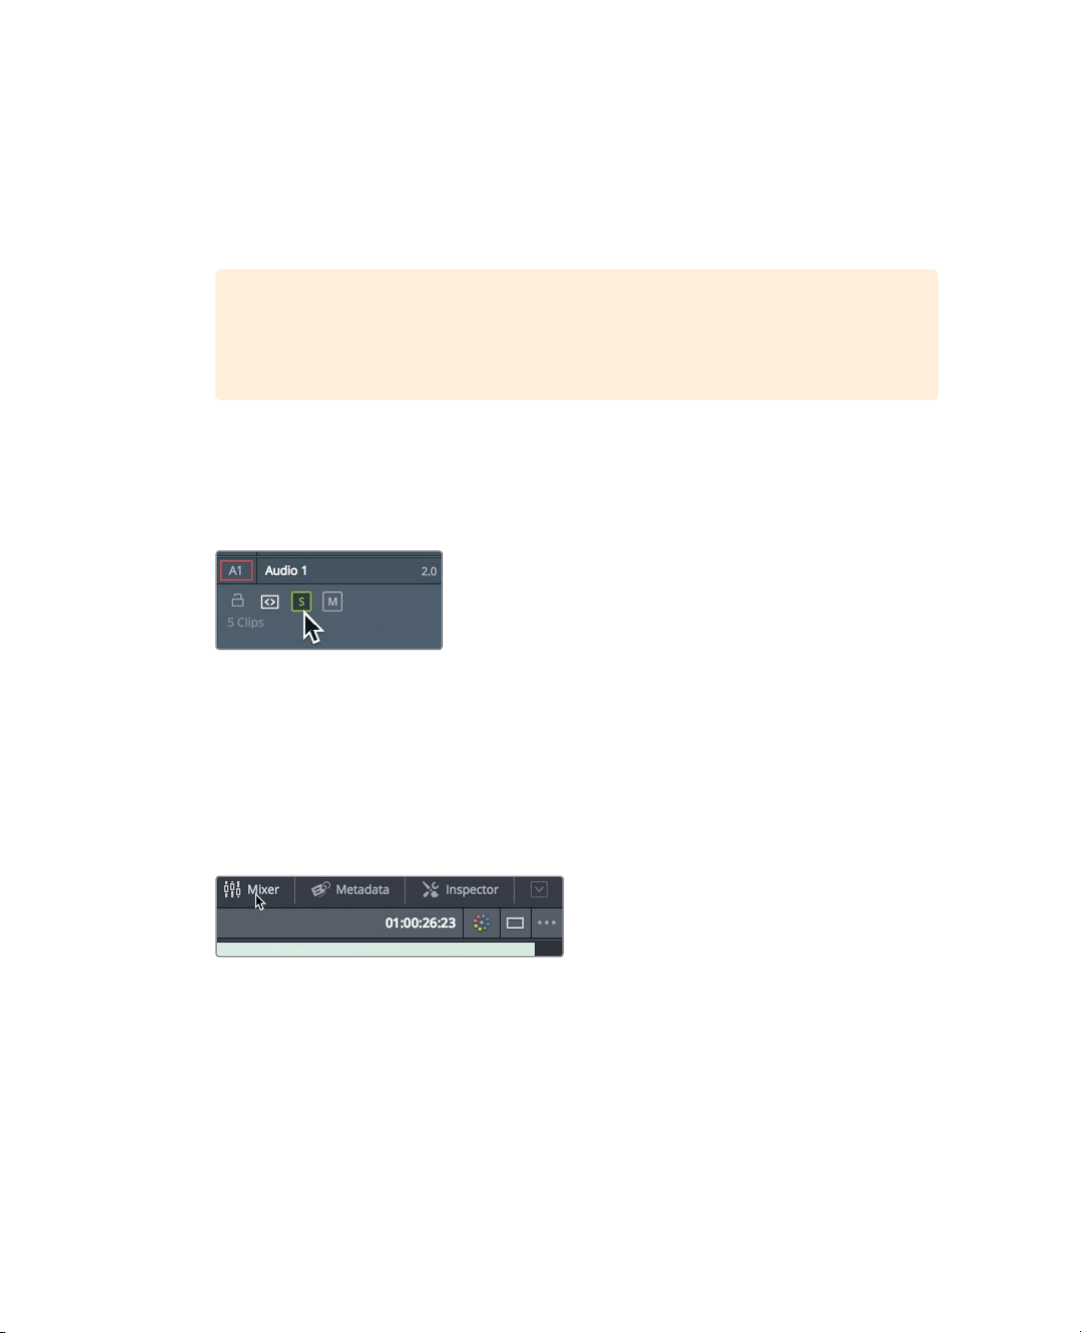
3 On Audio 1, click the solo button to temporarily silence the other audio tracks.
4 Press the spacebar to play the timeline.
Only the interview is heard because the other two tracks are not soloed.
5 While the timeline plays, click the solo button on Audio 3 to hear the sound effects.
You can solo multiple tracks to hear only the track you select.
To accurately monitor the levels of your audio, you can use the audio meters.
6 In the upper-right corner of the DaVinci Resolve interface, click the Mixer button to
open theaudio mixer.
You will use the Mixer panel to monitor each track’s audio level while watching the
audio meters. Meters are a visual guide for making audio volume and processing
adjustments. In DaVinci Resolve, the meters repeatedly generate an average (mean)
level with a thin one-pixel line showing you the peak. But here in the Edit page, the
goal is really just to create consistency amongst the clips on the same track, so all your
narration is at the same level and all your similar sound effects are ata consistentlevel.
7 Play the timeline to hear the soloed tracks as you watch the meters.
You can see each track’s audio displayed in the meters and set the appropriate level
foreach track.
Loading ...
Loading ...
Loading ...