
Loading ...
Loading ...
Loading ...
33
Trimming edits
This will trim the in point, or “head” of the cut and although the mouse cursor changes
to the same trim cursor you get when ripple trimming a clip on video track 1, this will not
be a ripple trim.
3 Drag the in point to the left until you see the host turn her head towards the chef.
Notice when you trim how all the remaining clip on video track 2 never ripple their
position in the timeline. They remain in the same exact location.
4 Play over the beginning of the timeline to see the new starting point for the close up.
When trimming in the cut page –the lower timeline, the upper timeline and the
viewer’s trimeditor perform accurate trimming that can quickly get you the results
without a lot of different tools and extra clicking.
Slipping clips
As you refine your timeline, making a clip longer or shorter isn’t always going to be the best
adjustment. Occasionally, you’ll want to use a portion of the source clip that is either earlier or
later than what is currently in the timeline. In other words, you want to shift the range without
changing the clip’s duration or position in the timeline. This trim is called slipping a clip.
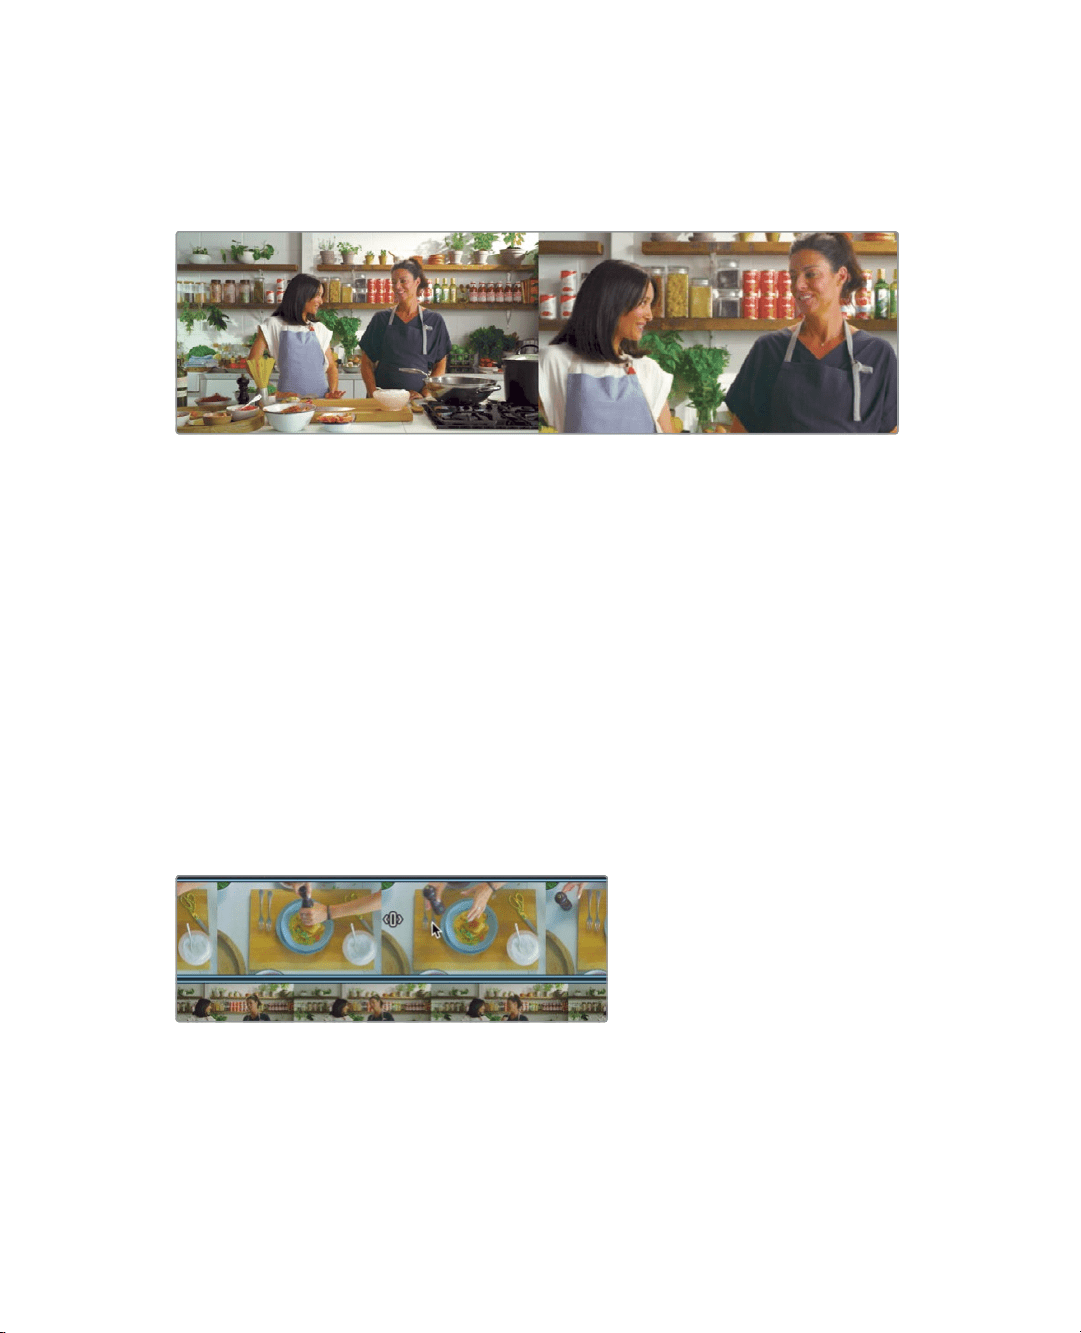
1 Use the upper timeline to move back over the second cutaway clip in the timeline.
2 Move the mouse pointer over the detailed thumbnails of the clip in the lower timeline.
If you look closely at the clips in the lower timeline, you will see a slip edit icon on the
clip at about the mid point of the clip. The slip icon allows you to drag the clip left or
right to shift the source clip earlier or later while leaving the clip in the same location in
the timeline .
Loading ...
Loading ...
Loading ...