
Loading ...
Loading ...
Loading ...
85
Lesson Review
Clicking the heading for any column sorts that column based on its criterion. Clicking
the Start TC heading sorts the bin contents in ascending order based on the starting
timecode number for each clip. A small arrow pointing up is shown next to the column
heading name to indicate that this column is used for sorting as well as indicating the
order of the sort.
After making these changes, you have a nice, slimmed-down number of columns that
display only the essential information that you might want to see. You can save as many
different bin views as necessary and recall them from the menu later. To save abin
view, you can use the same contextual menu.
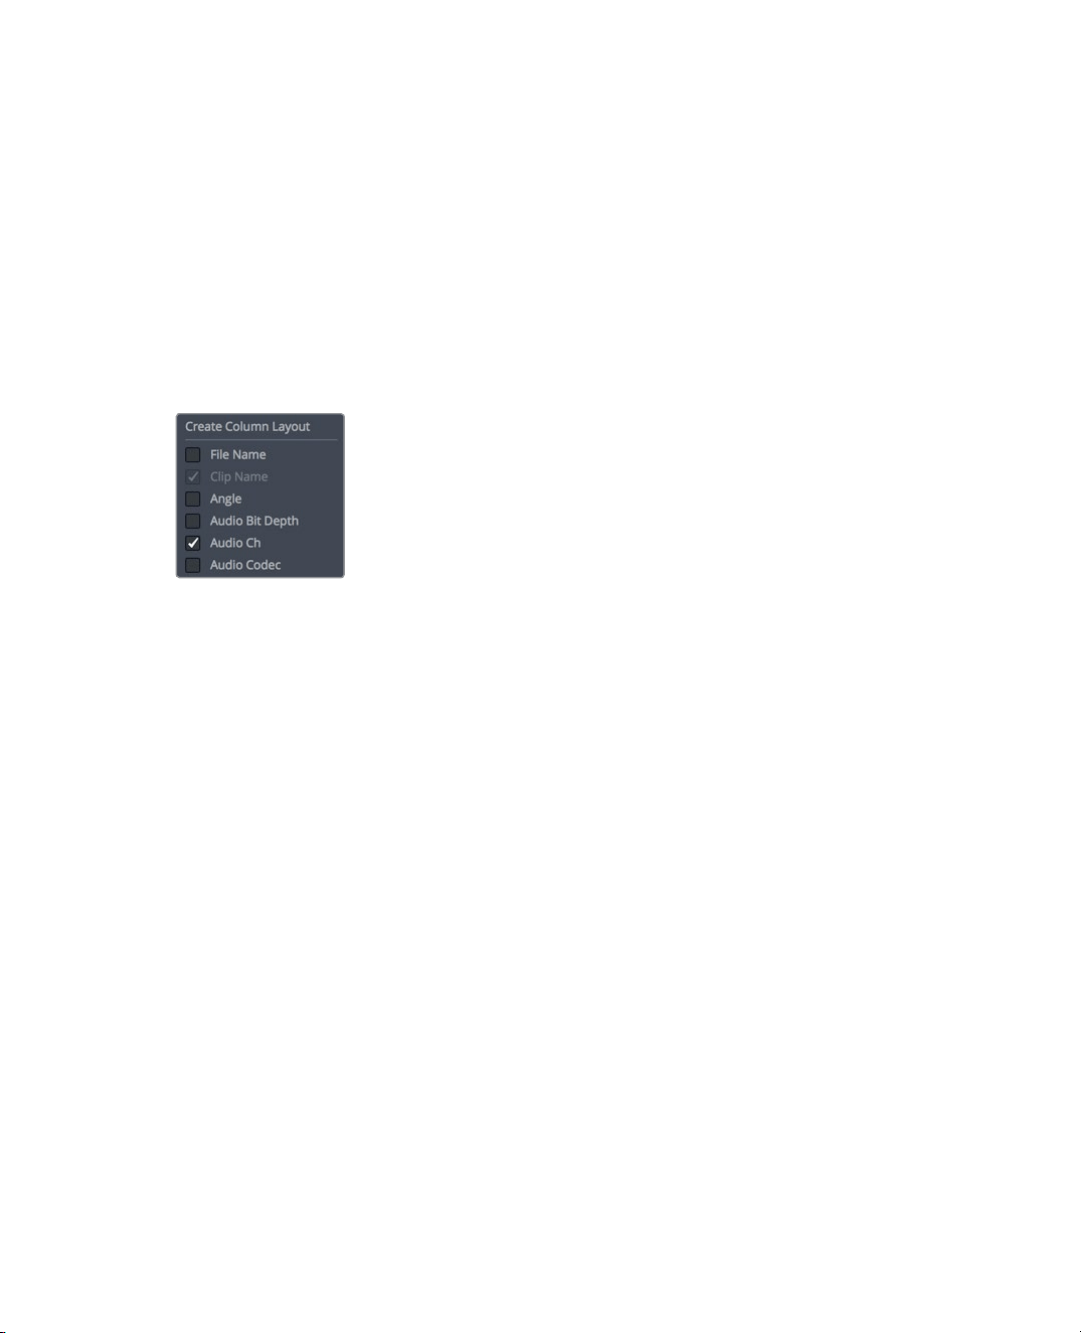
6 Ctrl-click (macOS) or right-click (Windows) one of the bin column headings, and in the
contextual menu, choose create column layout.
7 Type Basic View as the column layout name, and click OK.
You have now set up all the bins, sorted the clips and created a few smart bins based on
metadata. You are ready to begin editing your movie trailer. In the next lesson, you’ll move
to the edit page where you begin assembling clips into a timeline.
Lesson Review
1 True or false? You can set the timeline resolution and frame rate in the projectsettings.
2 True or false? Smart bins are created automatically for any keyword you apply.
3 Where are the settings to create auto saves or project backups?
4 Where are the original media files located after you add them into the media pool?
5 True or false? You must first create a bin before you can add clips to the media pool.
Loading ...
Loading ...
Loading ...