
Loading ...
Loading ...
Loading ...
282
Lesson 10 Creating Graphics and Effects in Fusion
8 Right-click the media in 1 node, and choose Rename, or press F2. Rename the node
asPLANET_BKGD.
9 Select the media in 2 node, and press the 1 key.
10 Right-click, the media in 2 node, choose Rename (or press F2), and rename the node
as GREENSCREEN_FRGD.
The merge node matches the way the two clips are layered in the timeline, but it does not
have keying capabilities. To key the greenscreen shot, you need to add a keyer tool.
Pulling a Green Screen Key
Combining different shots requires a matte, which is a grayscale image that identifies parts
of the foreground as transparent and parts as opaque. Unlike the computer-generated
alpha channel you used earlier, the live-action shot in your foreground does not include
amatte. So, it is up to you to create the matte through the process of keying.
NOTE This exercise uses a green screen, but the process is the same when you
are removing blue screen from a shot.
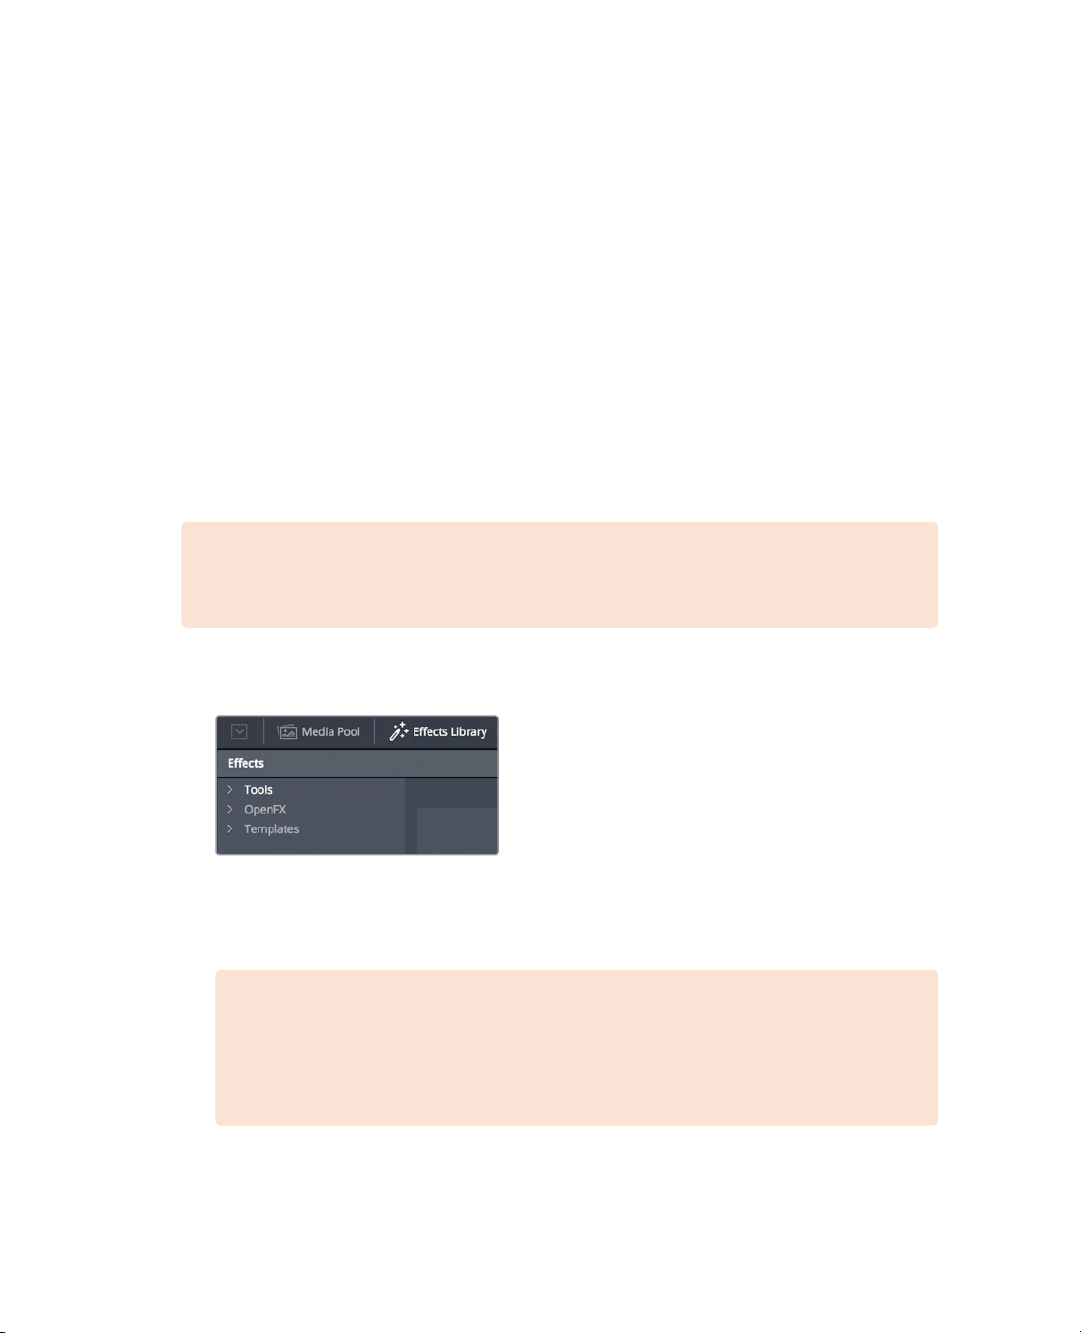
1 In the Node editor, select the GREENSCREEN_FRGD node, and in the upper-left
corner of the interface, click the effects library button.
Just as in the Edit page, you have access to all the same ResolveFX in the OpenFX
category. But all of Fusion ’s compositing tools are found in the Tools categories.
Keyers are located in the Tools > Matte category.
NOTE The terms matte and mask are often used interchangeably. In this book,
matte refers to a grayscale image that identifies transparent and opaque
pixels. A mask is the application of a matte. You use a matte to mask off part
ofan image.
Loading ...
Loading ...
Loading ...