
Loading ...
Loading ...
Loading ...
321
Making Secondary Color Corrections
5 In the viewer, hover the mouse pointer over the teal dish.
The pointer changes to an eyedropper to indicate that you can sample an area of the
image you want to isolate.
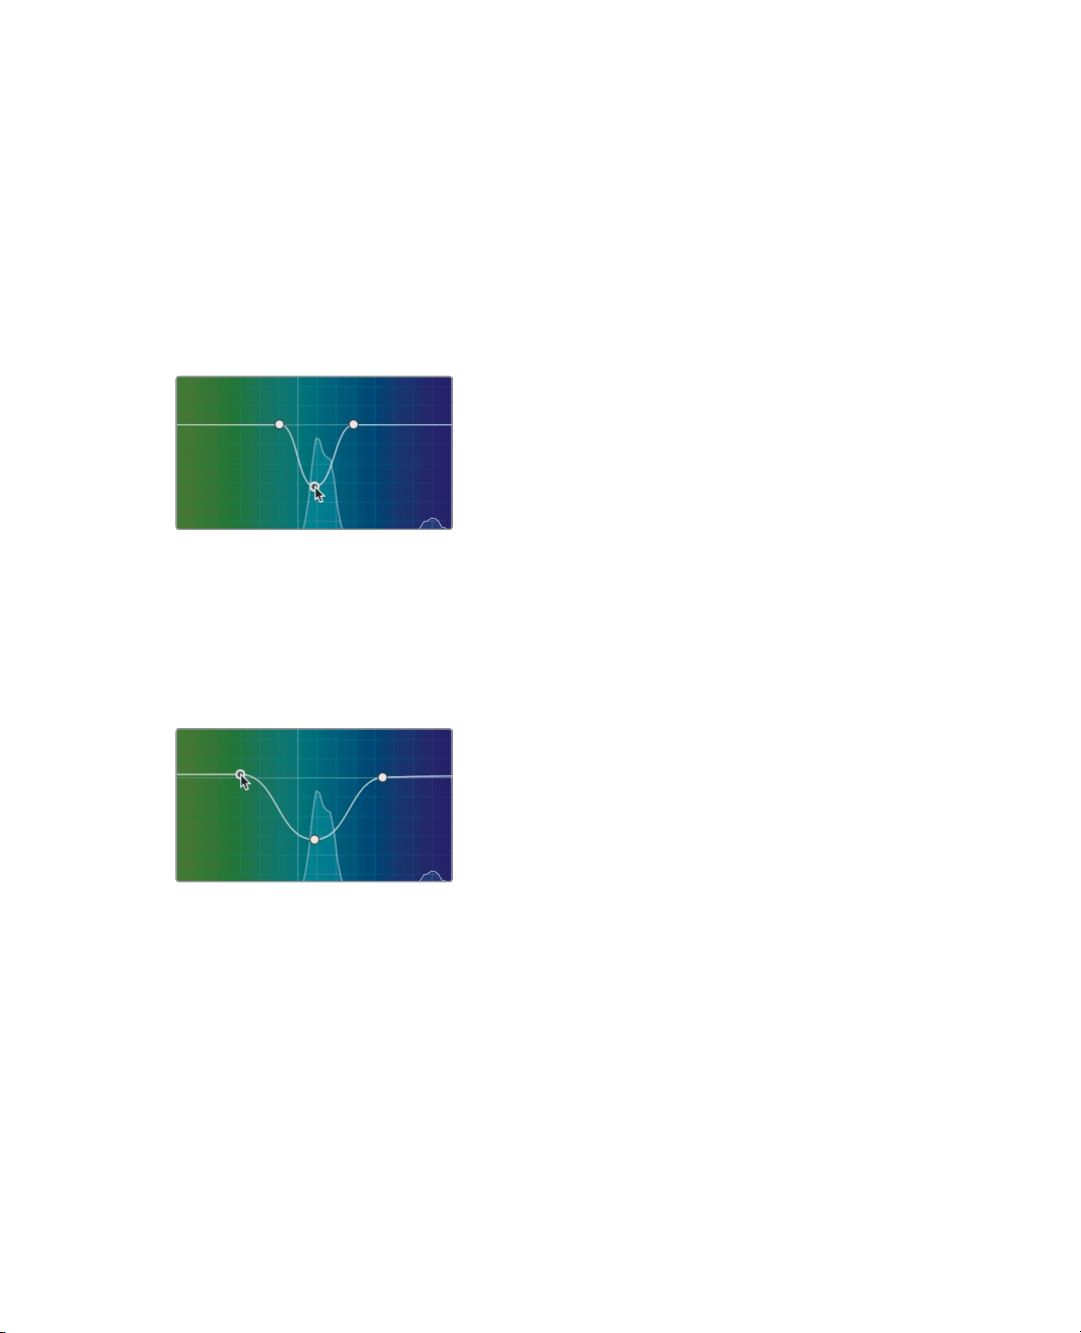
6 Click anywhere on the teal dish to sample its hue value.
Once you click the viewer, three points are added to the line in the hue vs. hue palette.
The center point is the actual hue you selected. The other two points constrain the
range of hues you will be adjusting as you drag the center point.
7 In the hue vs. hue palette, drag the center point down to shift the teal hue of the dish
toward magenta.
Only items with that specific hue you clicked on are affected by the shifted hue. In our
case the teal color selected is too narrow to encompass all the various shades of teal in
the dish. You can expand the hue to include a wider range by adjusting the outer two
control points.
8 In the hue vs. hue palette, drag the outer two controls points away from the center
point to encompass more green and purple until the dish is completed changed.
These hue, luminance, and saturation curves simplify a very complex process, so you
do not have to worry about getting a perfect key or manually rotoscoping.
As always, after you make a significant change to an image, it is a good idea to
compare your change with the original image. In this case, you want to compare only
the changes to the dish. Previously, you were comparing changes to the original image.
In this case, because you made the adjustment on a new node, you can temporarily
disable the node to compare the change.
Loading ...
Loading ...
Loading ...