
Loading ...
Loading ...
Loading ...
10
Lesson 1 Introduction to Editing in the Cut Page
TIP A timecode display for the current play head position is located in the
lower right corner of the viewer. You can use that to position the play head
around 00:08:20 :00
2 Press I to mark an in point and then press O to set an out point after the host says
“Make sure you join us next time”.
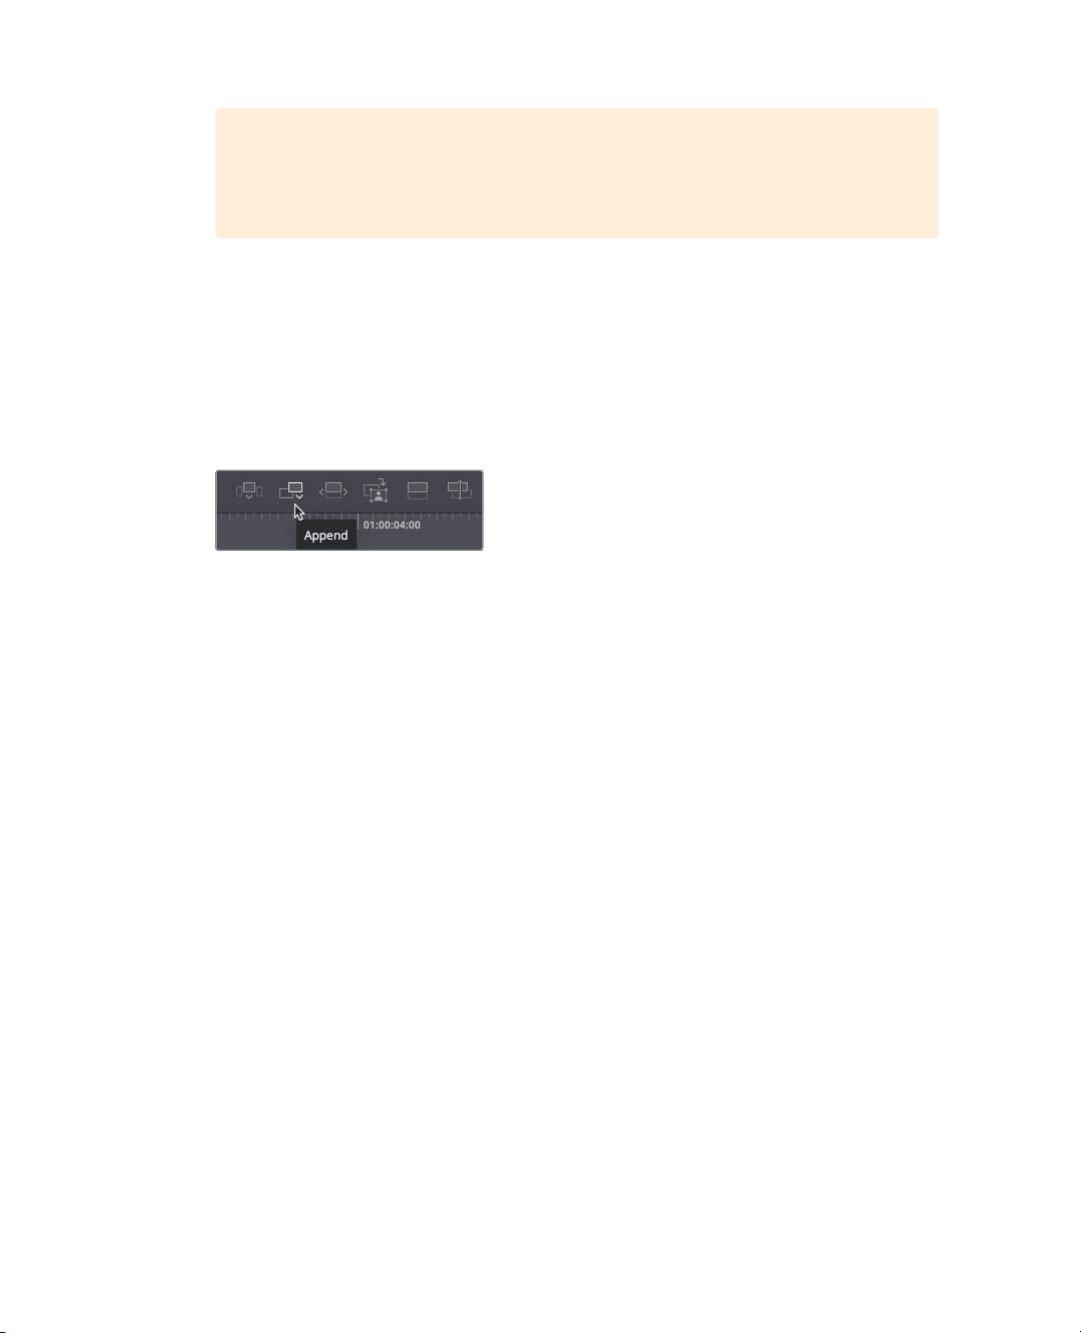
To add this clip to the end of the timeline, you can use the append button. The append
button always adds the marked clip to the very end of your timeline, regardless of
where your timeline play head is located.
3 In the toolbar, click the append button to add the selected region to the end of the
timeline.
4 Normally, you would keep working down the source tape, adding clips into the timeline
as you go. In this case, let’s check our edit by dragging the play head before the new
clip you added to the end, then press the spacebar to review the edit.
The append edit is one of the easiest editing types since it just adds the current source clip
to the end of your timeline. It doesn’t matter where your timeline play head is located or if
there is an in point. Using the other edit buttons will give you additional options on where
edits are placed.
Remember the advantage of the source tape is you can keep throwing clips into the timeline
as you go and quickly build complex edits. The viewer will stay on the source tape so you
don’t waste mouse clicks selecting clips after each edit.
Marking In and Out with precision
Although dragging through clips using the mouse pointer is very straight forward, when
trying to set in and out points on longer clips, it is fairly difficult to be precise. That’s
because moving the mouse pointer even by one or two pixels can jump several frames or
even seconds ifyou have a longer clip. A more precise method of setting an in or out point
is to use the scratch trim buttons located under the viewer, on either side of the waveform.
Let’s see how it works.
Loading ...
Loading ...
Loading ...