
Loading ...
Loading ...
Loading ...
139
Ripple Trimming
16 Choose Trim > Trim End, or press Shift-] (right bracket).
The end of the clips on Video 1 and Audio 1 are trimmed to the playhead but the music
track remains unchanged. The remaining clips in the timeline are shifted to the left by
the same number of frames that you just removed.
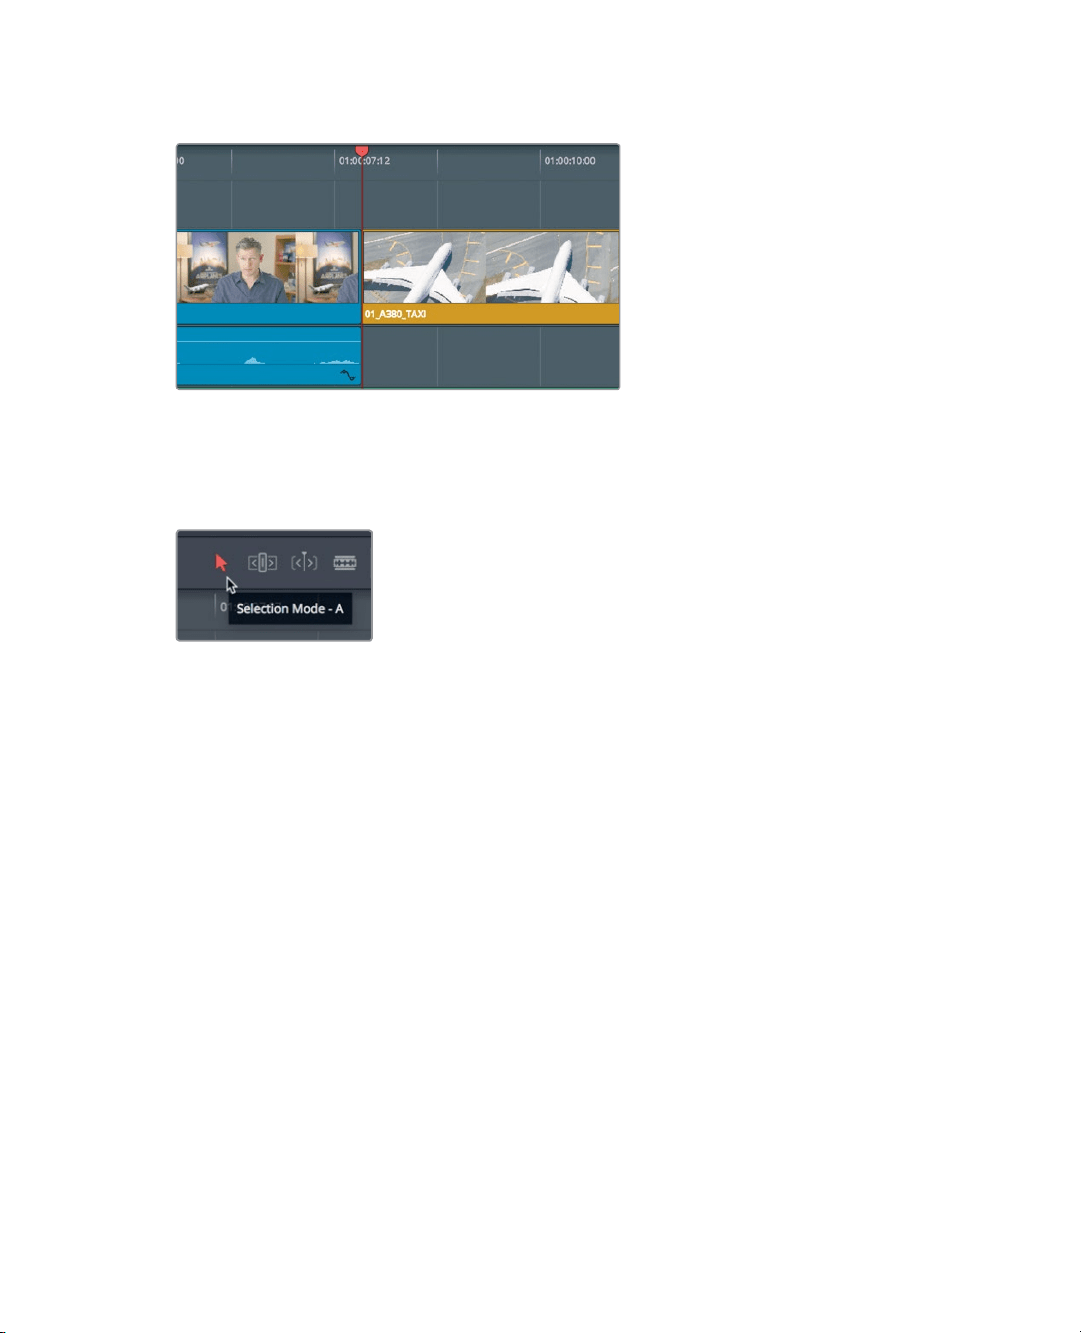
17 In the toolbar, select the Selection mode tool, or press A.
18 Position the playhead at the start of timeline, and start playback to review your top and
tail trims.
You should have two take-aways from this exercise. The first (and obvious) one is that trim
start and trim end are two very quick ways to tighten your edits through an entire timeline.
The second and more fundamental take-away is that the Selection mode tool opens gaps
while the trim edit mode tool ripples the timeline.
Ripple Trimming
The multiple ways you can use the trim edit mode makes it fast, precise, and flexible. Let’s
look at another clip to decide how trimming might improve it.
1 Position the playhead at the end of the interview clip you just trimmed.
2 Play the timeline to view the next three clips, until the interview subject returns to
thescreen.
The shot of the Maldives starts too late. The water plane is already overhead when
theclip begins. You need to add more frames to the beginning of the Maldives shot
soit starts with the plane out of the frame. Let’s zoom in and center that clip in the
timelinewindow.
Loading ...
Loading ...
Loading ...