
Loading ...
Loading ...
Loading ...
246
Lesson 9 Mixing Sound in Fairlight: Exploring theInterface
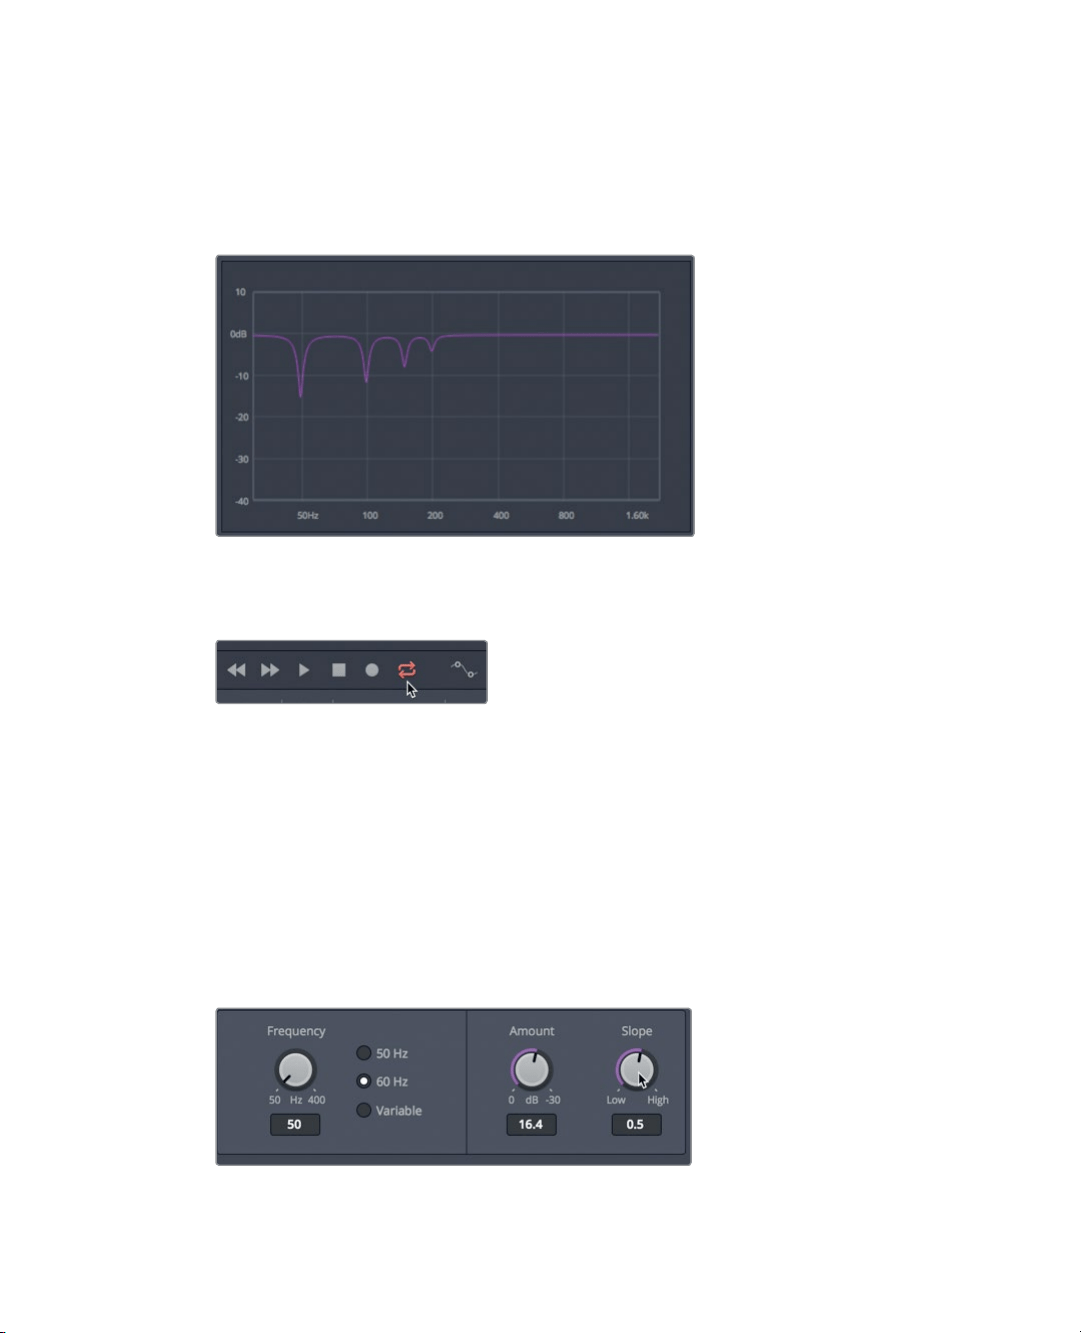
6 In the Frequency section, click the 60 Hz button to set the De-Hummer to notch out
the60 Hz frequency.
The graph in the De-Hummer displays frequencies along the bottom. Low frequencies
are to the left and higher frequencies are to the right. The dips in the graph indicate
thenarrow bands of frequencies that are being cut out or diminished in the clip.
7 In the transport controls above the timeline, click the loop button, and press
Option-/(slash) in macOS or Alt-/ (slash) in Windows to loop the playback from the
intoout points.
8 As the clip plays, drag the Amount dial to adjust the amount of hum that is removed.
As you drag the Amount dial clockwise, you are lowering the volume of the selected
frequencies (60 Hz, in this case) in the voiceover clip. So, you are also altering the
sound quality of the voice recording. It’s a delicate balance to decide how much hum
toremove before you lose too much vocal quality.
Looking at the graph, you might think that by selecting 60 Hz that the filter will notch
out only that frequency; but simply removing one frequency may not fix the problem.
You can adjust the Slope control to filter out additional frequencies that may be
contributing to the unwanted hum.
9 Drag the Slope control until you hear the least hum in the voiceover.
Loading ...
Loading ...
Loading ...