
Loading ...
Loading ...
Loading ...
237
Recording Audio in a Timeline
13 In the toolbar, click the range selection tool, or press R, and click the last clip on the
A4DRUM HIT track.
14 Press Option-/ (slash) in macOS or Alt-/ (slash) in Windows to play from the in to
outpoints.
15 Press the A key to return to the selection tool, and press Option-X (macOS) or Alt-X
(Windows) to clear the in and out points.
If you find that the alignment is not perfect, just as in the Edit page, you can press the,
(comma) and . (period) keys to nudge the clip a few frames forward or backward.
Recording Audio in a Timeline
You can record your own voiceover in DaVinci Resolve right in the Fairlight page timeline.
All you need to do is set up a microphone, patch the microphone input to a track, arm the
track, and start recording.
In this exercise, you’ll record a temporary ending voiceover tag for this trailer. Frequently,
the voiceover talent can’t record his or her lines until after you have started editing the
sound. So, you can easily record a temporary VO clip to use as you edit. When the real
VOtalent arrives, you can use this same recording method to record the final VO directly
into the timeline.
NOTE If you don’t have a separate microphone, you can use the built-in
microphone in your computer for the following exercises. If you lack a microphone
entirely, read through the set-up and recording sections and follow along when the
recording is finished.
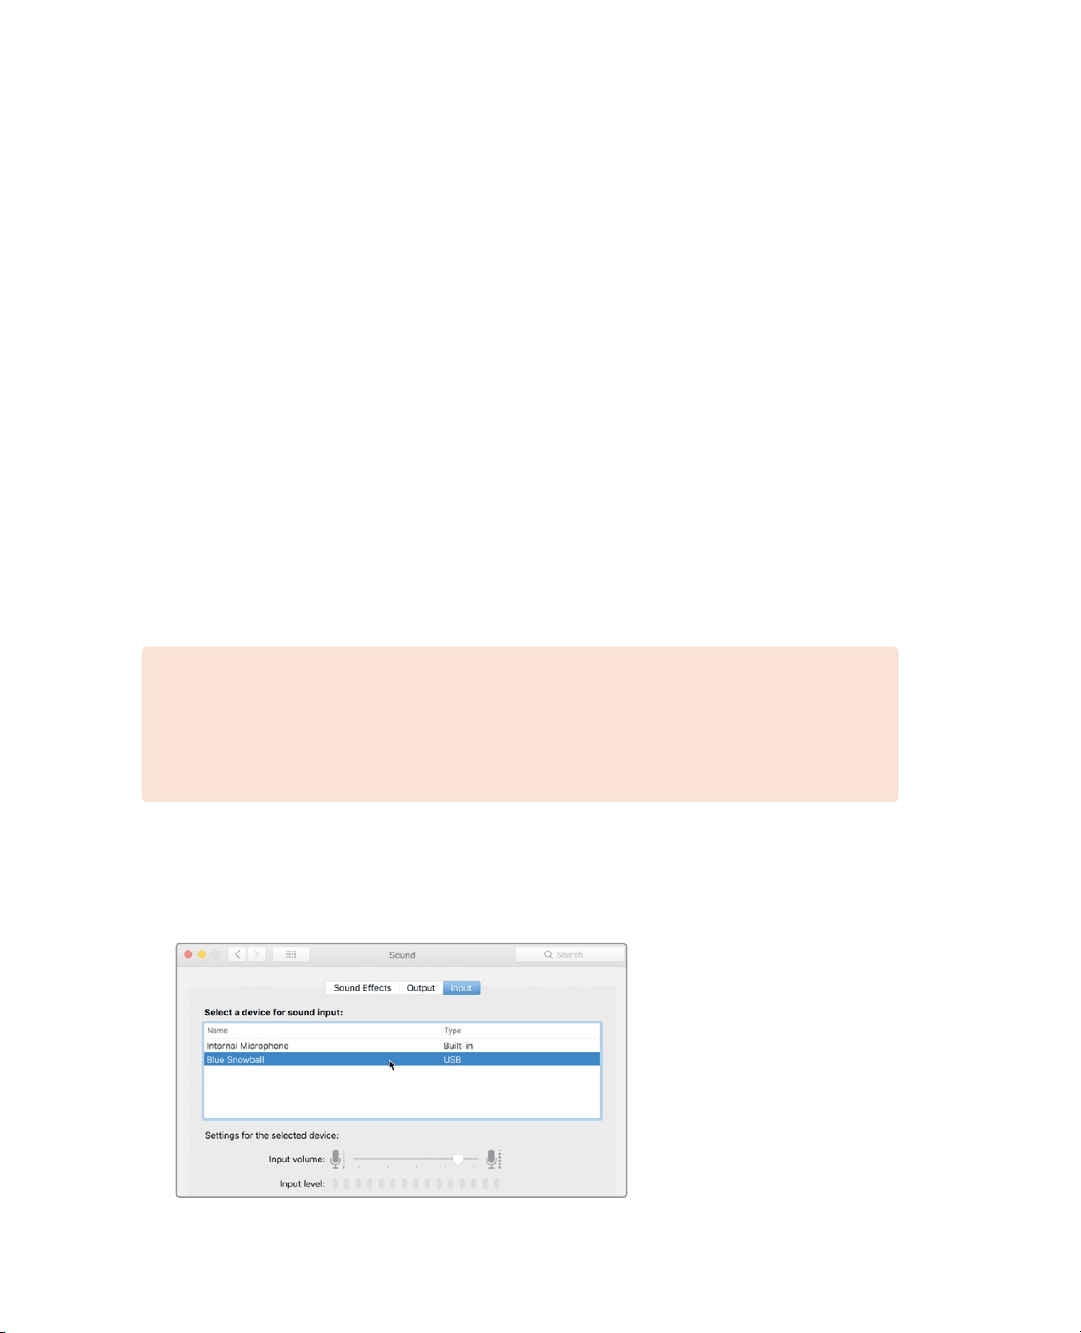
1 If you have a standalone USB microphone, close DaVinci Resolve, and attach the
microphone to your computer.
2 In your computer’s Sound preferences or settings, set your microphone (or the
built-inmic) as the audio input device.
Loading ...
Loading ...
Loading ...