
Loading ...
Loading ...
Loading ...
285
Adding a Solid Mask
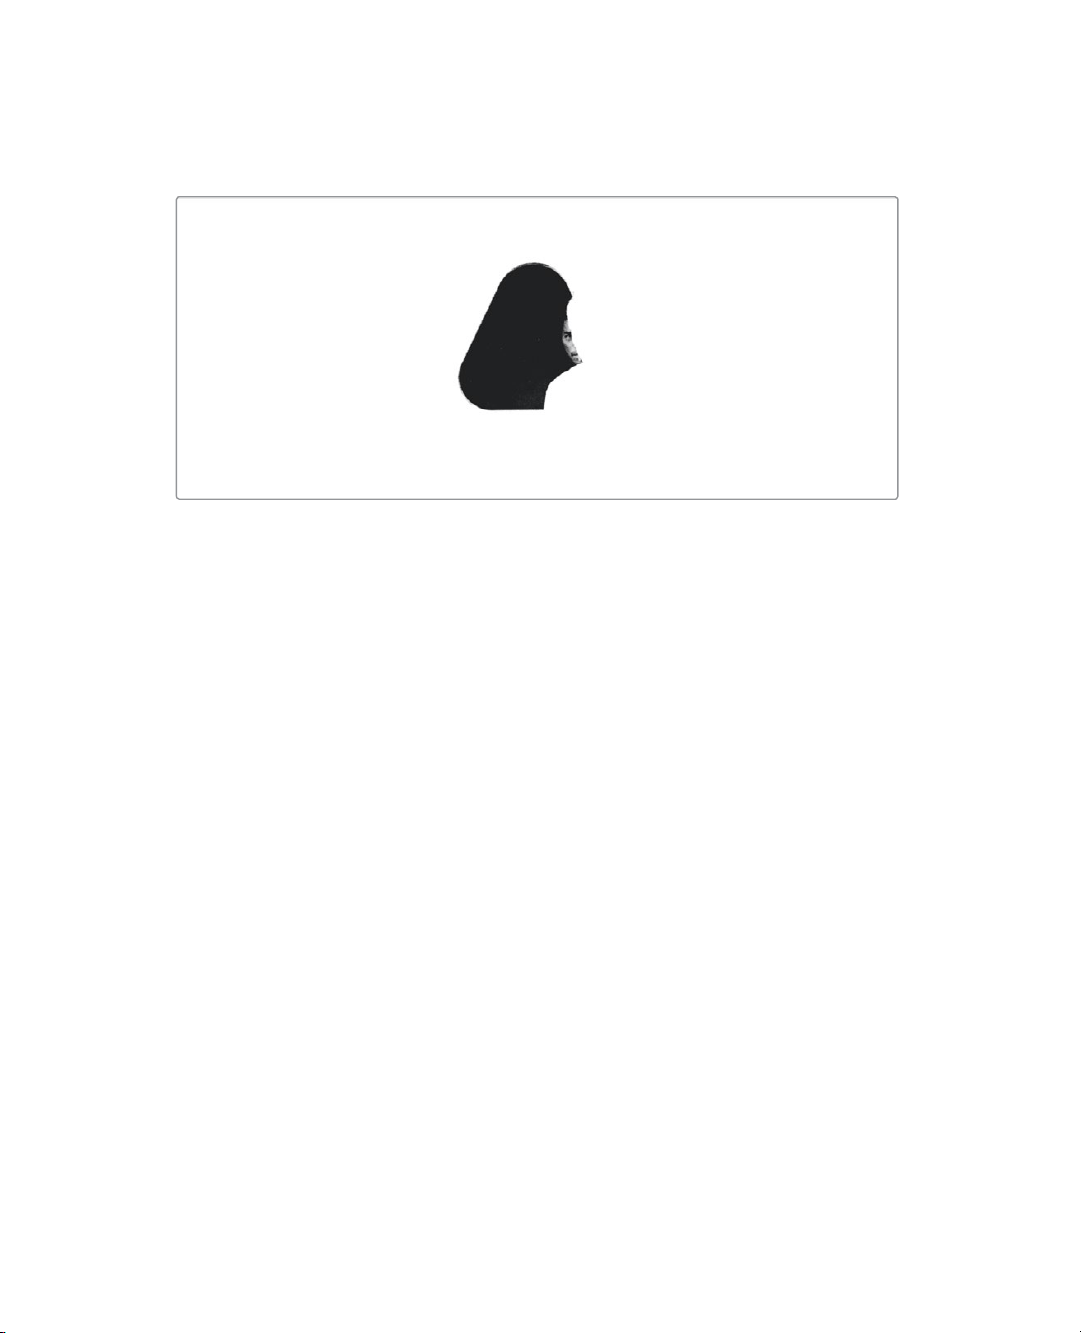
9 Drag the low threshold slider to the right until the black is clear of all gray areas except
the reflection of his face and the green button on the right side of the wall.
10 Drag the high threshold slider to the left until the white is clear of all gray areas
11 Click the color controls button above viewer 1 to return to the color output of the
Deltakeyer.
12 Press Cmd-left arrow (macOS) or Ctrl-left arrow (Windows) to move the playhead to
thestart of the render range, and press the spacebar to play through the composite
Depending on the shot’s lighting and the foreground objects you are trying to composite,
keying can often require many more adjustments, rotoscoping, and even multiple Delta
keyers to fix different areas of the shot. However, the basic setup you have done here is
the same starting point for every key you will create in Fusion .
Adding a Solid Mask
The remaining task we need to take care of is the small button on the right side of the
frame. This was made with the same color green, I assume so we can fill it with some
graphic. Right now, it is keying through to show part of the planet in the background. We
can prevent this key by adding a small mask around the area to hold out the key. This is
referred to as a solid mask.
1 After the third divider line in the toolbar, drag the ellipse mask into an empty area of the
node editor, next to the delta keyer.
You can connect multiple masks directly into the Delta keyer to eliminate areas the
keyer cannot or should not make transparent.
Loading ...
Loading ...
Loading ...