
Loading ...
Loading ...
Loading ...
203
Adding and Patching Tracks
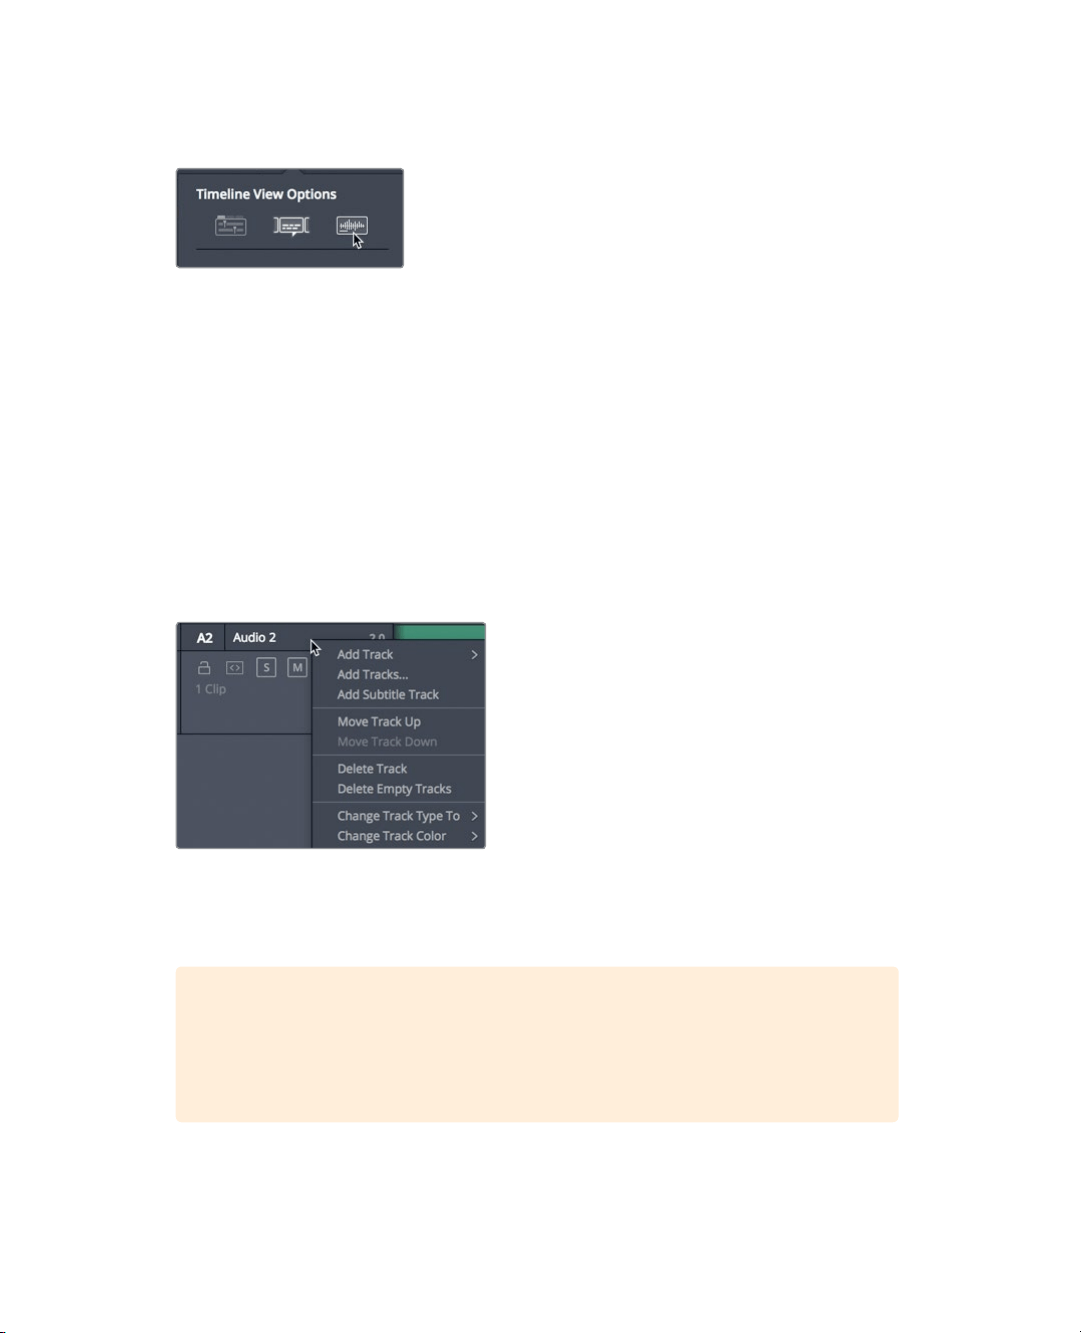
8 In the Timeline View Options, click the audio waveform button to display audio
waveforms in the timeline tracks.
9 Click the Timeline View Options button to hide the drop down menu.
Now your timeline is better configured for audio editing and mixing. You’ll later add other
interface elements to help control and monitor the audio; but for now, displaying larger
waveforms in the timeline will help you edit in the sound effects.
Adding and Patching Tracks
Your timeline is fairly well organized considering the small amount of audio that it contains.
Audio 1 is devoted to the interview and Audio 2 is devoted to music. To keep those tracks
organized, you’ll insert an empty audio track to accommodate the new sound effects.
1 In the timeline header, right-click the Audio 2 label to open the pop-up menu.
This menu has options to add, move, and delete tracks. Your stereo sound effects
need to be edited into a new stereo audio track.
2 In the pop-up menu, choose Add Track > Stereo.
TIP In the timeline, audio clips with multiple channels are displayed as a single
audio clip on a single track. When you first create a new audio track, you
choose its audio format (mono, stereo, 5.1 surround, or multi-channel). You can,
however, change it later.
An Audio 3 track is added to the timeline. Now you need to patch the track so that
theaudio content in the source clip is edited onto this new Audio 3 track.
Loading ...
Loading ...
Loading ...