
Loading ...
Loading ...
Loading ...
120
Lesson 5 Moving Clips intheTimeline
6 Right-click any one of the selected clips, and in the contextual menu, choose Clip
Color> Brown.
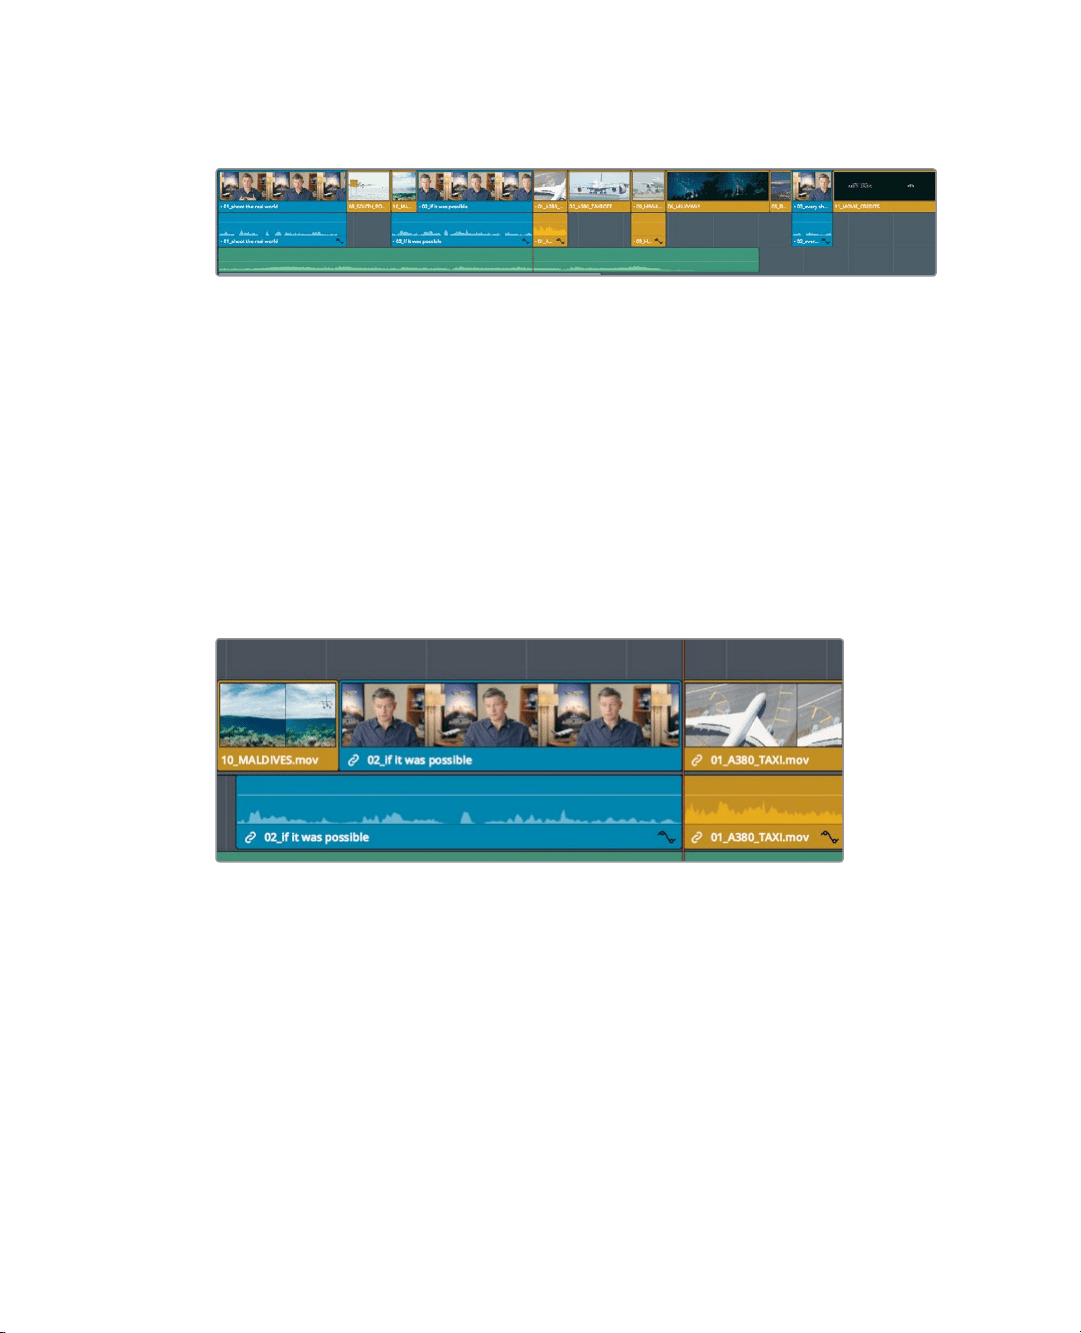
All the timeline clips from the Interview and the B-Roll bins are now color coded to navy
blue or brown. As you make changes in the timeline, the differentiation in color will make
iteasier for you to locate these categories of clips.
Deleting clips without leaving a gap
Knowing when and how clips should be deleted is almost as important as knowing where
to place clips in the timeline. You can delete clips and leave a gap, or you can delete clips
and automatically close the gap. In your timeline, if you were trying to line up your picture
to music, you might seem to have too many clips. You’llneed to delete at least one and
possibly more.
1 In the timeline, position the playhead at the end of the middle interview clip.
2 Press spacebar to play until the end of the movie.
Because we have three similar plane clips in a row, one of the three can be deleted.
The most likely culprit is the slow-moving Hawaiian Landing clip. To remove a selected
clip from the timeline in the edit page: simply press the delete key and it will leave a
gap in the timeline. But what if you wanted it to act more like the cut page, and not
leave a gap? In this situation, you want to remove the clip but have all the clips to the
right move left to close up the gap. This type of deletion is often called a ripple delete
because the change ripples through the rest ofthe timeline.
Loading ...
Loading ...
Loading ...